Here it comes…
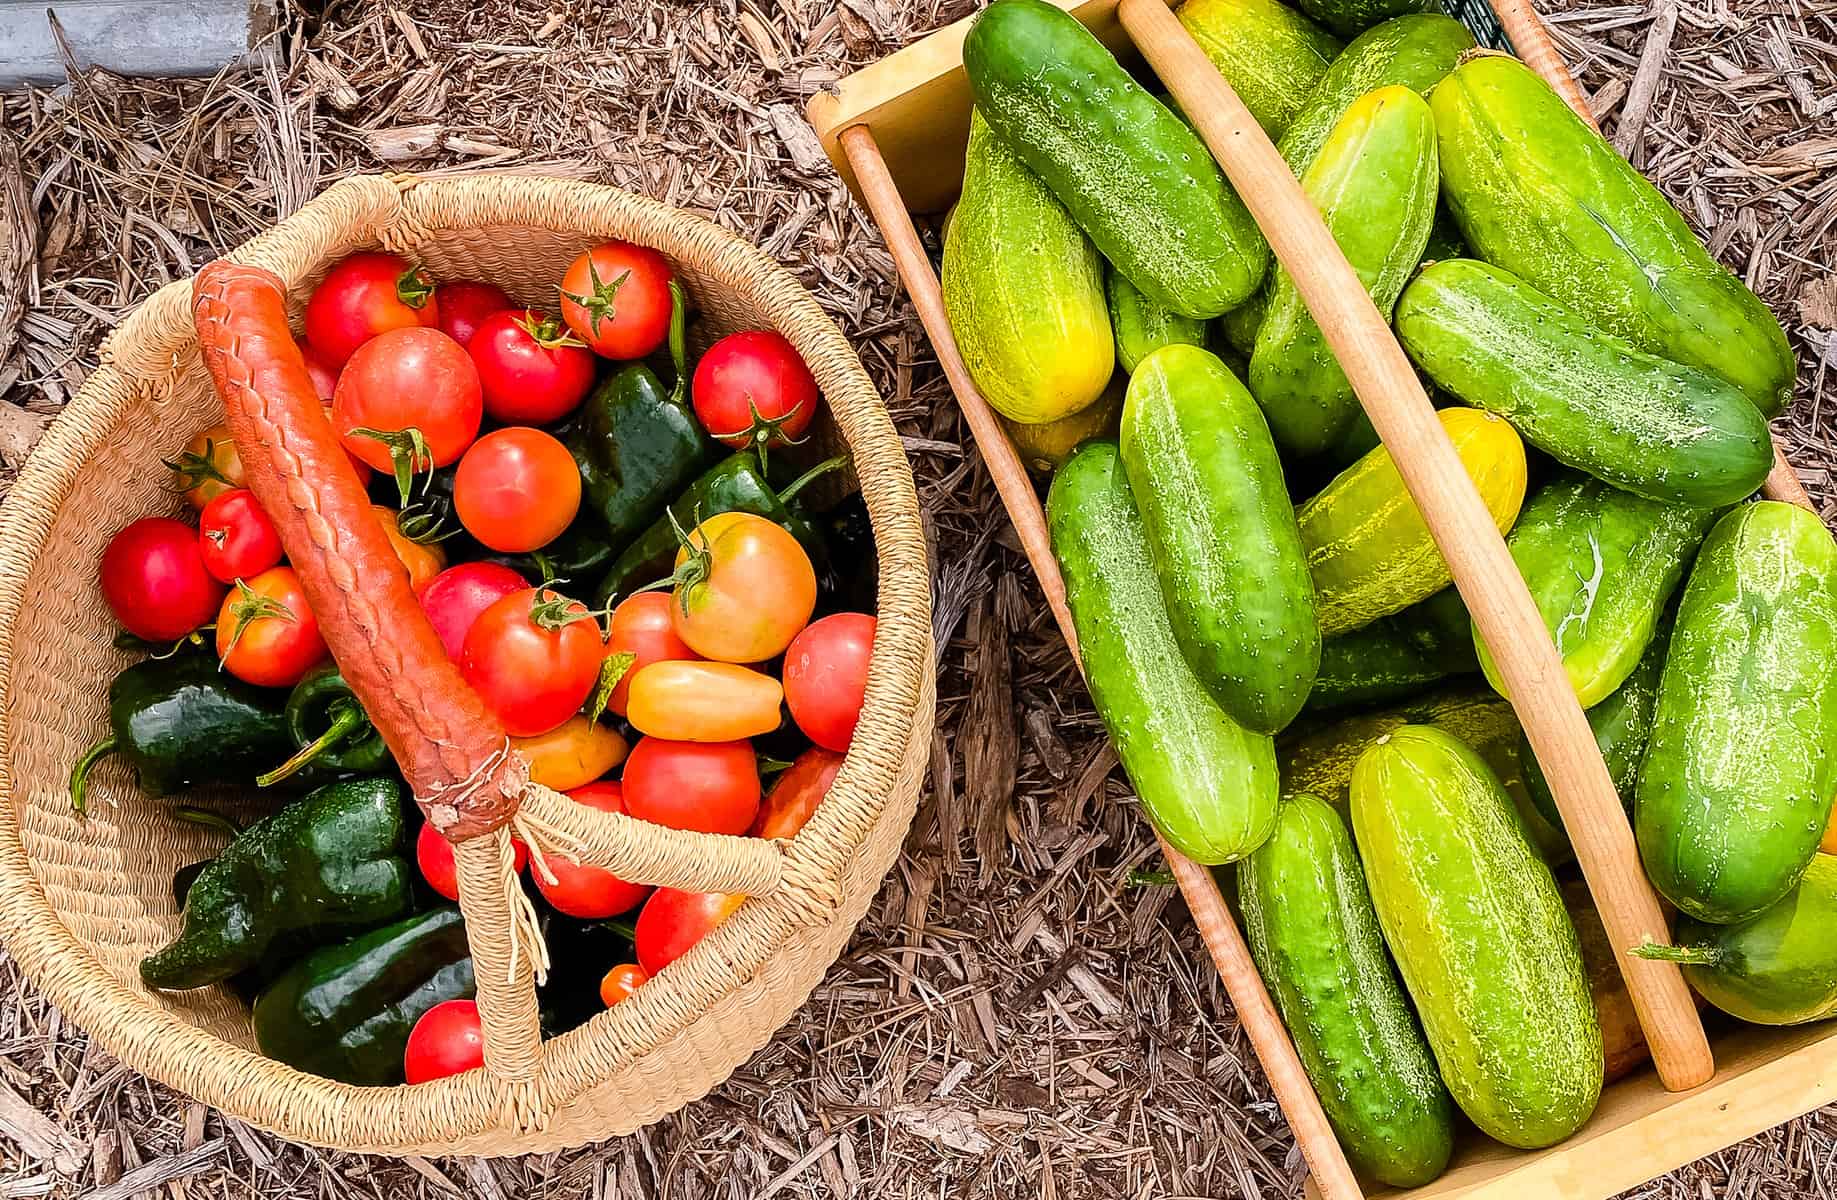
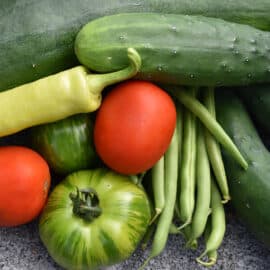
The cucumbers, beets, and tomatoes are rolling in, with the potatoes, onions, corn, and squash not far behind.
I have a love/hate relationship with this time of year.
I love it because it’s the pinnacle of what we’ve been working towards since early spring (HARVEST!), but holy moly… it can be overwhelming sometimes.
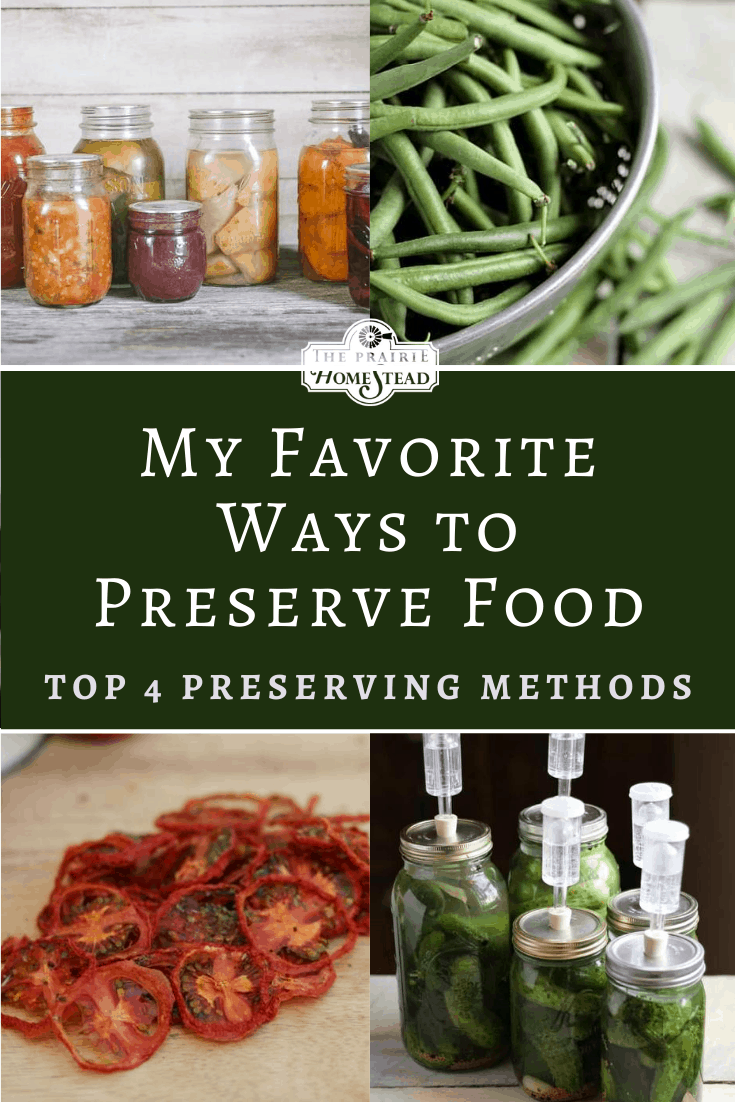
More than ever before, I feel like now is the time to have full pantries, cupboards, and larders to prepare for the upcoming winter. There are a lot of ways to preserve food, but I wanted to dive into my favorite preservation methods today.
How Do You Preserve Your Harvest?
I get that question a lot and there isn’t really an easy answer…
I use a variety of preservation methods, canning, freezing, dehydrating, and fermenting are definitely the ones I rely on the most. I also store food in the unfinished portion of my basement cellar, which sort of mimics a root cellar (check out these tips for other root cellar alternatives).
So if you’re wondering if you should freeze, dry, can, or ferment your harvest, we are going to be going through the pros and cons of each in this post.
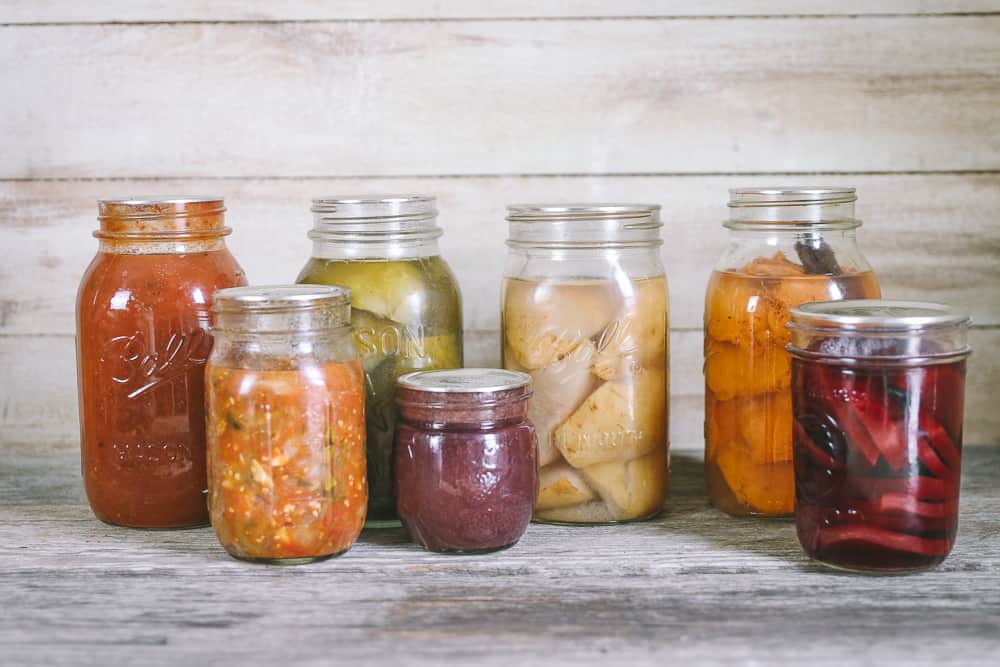
(1): Canning Food for Preservation
I have been drawn to canning since the beginning of my homesteading adventures. It reminds me of grandmas and old-time homesteaders canning foods for the winter and it’s the perfect symbol of an old-fashioned life that I love so very much.
However, I didn’t grow up in a family of expert canners. My mom occasionally canned food when I was younger, but since it didn’t involve horses, I didn’t care to pay attention. Go figure.
Therefore, when I learned how to can as an adult, I had to start from ground zero. But the good news? Even if you haven’t had someone personally show you the canning ropes, it’s entirely possible to learn on your own.
The Resource I Wish I Had When I Started
If you are a canning newbie, I just revamped my Canning Made Easy course and it’s ready for YOU! I’ll walk you through each step of the process (safety is my #1 priority!), so you can finally learn to can confidently, without the stress. CLICK HERE to have a look at the course and ALL the bonuses that come with it.
This is the information I wish I had when I first started canning– all of the recipes and safety information are double and triple-checked against tested and proved canning recipes and recommendations.
It’s the next best thing to you coming over to my house and canning right along with me. (Which would be a blast, wouldn’t it?!)
Canning Food Pros:
The number one reason that I love canning is because it’s so versatile. I love how shelf-stable it is and that no fridge or freezer space is required (which is hard to come by in our house).
I also love canning because it is actually preserves the nutrients in the food surprisingly well, which surprised me when I initially researched this topic for my canning course about nutrient loss.
For a long time, I assumed that canning destroyed all the nutrients in food. So I was pleasantly surprised to learn that while there is some nutrient loss at the beginning, the nutrient loss slows down due to the sealed jar and storing it in a dark, cool place.
In contrast, food that is frozen might retain more nutrients at first, but it quickly degrades and loses nutrients faster than with canning (source).
Canning Food Cons:
One of the biggest downfalls is that canning heats up your kitchen. And if you’re canning in the summer (and especially in an non-air-conditioned home), it’s gonna get even hotter. However, you can work around this issue by either canning in the evening or canning outside.
Another negative to canning is that canned food is not easily transportable. Filled glass jars are heavy and take up considerable space on a shelf. You’ll need some sort of dedicated pantry space to store your home-canned food.
Finally, canning can be messy and take some time in the kitchen. Fortunately, you can get around that a bit by prepping your space beforehand with your canning equipment (check out my no-stress canning tips for more ideas) and inviting friends to help with larger canning projects.
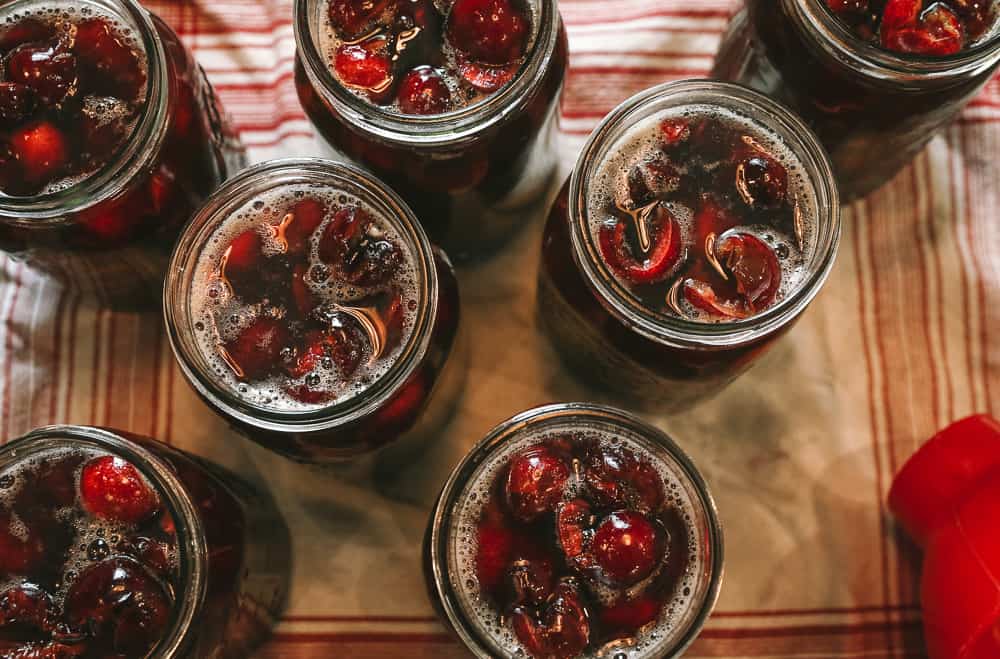
Canning Preserving Method: Final Thoughts
I personally love canning and it’s probably my favorite way to preserve food for our homestead. As long as you follow safe recipes to avoid botulism issues, canning is extremely rewarding There’s nothing like pulling a can of honey cinnamon peaches from the basement shelf and serving it in the dead of winter.
There’s a surge in canning interest at the moment, which is fabulous but also frustrating if you’re trying to hunt down jars or lids. Try to find used jars in thrift stores or online marketplaces (although you still need to buy new lids).
Try my favorite lids for canning, learn more about FOR JARS lids here: http://theprairiehomestead.com/forjars (use code PURPOSE10 for 10% off)
Check out these articles for more of my canning tips:
- Best Resources for Safe Canning
- How to Start Canning with Zero Special Equipment
- The Ultimate Guide to Canning Safety
- How to Can Tomatoes Safely at Home
- How to Use a Pressure Canner
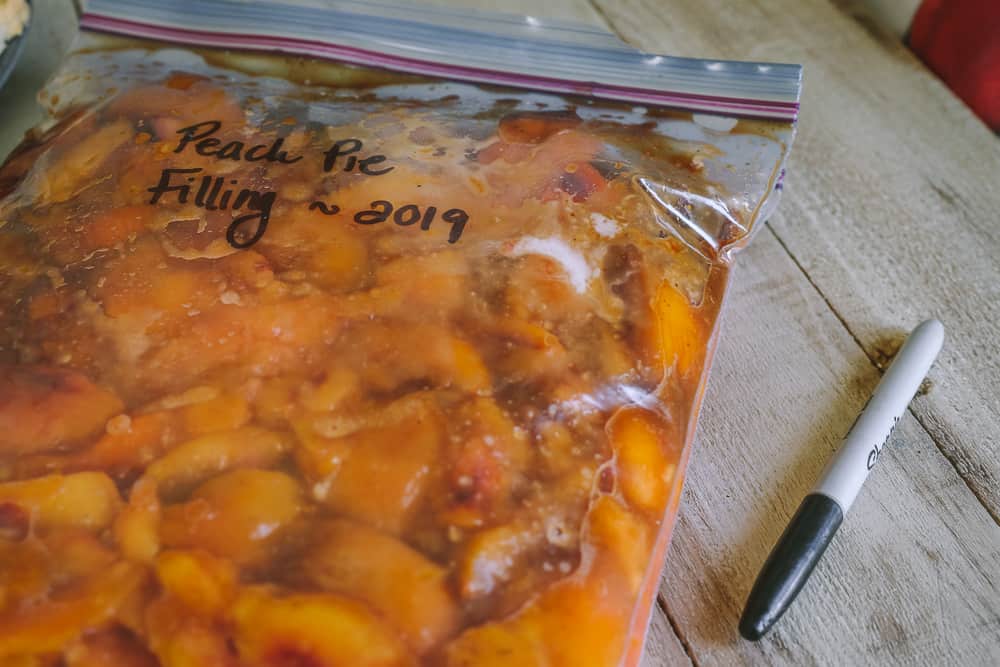
(2): Freezing Food for Preservation
Freezing is a popular way to preserve foods, which makes sense because most people have at least a small freezer attached to their refrigerator. We have 3-4 large freezers, but they are usually packed-full of our homegrown meats, so I personally don’t like using my precious freezer space for many fruits and vegetables (but I still do freeze some of them).
Freezing Food Pros:
Freezing is preferable to many folks because it’s very simple and many people enjoy the texture of frozen foods over canned foods. For example, I prefer the texture of frozen green beans over canned green beans. You might feel differently, but most people have texture preferences for particular foods whether they are canned or frozen.
People also like freezing food since it’s often slightly less labor-intensive than canning and requires less fuss. Oftentimes you can just chop up the produce, stick it in a bag or freeze-safe container, and you’re ready to roll.
Freezing Food Cons:
It might be easy to freeze most food, but some foods still need to be blanched before freezing in order to freeze well. Blanching is a technique that quickly immerses fresh foods in hot water or oil (usually followed by some sort of ice water bath).
The purpose of blanching is to slow down nutrient loss and maintain brighter colors. It’s not done for safety, but rather for texture and color.
Personally? Blanching annoys me and I avoid it whenever possible. It often feels monotonous and fussy… even though I know it does serve a purpose.
Another downfall of freezing is that you will see a decent amount of nutrient loss long-term. Eat frozen foods within 6 months to a year to avoid too much nutrient loss, which will be more substantial that long-term nutrient loss with canned foods.
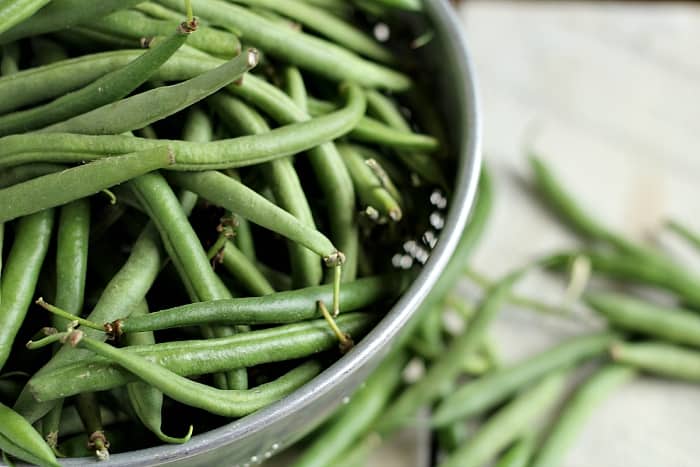
That other downside is the the freezer space. This is a big one for me because we stuff our freezers with our homegrown meat and just don’t have the space for frozen produce as well.
Finally, a major negative to freezing fruits and vegetables is that you are vulnerable to power outages. If you live in the middle of nowhere and/or deal with plenty of power outages, then freezing a lot of your food for preservation might not be for you. Consider getting a generator if you are worried about losing your food when you lose power.
Freezing Preserving Method: Final Thoughts
I mainly use my freezers for meat, but there are still a few other fruits and vegetables that I make space for in the freezer due to texture preferences or because it’s just so darn easy.
Here is a list of my favorite foods to freeze:
- How to Freeze Green Beans (our family favorite way to preserve beans for the winter)
- How to Freeze Tomatoes (when my tomatoes are trickling in and I’m saving them for canning tomato sauce, I freeze them for a while)
- Freezing Peach Pie Filling (I like to freeze pie fillings because you can use whatever thickeners you have on hand)
- Strawberry Freezer Jam (Sometimes I prefer to make freezer jams instead of canning them, it depends on my mood)
- Preserving Herbs in Oil (the perfect way to preserve the fresh taste and vibrant green of herbs is by freezing them with this method)
(3): Dehydrating Preservation Method
Of all the food preservation methods, I have the least experience with dehydrating. Although I have a true Cadillac of food dehydrators–I mean just look at how awesome my dehydrator is… 9 stainless steel trays yet a small footprint on my counter!
Dehydrating Food Pros:
The biggest benefit to food dehydrating is that the results are lightweight and easy to store. This makes dehydrated foods excellent for space saving and you don’t need a fridge or freezer.
A dehydrator is also great for drying herbs for the winter. While some herbs are easy to dry by hanging them upside down for a few weeks in little bundles (which also looks cute and handy as decoration in a homestead kitchen), other herbs don’t dry well unless you use a dehydrator. Personally, I think basil and sage dry better with a dehydrator than with the upside-down method.
Dehydrating Food Cons:
The biggest negative to dehydrating food is that many dried foods have the most nutrient loss of all the preserving methods (source).
Another negative is that it uses a lot of energy to dehydrate foods. If you’re trying to keep your electric bill low, dehydrating might not be a good choice for you, as it often takes 10-12 hours to completely dehydrate a food for storage.
Dehydrating Preserving Method: Final Thoughts
Honestly, many of my home-dried foods have been met with mixed reviews… I wasn’t impressed with my dried green peppers (they were so shriveled and tough they were impossible to use and I just fed them to the chickens). And try as I might, I just didn’t like the dried green beans that everyone raves about either.
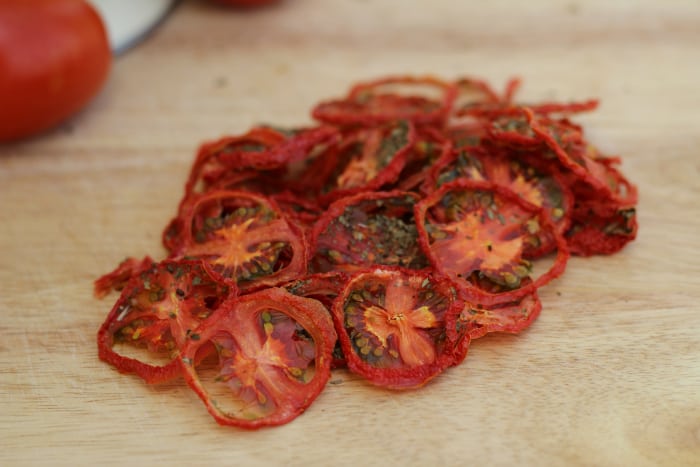
That being said, I do LOVE my dehydrator for making homemade jerky. I also use it to make a version of “sun-dried” tomatoes (here’s my recipe for drying tomatoes), which my kids beg for. I also make fruit leather and dried bananas, and, of course, I dry some herbs for the winter.
All in all, I do think dehydrating is a handy homestead preservation method, once you get in your groove.
(4): Fermenting Food for Preservation
And last but not least? Fermenting (lacto-fermentation). This is the way our ancestors preserved food before refrigeration and it was used long before canning was ever even considered.
Fermenting Food Pros:
The great thing about fermentation is that it is very safe, which comes as a surprise to many folks. After people hear me go on one of my botulism rants, they assume that leaving a jar of cabbage out on your counter for 10 days surely must be unwise, but the opposite is true: the salt and natural acids produced in the fermentation process make it incredibly safe.
It’s also super good for you, especially when it comes to your gut. There are many health experts that recommend that you eat some sort of fermented food every day, as it gives you a natural probiotic boost.
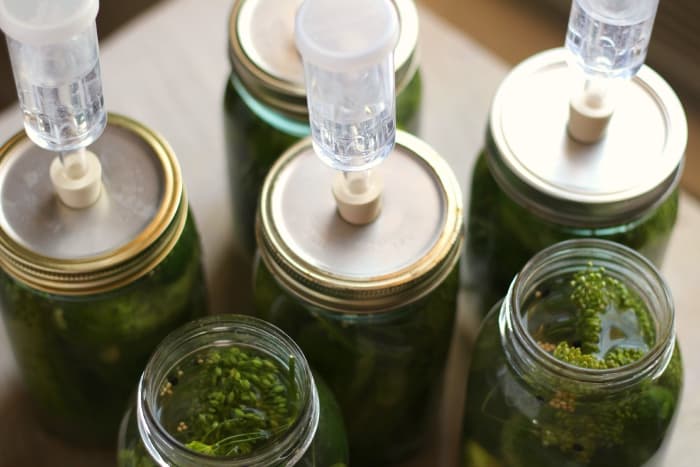
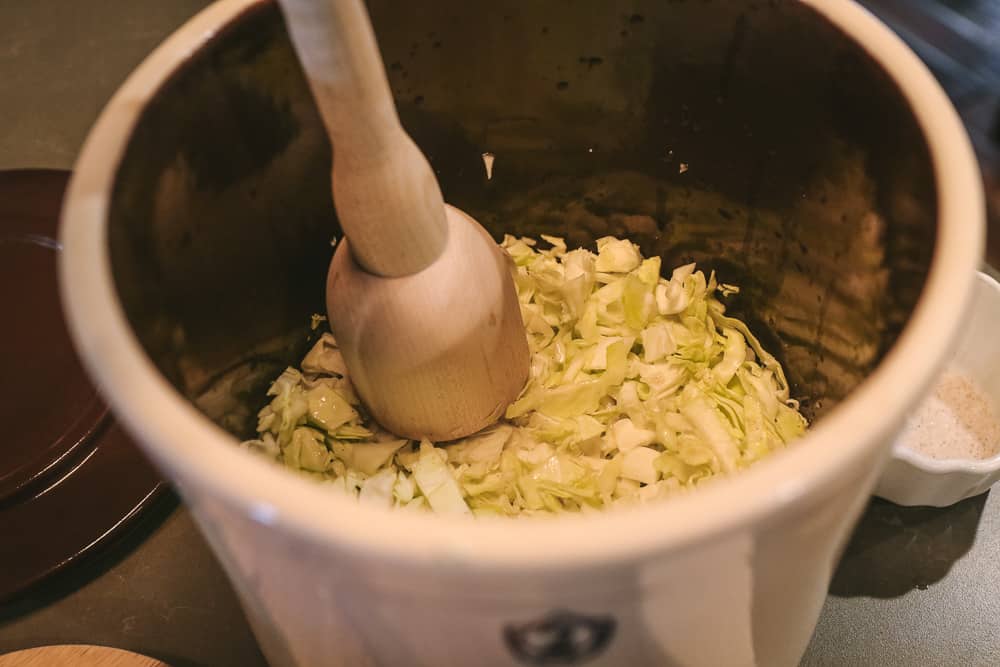
Fermentation is also awesome because you don’t need special equipment. Fermenting crocks are handy, and I love these fermenting springs, but you can absolutely ferment without special equipment if you’re just starting out. All you need is a mason jar, a lid, and something to weigh the food down. It’s super affordable, super safe, and super healthy.
Fermenting Food Cons:
A downside to fermentation is that it can be an acquired taste for some people. Fermented foods do have a tang to them, but my best advice? Don’t give up after the first taste. It can take a while to educate our taste buds around new flavors.
The best part about fermenting your own food is that you have absolute control over the sourness and flavor of the finished foods. Therefore, if you’ve tried store-bought ferments and didn’t like them, odds are you’ll have a different opinion about a ferment you created and controlled yourself. The difference can be considerable. For example, I don’t care for ultra-sour sauerkraut, so I simply ferment it for a shorter amount of time, and I prefer that taste much better.
Another consideration is that even though the food starts out on your counter, eventually, it will need to be transferred to cold storage at some point or it will keep fermenting and become extremely sour. Our ancestors used cold root cellars or larders to cool down and slow the fermenting process. You can use that type of cool room if you have it, or you just use your fridge.
Fermenting Preserving Method: Final Thoughts
I started out with my first fermenting adventure with sauerkraut many years ago, and I’ve been fascinated with it ever since. Every year, I like to try new fermenting recipes and I’ve fallen in love with my old-fashioned fermenting crock (read more about fermenting with crocks here).
Here is a list of my favorite fermenting recipes:
- How to Make Sauerkraut (I think we’ll always have a jar of fermenting sauerkraut in the kitchen, it’s SO good!)
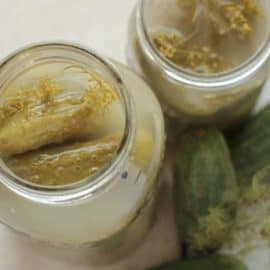
- Fermented Pickles Recipe (when I don’t have enough pickles for canning, I love fermenting them)
- Fermented Ketchup Recipe (SOOOO much better than the corn syrup junk from the store)
- How to Make Milk Kefir (The best part about kefir is that you can use it as a cheesemaking culture)
- Making Kombucha (I almost always have some kombucha brewing in the kitchen for a tasty alternative to soda)
My Final Thoughts on Preserving Food
The sky’s the limit when it comes to ways to preserve food, and preserving the harvest doesn’t have to be complicated.
And remember– even if you are just squirreling away a jar or two of food at a time, you’re still making progress. Preserving food doesn’t have to be an epic event every time, and the little efforts add up. Keep up the good work, friend.
More Heritage Kitchen Tips:
- My Canning Made Easy course will teach you how to start canning today, even if you are a newbie
- My Heritage Cooking Crash Course teaches you how to make from-scratch foods in the kitchen and enjoy it
- Learn history and cooking tips for Cooking with Salt
- Learn about Wheat Berries and Grinding Your Own Flour

You can use your tomato skins and make tomato powder, but I used some tomatoes, too. Dehydrate till good and dry. Grind in a herb grinder, a blender or a food processor. Store in a vacuum packed jar of bag. This can be used to make tomato sauce, paste, juice, or tomato soup. I’m not sure of the amounts, but you can find them on the net. So good!
A note on the fermenting. Found a recipe online for carrot and ginger. I’m going to try it this fall.
Try dehydrating pears. They make a wonderful snack!