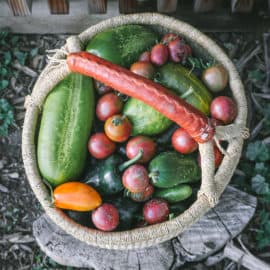
You’re going along in your garden weeding, watering and mulching, and then BAM! It happens… harvest time is here, and it tends to come in like a whirlwind of chaos, especially if you’re not ready.
I’ve been gardening for over 10 years now, and I STILL deal with some “harvest overwhelm” every late summer and early fall. So I thought I would put together some thoughts on how to get organized and prepared for harvest season, not only to prepare you but also to help encourage myself.
Read on to learn about the strategies you can use to make sure harvest time doesn’t drown you in vegetables, especially in these recent years when canning lids are scarce. There are plenty of other great ways to preserve the harvest, so I’ll cover that as well.
Prefer to listen to a podcast instead of reading articles? Check out this harvest info in my podcast episode below:
Planning for Harvest Time
Harvest time tends to be the piece of gardening that no one talks about, which I think is a bit silly. As gardeners, we obviously know that it is coming (I mean this is why we are growing a garden, right)? We are not just sowing seeds for the simple pleasure that comes from planting seeds; we are planting them to get a harvest.
Harvest time is formidable, if you have a garden of any size, and it will sometimes catch you off-guard. You kind of forget the vegetables are coming. I know it sounds silly, but it at least happens to me over and over again.
Has this ever been something you’ve dealt with?
During harvest time, I am thinking about back-to-school, fair, and 4-H, and then suddenly there are 80 million pounds of tomatoes on the counter that I have to do something with.
Tip #1: Get Organized
My first recommendation for harvest time is to mark it on your calendar or planner. Make a note on the month your harvest usually starts; write something like “hey don’t forget you’re going to have 80 million pounds of tomatoes to deal with.” Remember that you will have to address the situation in the middle of back to school and everything else.
Harvest seasons can vary, and mine (here in Wyoming) is pushed out a little further than others, but for a lot of folks, August is the month that preservation and harvesting begins to get a bit crazy.
I will still sometimes be canning tomatoes in October, not because they’re out in the garden but because I pulled green tomatoes from the garden (I usually have to ripen green tomatoes indoors before canning them). They are ripening in boxes in my house until October. From August to October, I have to start thinking about what to do with all of the vegetables, including the Cucumbers, greens, squash, and tomatoes.
Tip #2: Plan Your Harvests Around Your Schedule (as best as possible)
The second thing I would recommend is to be careful if you plan to go on vacation during harvest. I wouldn’t cancel, but take into consideration that it could really squish some of your harvest efforts. For example, I had a reoccurring trip every September for many years and, without fail, there would be a crop in the garden that had to be dealt with the day I was leaving for the trip.
Trips and vacations during harvest time are doable but you have to make sure you have your vegetables preserved before you get in the car or on the airplane. There have been many times where I am up the night before I leave for a trip and I’m frantically canning, freezing, or dehydrating something so it doesn’t get rotten.
This is the nature of homesteading, so it’s not necessarily a bad thing, but it is something to be aware of. And if it is at all possible, when it’s planting season in the spring, try to schedule the harvest times around your planned August/September/etc. vacations and/or plans. Many seed companies (like my fave True Leaf Market) often include info on the seed packets about the “days to maturity”, so you can look at your calendar and try to schedule when to plant your veggies so that the time they are ready to harvest doesn’t mess with your vacation plans too badly.
Of course, the planting dates will also need to be figured out in balance with your garden zone info (read about garden zones and other beginner gardening tips here). Here in Wyoming, our growing season is super short, so I can’t play around with the planting dates as much as some of the more milder garden zones can.
Preserving any amount of food for later is going to take some effort, and you can really enjoy the process if you plan ahead. And even as you try to balance the chaos of harvest season and do as much preplanning as possible, try to remember that this really is a good thing. This is where the magic is happening: you are stocking the pantries and tucking food away for later, and this is going to take some effort.
What to Watch Out For During Harvest Time
I would like to start by saying “watch the sneaky vegetables!”
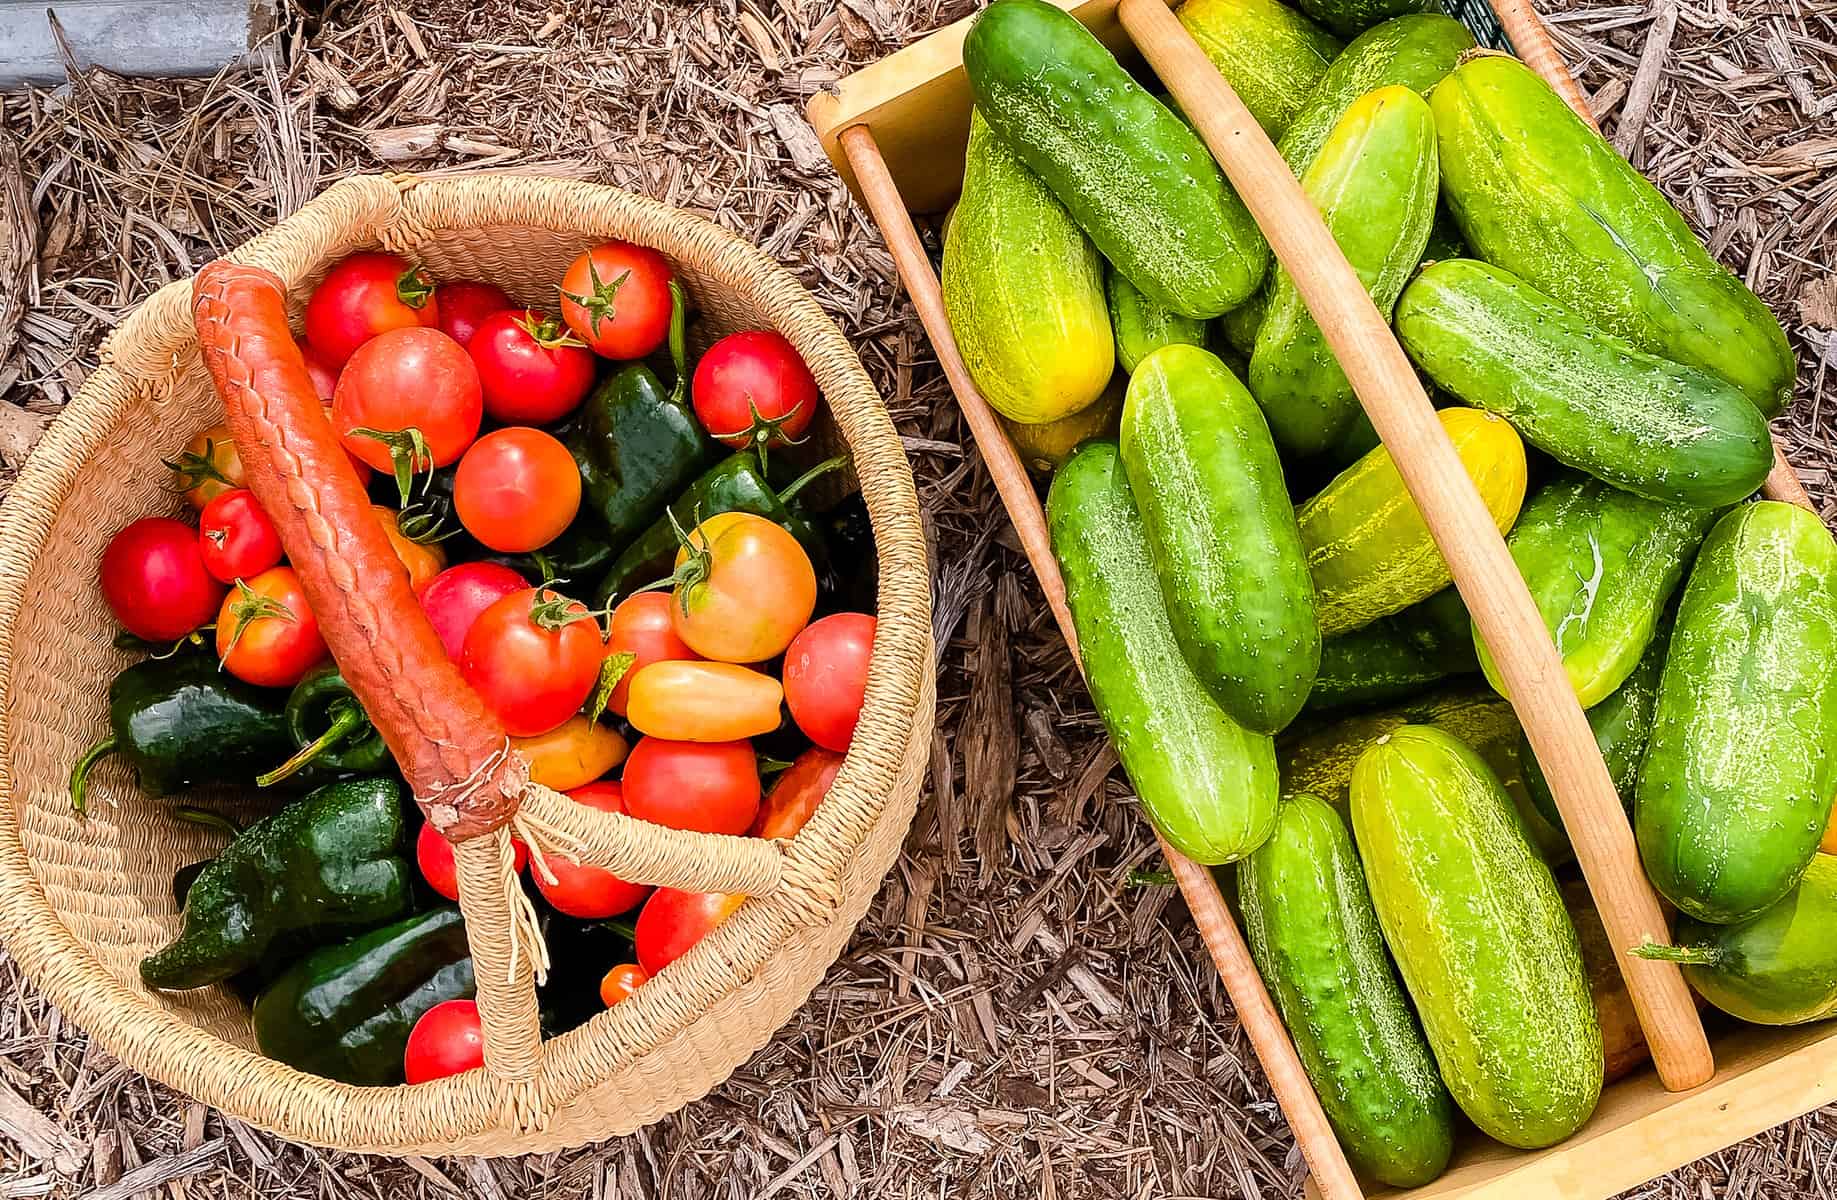
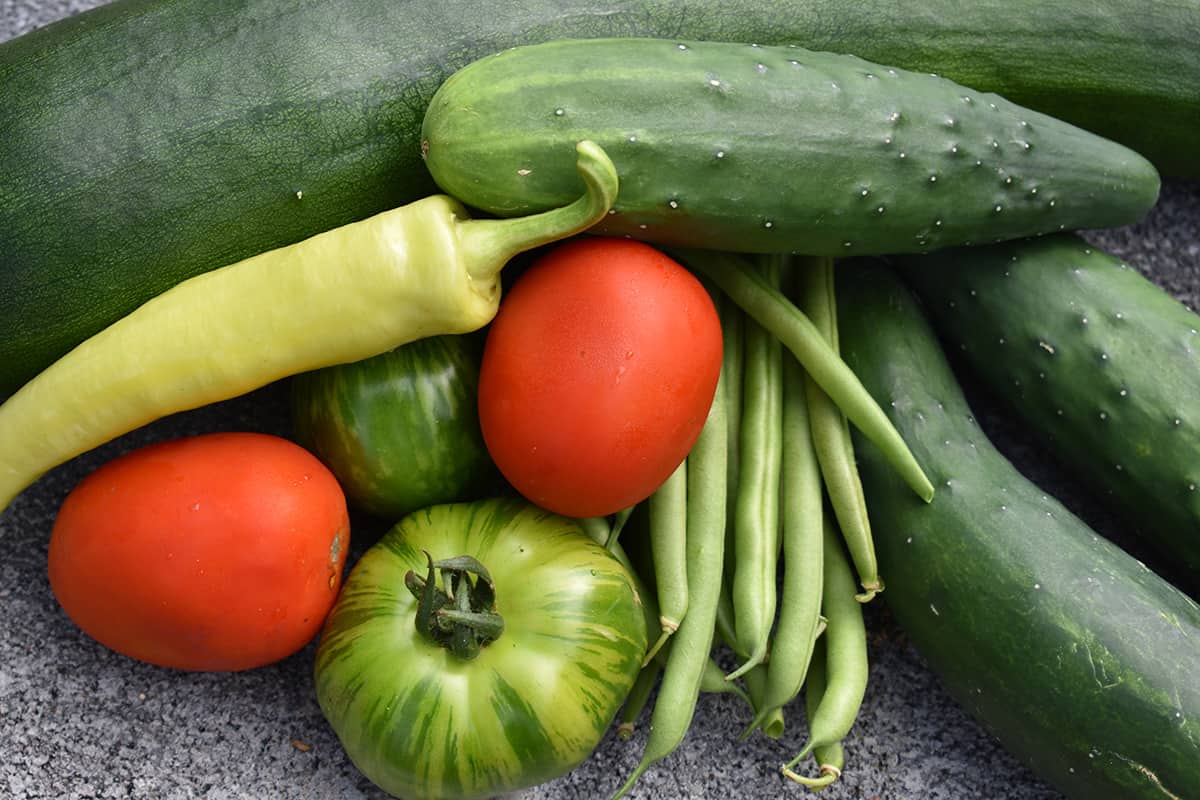
You will be out in the garden watering and weeding, then somehow you wake up to find there are a hundred baseball bat cucumbers hiding under the leaves. You thought they hadn’t started growing yet and sure enough there they are.
They have been growing on stealth mode, now you’re stuck with a hundred giant cucumbers, they are no good for pickles and your kids are tired of eating them with ranch dressing. You are now left trying to figure out what to do with them… seriously, this has happened to me countless times. Fortunately, I have a great Dill Pickle Relish Recipe that I use when the cucumbers have snuck up on me.
Cucumbers are the worst sneaky vegetables; although green beans will do it to you, too. To avoid this, look at the back of your seed packet because it will tell you how many days till harvest. Count out the number of days, add a note in your planner that says when the Cucumbers and beans may be ready and when to start checking them.
Other plants to watch are your greens, arugula, and spinach; chard isn’t so bad but lettuce matures really fast and it’ll probably be one of the first things you get to eat. If you miss the window, then it’s all over; once they start to go to seed, the taste gets bitter.
TIP: Keep in mind that most vegetables have the best taste and texture when they’re on the younger side. So put a note in your planner to start looking for harvestable veggies a tiny bit earlier than the seed package suggests.
When you let the zucchini get giant, or the cucumbers turn into baseball bats or when you let the beets get volleyball size, they’re not going to be as good to eat. Plan on getting some of those plants out of the ground sooner versus later.
And if you DO end up with those large overgrown vegetables, one option you could do is start saving seeds. If you are a brand-new gardener, this may be a little bit of a stretch your very first year (not that you couldn’t seed save, but it’s just one more thing for you to think about).
If you are going to save seeds, please realize that the plants need to be completely mature before you’re able to harvest the seeds. For example, kale and lettuces will have to completely bolt and start giving you seed heads, and that means that the entire plant won’t be good to harvest for edible leaves. So you will need to try and balance what vegetable plants to use for seed saving and what ones you keep and harvest while they are young.
Strategies to Manage Your Garden Harvest Now
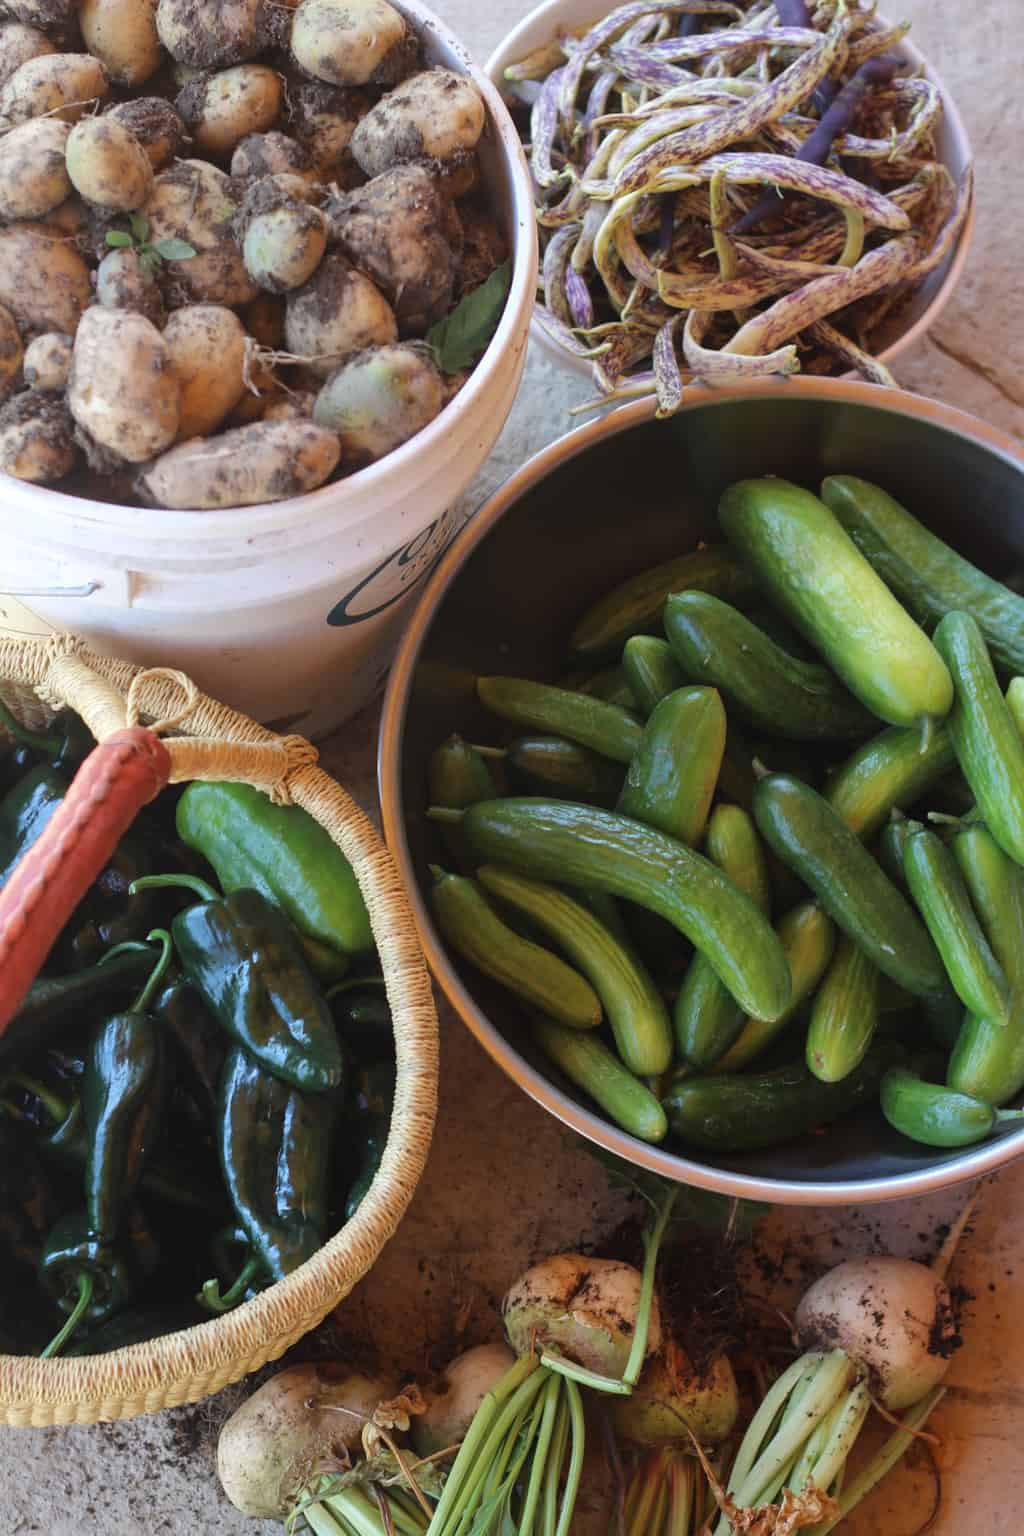
When my kitchen counters are overflowing with garden bounty, this can honestly be pretty stressful for me. I don’t like clutter and chaos. I don’t like it in my garden and I don’t like it in my kitchen. So I try really hard to have some strategies on hand to use my harvest ASAP so that my kitchen counters stay relatively clear.
Strategy #1: Use Your Harvest to Plan Your Menus
I know there are always some vegetables you are probably planning to simply preserve, but some others are harder to preserve and should probably be eaten fresh. One of the things I like to do is craft my menus around the garden. I will go pick whatever is out in the garden, like beets, summer squash, and beans and bring them in the house, and then I simply google ways to use them in the menu for the week.
Create a menu based on what’s in the garden, rather than crafting your menu first and considering the produce later. This is one way that will help you use what you can’t preserve from your garden.
Strategy #2: Quick Pickle Your Small Harvests
Quick pickling is another strategy I like to use if I want to preserve something but I don’t have enough to make a big batch in the canner. I have a technique that basically is a refrigerator pickle or veggie, and you can just do a jar at a time in your fridge.
No heating the kitchen up is required, and it lets you preserve some of the stuff that is coming from the garden handfuls at a time. Use my quick pickle method to get those vegetables off your counter and you can use these as you go. I love to use the quick pickle technique for the small harvests like carrots and beans.
Managing Your Garden Harvest Time with Preservation
Recently, there has been a canning lid shortage and I have had a lot of concerned comments and emails coming through from people claiming that they aren’t sure if they should even plant a garden since canning equipment has been scarce. Before you panic, start by checking out my post on How to Can without Special Equipment, so that you can rest assured that canning is still probably possible for you, even in these crazy times where canning equipment is harder to find.
Canning Supply Concerns:
Jars
First, if you are set on canning and you need supplies, I have had the best luck looking at local stores for jars. Buying jars online has been iffy for me, which is actually just fine, because I would rather buy local anyway. These smaller stores don’t have a huge supply, but I have seen several of these stores with a few flats of canning jars available.
For good online sources, while you might have to keep checking their websites for availability, both Lehman’s and a Mason Jars website often have a good selection of jars, lids, and other canning equipment available.
Another great place to look for jars is garage sale groups, like craigslist or Facebook marketplace. I once traded beef for about 200 mason jars. It was awesome, and I’m pretty much set on jars now for a very long time.
Lids
Lids are going to be a little trickier than finding jars. I have seen a couple of places online (like Amazon) where they have lids, but they make me a little nervous. If you read the descriptions, it looks like they’re coming from overseas somewhere, and I don’t know the quality of those lids. I’ve also seen some with bad reviews saying that they are knock-offs and that they don’t work, so buyer beware.
I know some other homesteaders who have had some luck with getting lids from Uline.com. They are a generic brand (aka not Ball brand), but they seem to have decent reviews so far.
Reusable Lids
Reusable canning lids are another option, and it’s nice because you don’t have to use one-time only metal lids anymore. Reusable lids are plastic lids with a rubber gasket.
I have tried these many years ago and out of desperation, I decided that I was going to try them again. Harvest Guard makes the reusable lids that I have been using and I have been happy with them. I recorded a youtube video here to show you the learning process of using them for the first time.
Reusable lids are great because there is less waste and you just keep reusing them as you go.
How to Preserve Your Harvest Without Canning
If the worst-case scenario has happened and you have zero jars and zero lids, the good news is there are a number of ways you can preserve your harvest and have it still be good beyond canning. You have options, and I am going to share a few of those with their pros and cons below.
Option #1: Freezing
Freezing I think gives a superior texture to certain vegetables. For example, I like frozen green beans better than canned green beans. Other than beans, though, I personally do not freeze a ton of produce because I would rather use our freezer space for meat.
Pros of Using the Freezing Preserving Method:
- Using a freezer is easy. No special equipment needed, just your vegetables and what you use to store your frozen food (freezer bags, etc.).
- You don’t have to heat up your kitchen. There is no hours of using the stove like when canning, though you may need to blanch some vegetables.
- The texture of your vegetables is usually better.
Cons of Using the Freezing Method:
- You will see a decent amount of nutrient-loss long term. Frozen Foods need to be eaten within about 6 months up to a year to avoid major nutrient loss.
- You may need to blanch certain vegetables. I hate blanching. I don’t know why, because I will can all day long but blanching irritates me. Blanching is a step where you dunk the vegetables in hot water for a couple minutes and then you immediately remove them and dump them in cold water. It can slow down nutrient loss and it keeps the colors of the food a little bit brighter. It is not a safety thing, so you can skip it without putting yourself in danger, but it does help with the texture of the food.
- You need electricity for this preservation method and if there is a power outage, your frozen harvest is put in jeopardy.
My Favorite Freezer Foods:
- How to Freeze Tomatoes (I love freezing tomatoes until I have enough time and tomatoes to can tomato sauce for the year)
- How to Freeze Beans (This is my one of my favorite ways to preserve beans)
- Peach Pie Filling for the Freezer (I LOVE having this peach pie filling available for quick and easy pies during the winter)
- No-Cook Strawberry Freezer Jam recipe (I love having a quick and easy freezer jam recipe for those times when I’m too lazy/busy to can my jams)
Option #2: Dehydration
I personally have an Excalibur food dehydrator now, but for many years, I had the Harvest dehydrator. They both work well at dehydrating foods.
Pros of Using the Dehydration Method:
- The dehydrated food is very lightweight.
- They do not take up a lot of space.
- The dehydrated food is easy to store.
- You do not need a fridge or freezer.
- You don’t need power (after dehydrating the food), so a power outage won’t be a problem.
- Bonus: Using a dehydrator is also a really good way to dry herbs.
Cons of Using the Dehydration Method:
- Dehydrating, depending on the food, can have the most nutrient loss of all the preservation methods.
- With dehydrated food, there are a lot of recipes out there for things where you dehydrate and reconstitute with water, and sometimes the texture isn’t great.
- Dehydrated food after rehydration isn’t as good as fresh or other preserved foods.
There are certain things that I love in the dehydrator like jerky, pears, and apples. Tomatoes are another, I have a home sun-dried tomato recipe that I make that is great if you have just a few Tomatoes at a time.
Option #3: Fermentation
Fermentation is a little more like homesteading level 102 vs 101; it’s not hard but it’s definitely not the first thing people will go to for preservation. It’s fantastic though, because it’s one of the oldest forms of preserving food for later.
Using this method can be a little scary because there are weird bubbling noises and smells, so many people wonder if it is safe to eat. The truth is that due to the salt brine, it is one of the safest ways to preserve your food. You do not have the same concerns as botulism as you do canning.
Pros For Using the Fermentation:
- The result is very safe to eat.
- Fermentation is very good for nutritional purposes.
- The natural bacteria created is very good for your gut.
- It does not need special equipment; though you can get a fermenting crock like your great-grandma had, or you can get airlock lids. Technically, though, you can ferment just using a mason jar with a lid. I have fermented for years with extremely simple equipment. You basically just need vegetables, salt, and a glass jar and that’s pretty much it.
Cons of Fermentation:
- It can be an acquired taste. Fermented foods are a little more polarizing: you either love the fermented food or you hate it. These foods do have a little bit of a tang to them, but my best advice is don’t give up after the very first taste. You will have to kind of teach our taste buds sometimes to learn to like these foods give yourself a little time.
- Your fermented foods will need some sort of cold storage. You do put it on your counter for a couple of weeks but when it’s done it needs to be in a cool place like the refrigerator or a root cellar to maintain it. If you leave it in a warm place it will continue to ferment into oblivion. This isn’t a problem if you have just a few jars but 50 jars of sauerkraut are going to need a whole separate fridge to hold them just something to consider.
My Favorite Fermented Food Recipes:
- How to Make Sauerkraut (We love sauerkraut so much, I doubt we’ll ever go long without a batch being fermented)
- Fermented Green Beans (This is a great way to use smaller batches of green beans from the garden)
- Old-Fashioned Fermented Pickles (This is my FAVE way to get crispy pickles)
Option #4: Root Cellar
The last option is using a good old-fashioned root cellar. I realize, though, that many of you probably do not have a root cellar. The old-time homesteaders and farmers stored tons of food using a cool place in the dirt. This will not work for tomatoes and cucumbers and beans, but it is great for potatoes, onions, garlic, squash, and cabbages.
If you don’t have an actual Root Cellar, then you can always find a cool or unheated portion of your house like a basement, crawl space, or garage. These spaces will need to be safe from mice, rats and will not freeze. You will need your root cellar-type storage to be cool, around 40 or 50 degrees Fahrenheit, but also not somewhere that freezes (cool storage food that gets frozen will probably start to spoil).
Awesome homesteading people have figured out how to dig holes in the ground and cover them with bales or straw and this can be a fantastic alternative on a smaller scale. I am not a pro on this alternative to root cellars, but this might be worth looking into if you are concerned about canning limitations.
I currently use my basement to store food (someday I hope to have a root cellar!). Here’s a video on how I store over 200 pounds of potatoes every year even though I don’t have a root cellar.
Are You Ready to Manage Harvest Time?
Plan on harvest being a little bit of chaos, but if you have a strategy of how you’re going to handle it, it can be a bit more manageable. My best tip is to be sure to have it worked into your schedule and your planner. Realize that harvest time can be both stressful and exciting, and try to be easy on yourself as you try to find the balance as best you can during the fall season. We can do this, folks!
Still feeling overwhelmed? Check out my article on Homesteading When You Feel Overwhelmed for more tips and strategies!
More Preserving Tips:

Leave a Comment