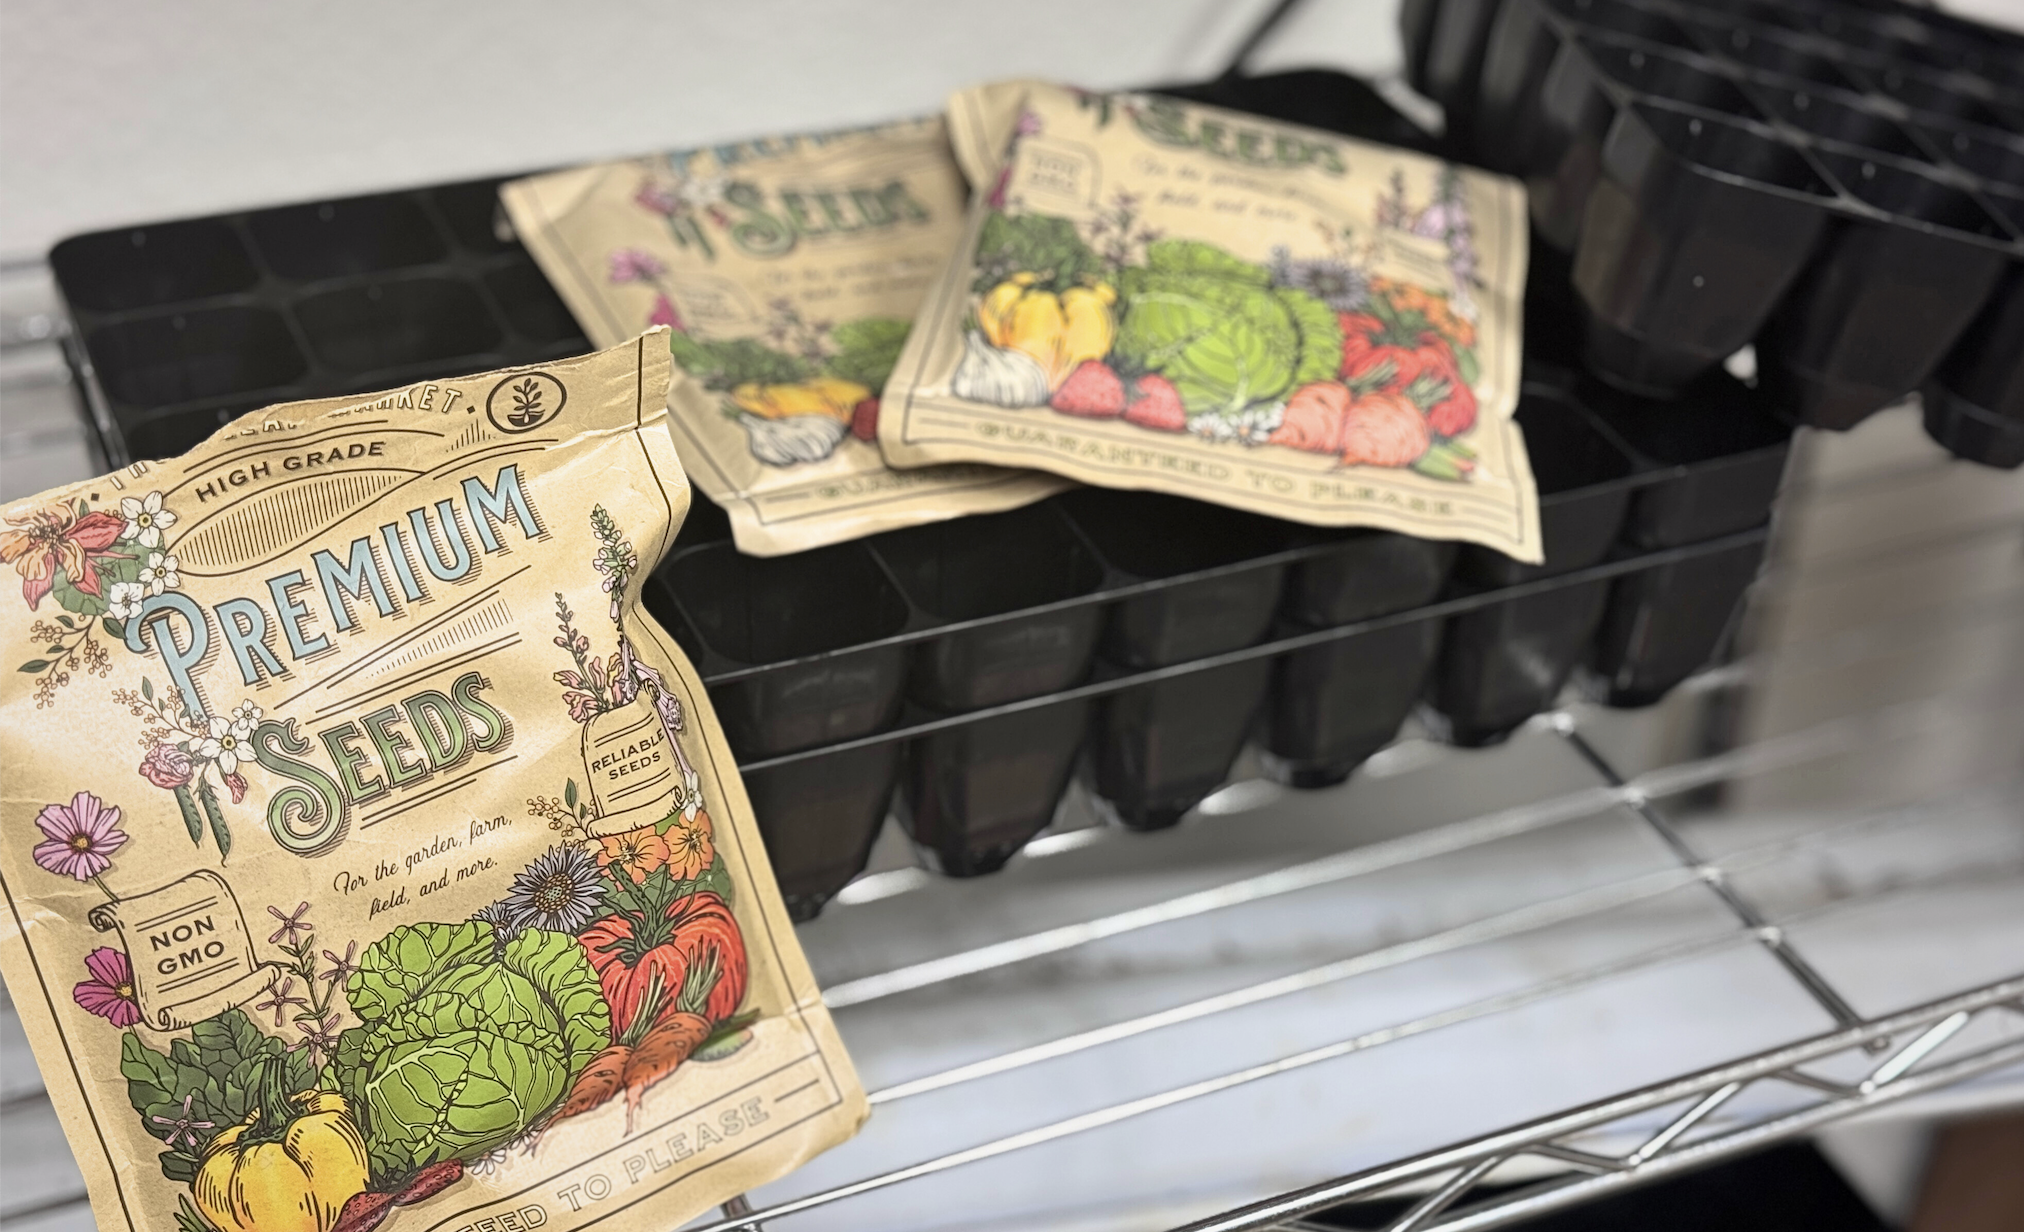
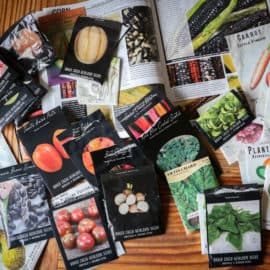
I paused as I dumped the mound of seed packets and tiny baggies on the table.
I felt it.
Finally.
2023 was intense. As the year drew to a close, I was feeling burned out with basically everything:
Cooking… writing… working… people… and yes, even gardening.
As I put the gardens to bed last fall, I breathed a heavy sigh of relief.
“It’s over.”
I closed the cedar gate and didn’t look back. As winter took hold and the temps plummeted, a frightening thought frequented my mind… “What if it doesn’t come back?” “What if my passion for growing food is gone for good?”
But the spark rekindled that day at the kitchen table as I sorted through cheery packets of tomatoes, collards, and pickling cucumbers.
And once again, I’m craving dirt-encrusted fingers, the heady scent of wet soil, and the ache of well-used muscles after a day spent cultivating.
It’s too early to start seedlings for my main garden (we’re Zone 5b), but our greenhouse gives me a chance play with earlier plantings.
So it’s happening this week.
I’m pulling out the seed trays, cleaning off my racks, and firing up the lights. Let the games begin.
A lot of people express frustration in starting seeds.
”They aren’t growing and I don’t know why?!” is the most common refrain, followed by, “They started off fine, then mysteriously died…”
If that’s been your experience, you’re certainly not alone.
A few weeks ago I interviewed Shawn from All About the Garden on my podcast. He knows more about starting seeds than anyone I know, and he gave me a TON of ideas to chew on.
Listen to our conversation for the full scoop, but here are a few of the most important highlights:
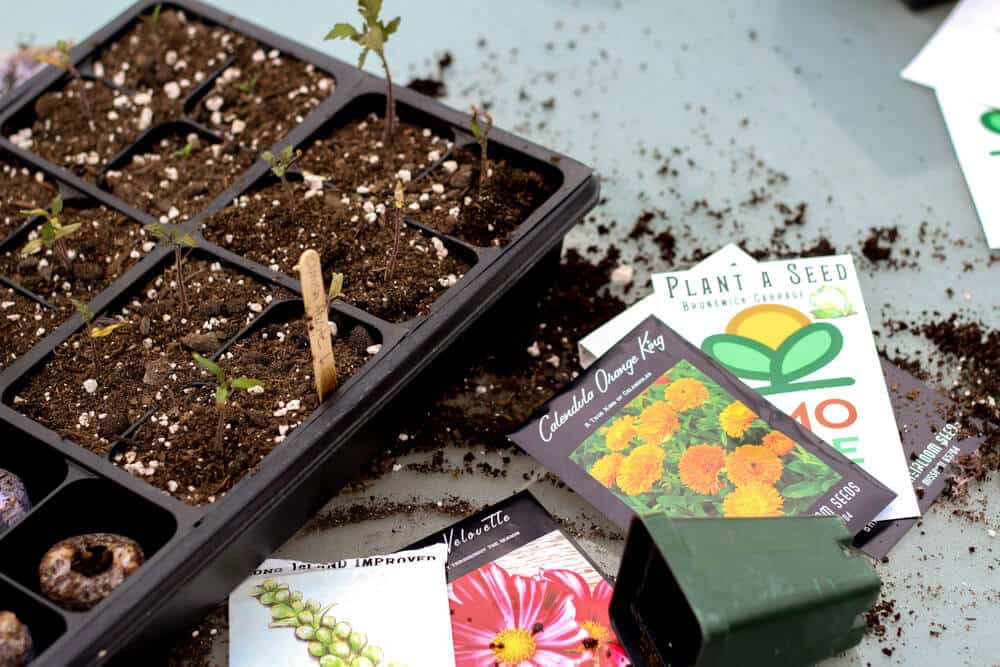
The 5 Biggest Seed-Starting Mistakes
1. Potting Mix Matters (especially in recent years)
Shawn prefers seed starting mixes, since they are finer in texture than regular potting mixes. (He recommends Jiffy Organic Seed Starting Mix.) In the past I’ve started my seeds in regular potting mix with one caveat: INVEST IN A QUALITY MIX.
In recent years, cheaper potting soil mixes have been causing major issues for gardeners (Two years ago, I lost hundreds of dollars worth of seedlings due to this. Read that sad story here.)
Fox Farm has always been good for me and many people stand by Pro Mix potting soil.
2. Keep ‘Em Cozy
In order to germinate, seeds need warmth AND moisture. Consistency is key with both of these factors.
Shawn recommends using warming mats under the seed trays. In the past, I’ve used a small space heater in my chilly basement storage room, but I plan to switch to mats this year. I think mats will be more cost-effective than running a heater around the clock. (I’m going to try these Vivosun ones.) Shoot for a temp of 75-90* for optimal germination. (Some seeds will sprout at cooler temps, but for the majority, warmer is better.)
3. Drying Out = Death
Shawn prefers to water from the bottom (he did a great job of explaining why on the podcast). It’s OK for the top of the soil to be dry, but it should never dry out on the bottom. Watering from the bottom also encourages better root formation. (Remember that seedlings can also die from drowning so never let them sit in standing water.)
4. Light Really, Really Matters
This one that trips up many homesteaders. While starting seedlings in a south-facing window is a nice thought, it’s rarely provides enough light to get the job done. Full-spectrum LED lights are a worthy investment that will pay dividends year after year. You can see my baker’s rack/shop light set-up in this post. I drop my lights close to the seedlings (4-6 inches from the tops of the plants) when they are first sprouting, then raise the lights as the plants grow.
Aim for 16-18 hours of light per day for seedlings (larger plants only need about 12). Shawn recommends 20-40 watts per square foot. So a 4 foot space would need an 80 watt light.
5. Skip the Egg Cartons and Yogurt Cups
I know… I’m breaking some hearts here. While I appreciate the desire to recycle and reuse, seed starting trays are one area where it makes sense to invest a little cash. I initially found Shawn and his wife for this exact reason. I was tired of cheap, plastic trays and cups that ended up in the landfill each year. Shawn’s trays are sturdy, engineered for optimal root development, and will last for YEARS. They are very rigid, which also reduces transplant shock. This is my 2nd year using these trays and I’m hooked.
Check out Shawn’s trays (the 40-cell trays are my favorite) here.
Final Thoughts on Seed Starting…
I’m not afraid to admit that I learn more and more about seed starting and how to care for little seedlings every year. I love that gardening teaches me new things all the time (as I’ve said before, I embrace and celebrate failure).
If you need more assistance with seed starting, check out my other posts and resources:
- My Top Hacks for Saving Cash When You Start Your Seeds (video)
- How to Disinfect Seed Trays
- How to Organize Your Garden Seed Collection
- Why You Should Grow Heirloom Seeds
- Simple DIY Seed Starting System
- A Simple Seed Starting Guide
- How to Test Seeds for Viability
Whether you’ve already planted your rows, or are still dreaming of possibilities, I hope your garden passion is being rekindled as well.
Planting New Seeds,
-Jill
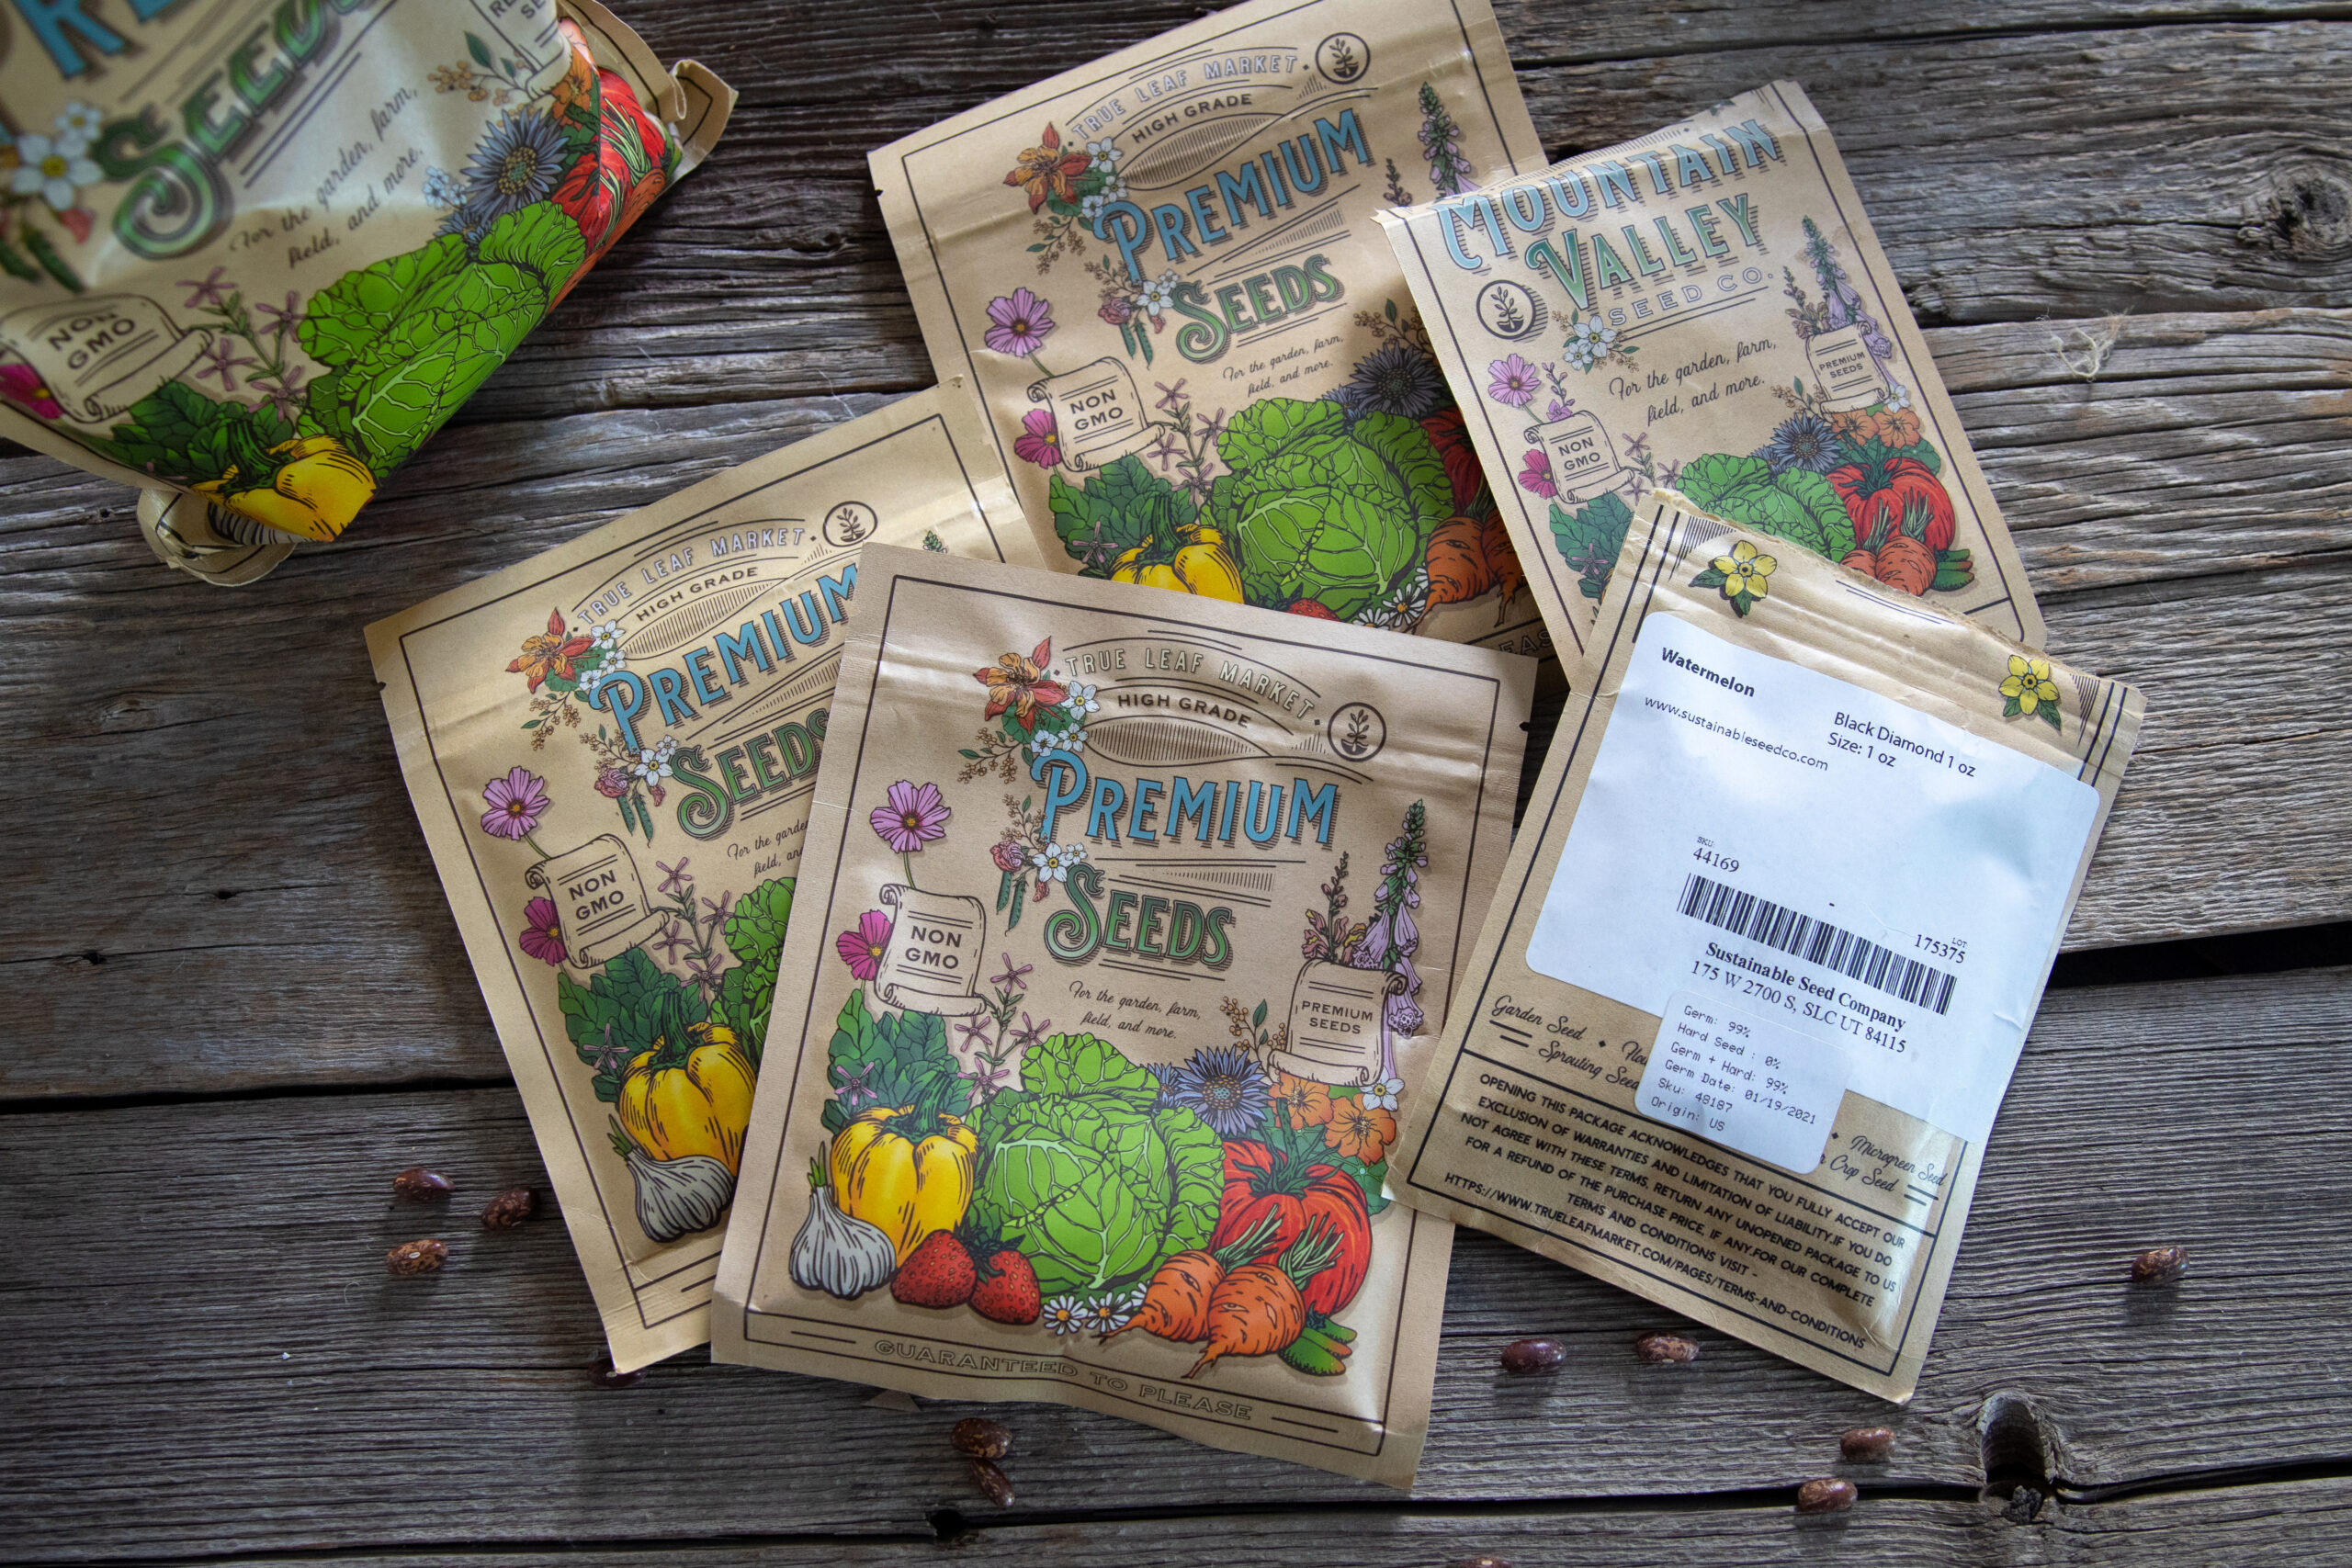
P.S. I mentioned them an email or two ago, but in case you missed it: my favorite seed company (heirloom, organic, open-pollinated, of course) is True Leaf Market. Good prices, excellent selection, and fast shipping. What more could you ask for?


Leave a Comment