The air was so brisk this morning, I promptly went back inside and changed from shorts into jeans.
And so it begins…
Summer is rapidly fading and I’ve got to face the facts: it’s time to prepare the garden for winter.
Honestly, this year my garden seemed to miss the memo altogether that it was summer, with still-green tomatoes and very few crops in sight come August. Mind you, a summer hail storm probably had something to do with my gardening woes; but that’s just par for the course while gardening in a cold climate.
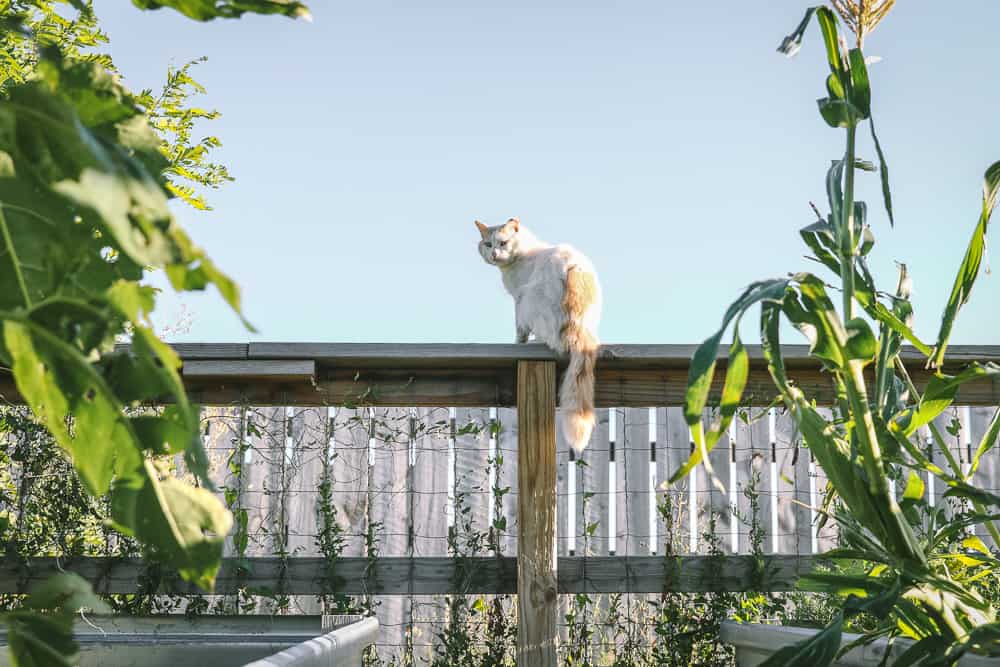
So here we are in the last precious days of summer. The garlic has been harvested, I’m digging up potatoes and storing them for winter, and we’re enjoying a handful of beets and beans for supper here and there. Some years, I’ve been interested in experimenting with a fall garden of vegetables, but other times, by September, I’m frankly tired of the gardening season and it’s time to put the garden to rest for the year (if you’re interested in starting a fall garden this year, check out my article on how to plan a fall garden for some great tips).
While it’s tempting to be a bit lazy about gardening towards the end of the season, it’s really important to push myself to do these final gardening details. Preparing your garden for winter is an important step for the garden’s health. Leaving that precious soil bare to the elements is gonna leave you with less-nutrient soil and lots more weeds in the spring.
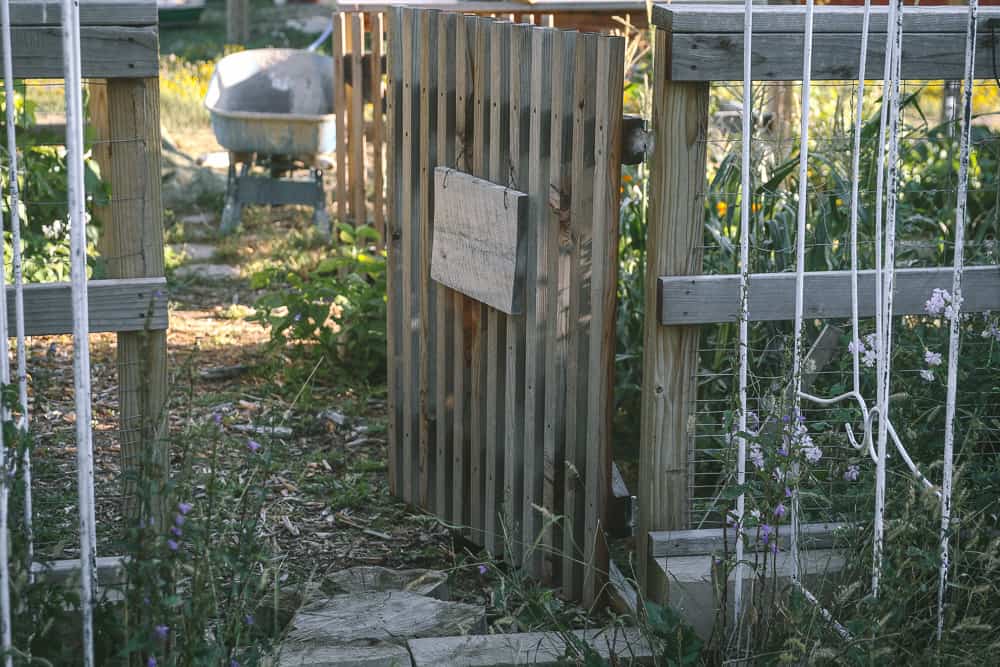
How to Prepare Your Garden for Winter
While there are plenty of opinions on how prepare your garden for winter, there are 8 things I like to do to help assure I’ll have more nutrient-rich soil–and less weeds (!!)–next spring.
1. Tidy Up the Garden
By the end of summer, I always seem to be facing a messy jumble of dying plants, withering enthusiasm, and thriving weeds. While it’s tempting to ignore it all, spending more time in the garden now, preparing for winter, pays off with less problems next spring. Less pests. Less disease. And less weeds.
Less Pests
Insects love winter as long as they have great shelter and food, ya know, like my garden debris. When I take away their habitat and food–the dead, dying and diseased plants–I’m ridding ourselves of many future problems. (Case in point: pulling the spent kale and cabbage bits that are riddled with caterpillars and feeding them to the chickens like I did yesterday.)
Less Disease
Late blight and other diseases can overwinter on foliage and fruit that you leave in your garden for the winter. No one wants any of that lingering around when spring gives you a blank canvas and a fresh start.
Less Weeds
Dig up all the weeds you can find. I’ve seen so many folks just tear off a weed at the surface and call it good. It makes me cringe to think of those long, deep tap roots or branched, spread out fibrous roots that may live to see another day. Instead, if you dig the weed out by its roots, you’ll weaken the weed and make it vulnerable to winter weather. That’s a good thing.
Tip: There is plenty of gardening debate about whether or not to clean up garden beds, since good bugs hibernate in debris, too. Feel free to leave some spots untidy, perhaps near flower beds or bug hotels, to try to find balance if you want.
Also, with some roots that are super tough to pull (like cabbage or broccoli stems that have had the heads removed), I’ll sometimes leave them in the ground until spring. They’ll be easier to remove after they decompose a bit, and they help to loosen and aerate the soil.)
Tip: If your dead vegetable plants are not showing signs of disease, you can add them to your compost pile. But make sure you don’t put diseased plants in your compost, since the diseases can overwinter there as well.
2. Test Your Garden Soil
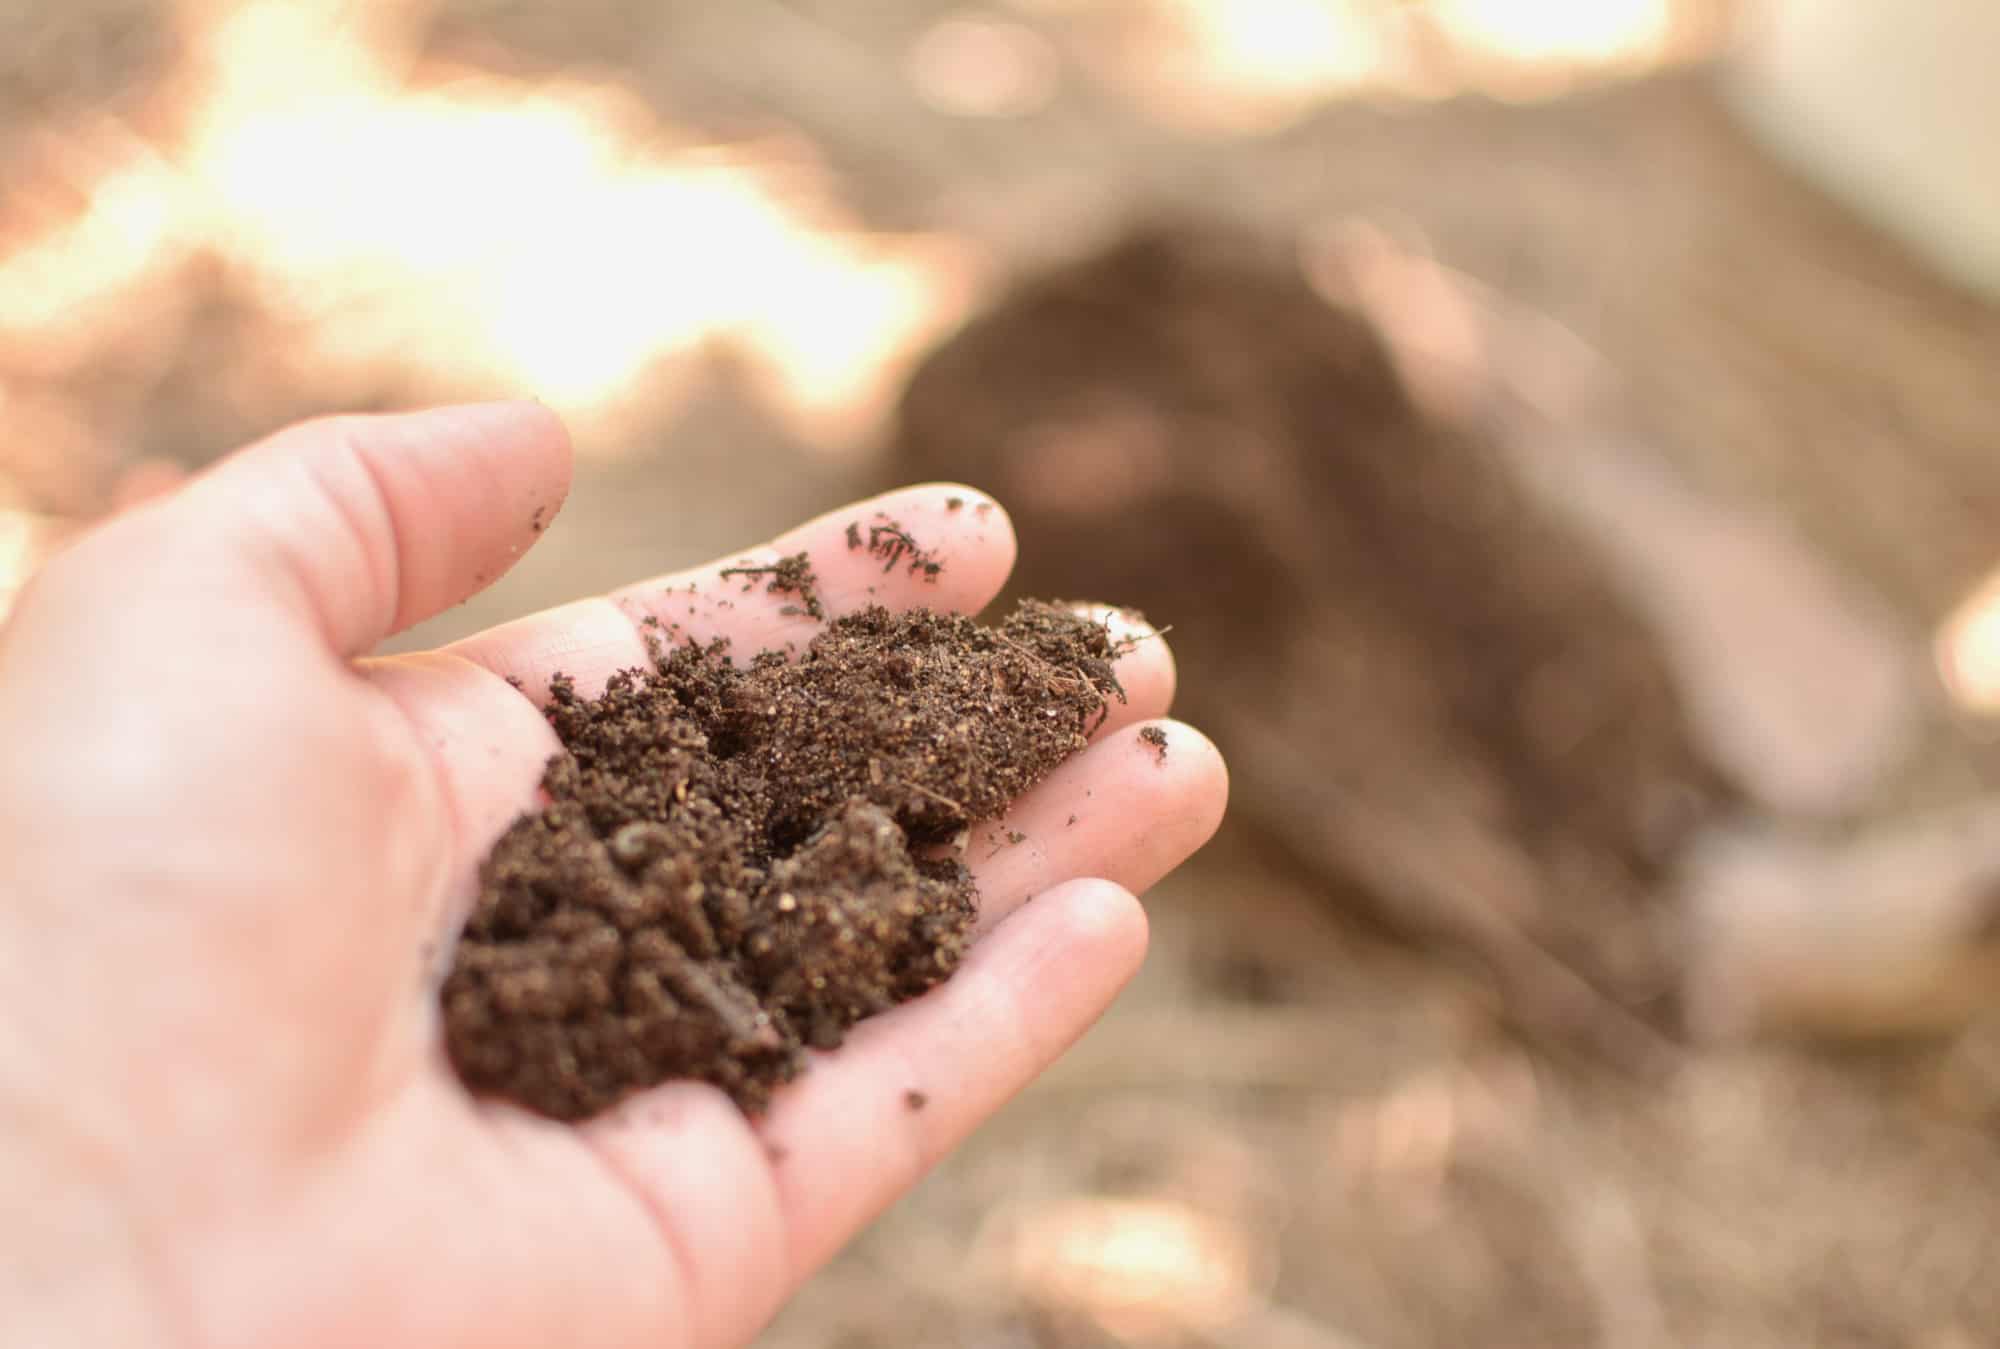
Now that your garden is cleaned up, it’s a great time to get a soil test done. A good soil test will give you results on pH levels, nutrients (potassium, phosphorus, etc.), organic matter, and the general health of your soil. All good things to know for next year.
Simply pull a small shovel full of dirt from 5-6 different areas of your garden, about 6 inches below the surface. Mix the amounts well, let them air dry, and remove stones and other debris. Then send your sample to a local extension office. If you don’t know where to go, this list of extension offices in every state may help.
You can also order an at-home soil testing kit like this one, but keep in mind that they aren’t as accurate as official testing done in a lab. Here’s what I learned when I tested my garden soil.
3. Amend Your Garden Soil
Once you get your soil tests back from the lab, you can use that information to rebuild your soil over the winter so that you are starting spring with healthy, fertile soil. Soil amendments take a while to break down, so fall is truly the best time to amend your soil.
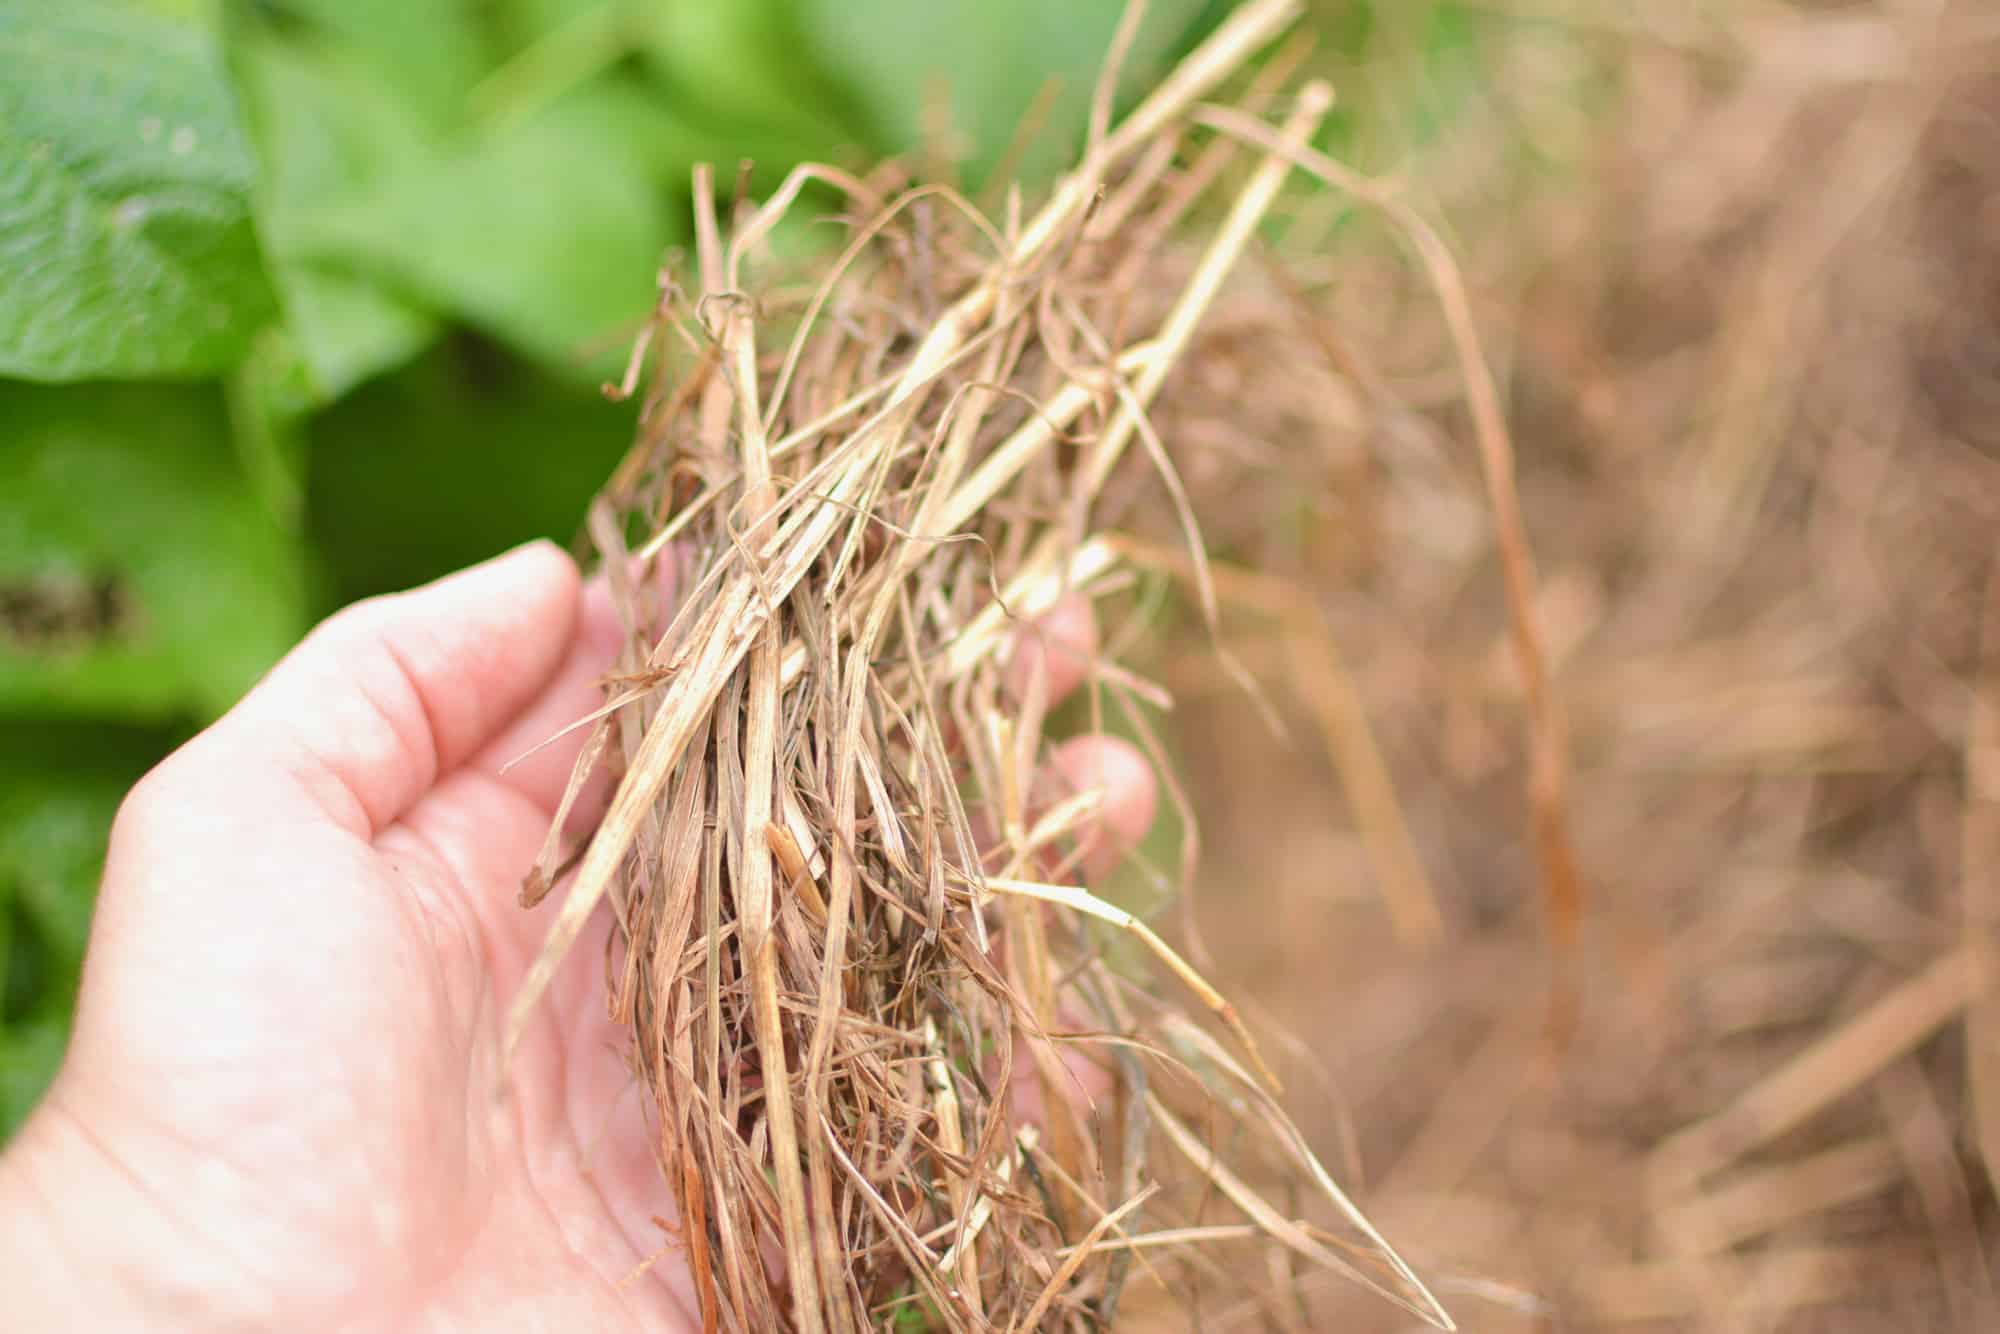
There is a huge variety of organic soil amendments you can add to your garden, and it really depends on what your soil test results show you’re lacking. Read more about soil amendments in my article on how to improve garden soil. Some of my favorites are well-composted manure, clean grass clippings, or old hay mulch.
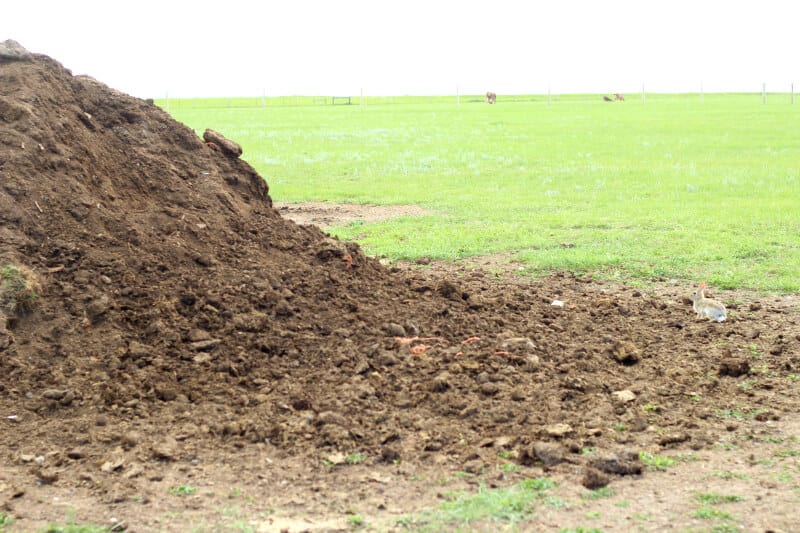
4. Add Organic Compost
After you add your organic soil amendments, you can top off your garden beds with some organic compost. Composting isn’t as difficult as you might think. There’s lots of information out there on how to create the perfect compost pile – specific carbon/nitrogen ratio (browns to greens), amount of moisture, how often to turn the heap, etc. But all this is only necessary if you want to speed up the process. If you want compost the easy way, just put it in a heap and leave it alone. Nature will do what nature does, whether or not you’re involved.
If you have a small yard or like fancy compost options, something like this is a great option.
As a general rule, compostables fall into two categories – Greens and Browns. It’s good to try to go for a compost ratio of 4 parts brown matter to 1 part greens. But here’s where I fess up. I have no idea what ratio I’ve added to my pile this year. Or any year. I toss it on, nature does her thing, and I have black gold every spring. But, if your compost pile isn’t working well for you, take time to turn your pile over every now and then and recheck your balance of greens and browns.
The greens includes anything that is still alive or wet, such as green leaves, animal manure, fresh grass clippings, over-ripe produce, and other kitchen scraps. The greens contain more nutrients, including nitrogen, which is the number one nutrient people fertilize their garden with. Greens tend to compost more quickly.
If you’re looking for a great way to store your kitchen scraps on your counter, odor-free, this is a great little compost pail for your green items.
The browns are dry, dead material – fallen leaves, bean pods, straw, dried grass clippings, etc. The browns do contain nutrients, but not as much as the greens. What they do have in abundance is carbon which, when composted, has a large nutrient-holding capacity (to hold all the nutrients from your composted greens) and the perfect light, airy, crumbly structure your plants love to sink their roots into. Browns compost more slowly.
Whatever you choose to compost, make sure it hasn’t been sprayed with chemicals. I know your neighbor thinks he’s doing you a favor by giving you all his grass clippings for your garden. But if he’s sprayed his lawn with some sort of herbicide, you really don’t want that on your garden.
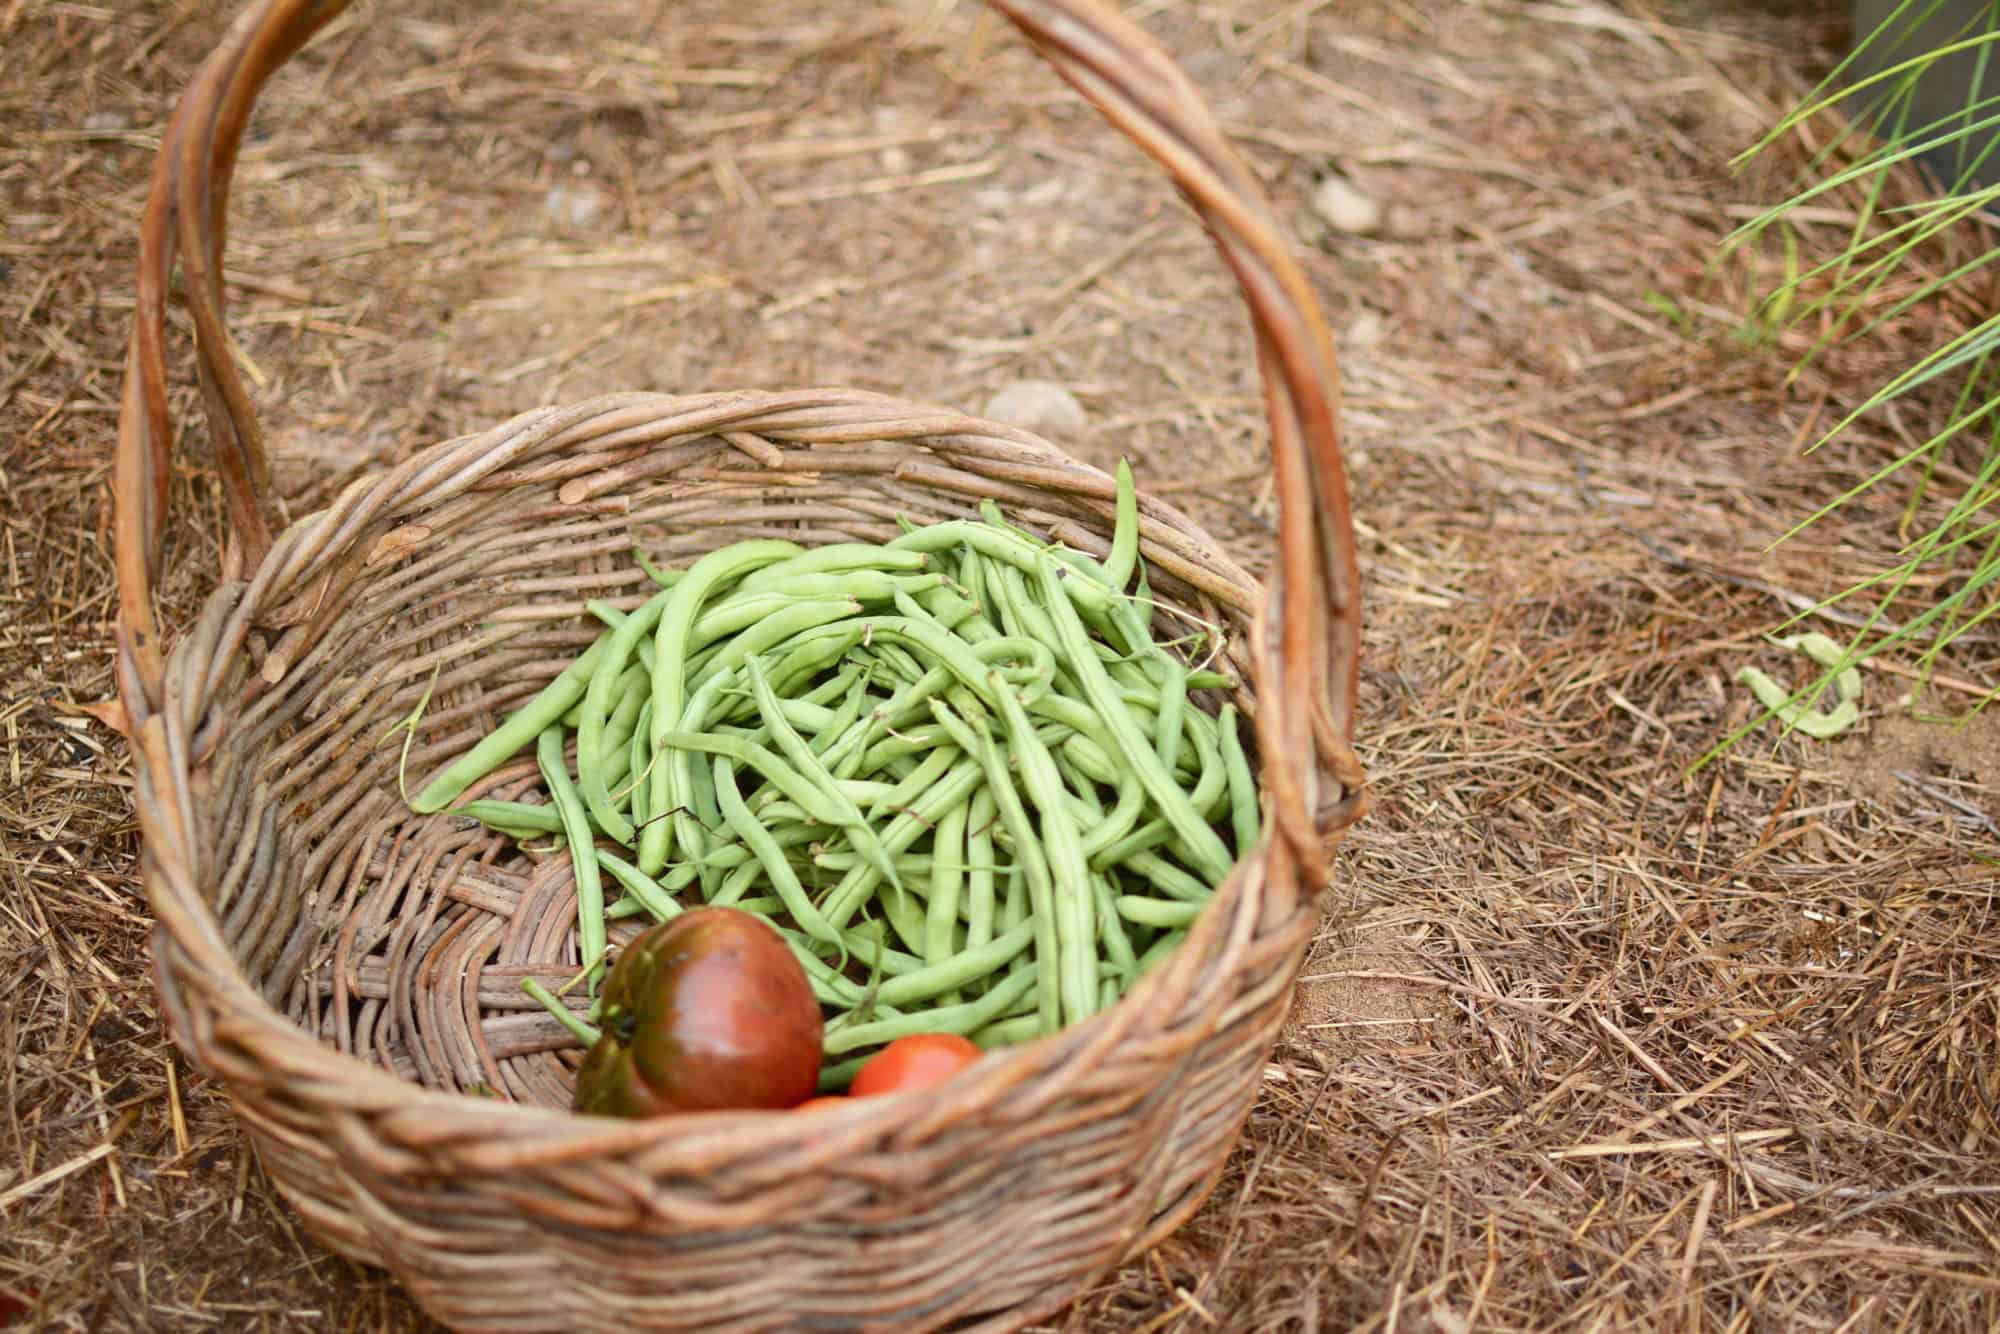
5. Grow A Cover Crop
Nature abhors a vacuum. One of the most important things to put on your fall garden checklist is to cover and protect your soil. If you can see your soil, you need to get a cover on it. This cover can take the form of a cover crop or a good mulch.
A cover crop is like green compost growing in your soil; the nutrients in the plant replenish the ground, preparing it for your summer crops. Often a nitrogen-rich plant is used, from the legume family, such as clovers, peas, and vetches. But sometimes a grass is used, such as winter barley.
While wondering about the main difference of legumes versus grasses, I researched crop choices for replenishing specific microbes in the soil. I learned that it’s best to use a diverse mix of seeds like this one right here, since having a variety of plants in your cover crop will lead to a variety of microbes in your soil.
Sowing a cover crop is quite simple – just scatter the seed like you’re feeding your chickens. You can buy cover crop seed by the pound at many local feed mills. If you’re looking for an online option, I really like True Leaf Market; they give some tips on choosing a cover crop right here and they have knowledgable folks answering the phones who can walk you through your choices, based on where you live and what your soil needs.
Whatever you decide to use for you cover crop, be sure what you’re sowing will survive cold temperatures so you get as much growth as possible before the winter snows come. The cover crop will compost slowly underneath the snow throughout the winter, adding a boost in nutrients to your garden.
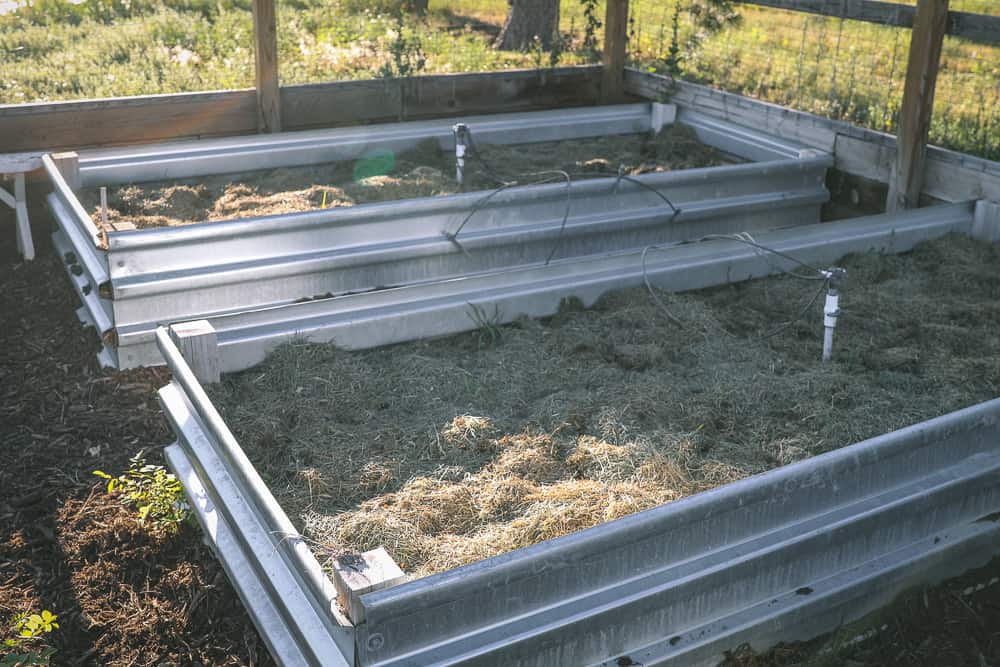
6. Cover Your Soil with Mulch
If you choose not to use cover crops (I haven’t personally used them yet myself), make sure you cover your soil well with a good mulch. Mulch protects the soil from being washed away, slowly adds nutrients to your soil, adds good tilth to your soil as it breaks down over time, conserves moisture, and prevents weed seed from sprouting.
Just cover your soil in a layer 1-3 inches thick with the mulch of your choice. You can use leaf mulch, grass clippings, straw or hay, wood chips, or other mulching options, but just make sure you use a good organic source (or you might poison your garden like I did).
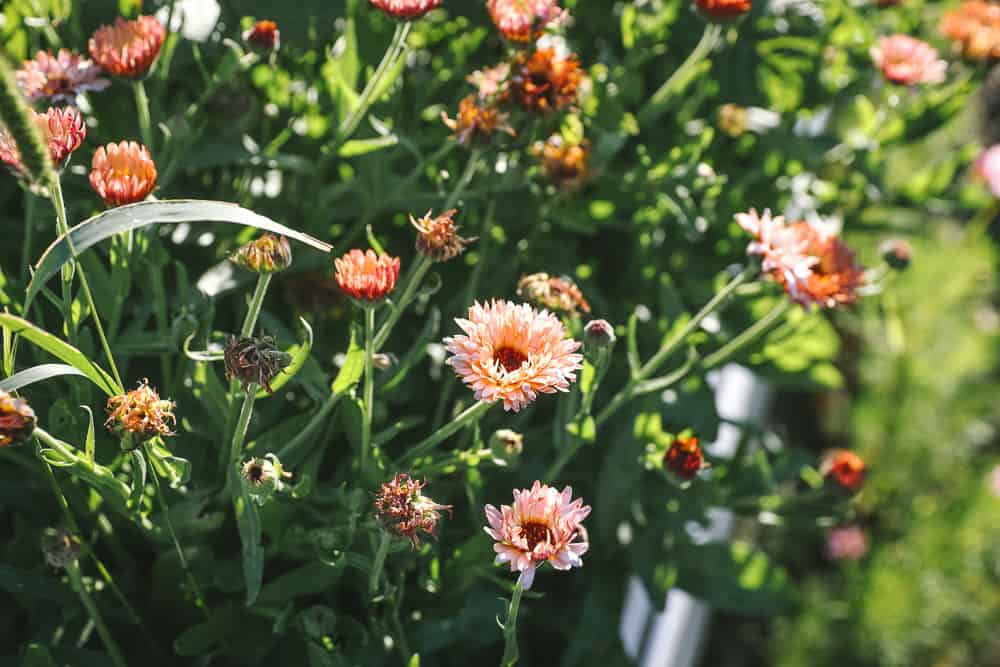
7. Do General Maintenance and Expansion
When the busyness of the growing and harvest seasons wraps up, I love the accomplished feeling of a few final garden projects for the year. There are always plenty to choose from:
- Clean, sharpen, and oil the blades of your garden tools. They can become dull, rusty, and dirty throughout a busy growing season. Now it the time to put them away properly.
- Wash and properly store your seed trays and garden pots. This keeps mold and potential disease from spreading. Here’s how I disinfect seed trays.
- Fix broken garden equipment, beds, sheds, etc. If you have broken drip irrigation line or doors falling off your garden shed, now is the time to get them fixed up.
- Expand your garden. Without the hassle of maintaining a growing garden, you have some spare time to decide if you need to expand your garden for next year. Now is the perfect time to add more garden beds and clear that space of weeds.
- Prepare for spring seed starting. It’s a great time to build new grow light systems or purchase supplies for starting seeds inside. I do this in the winter, too, but it’s great to start looking for deals on supplies starting in the fall.
Listen to the Old Fashioned On Purpose podcast episode #24 on this topic HERE.
8. Reflect and Plan
While this year’s successes and failures are fresh in your mind, jot down some notes about your growing season. What varieties did well? What plants struggled? What pest problems did you have? Some gardeners make thorough notes on their gardening year. I admire that, but I have a more casual approach to my garden note-taking. Anything you jot down about the gardening year is better than nothing!
G’Night Garden!
After you prepare your garden for winter, it’s time to step back and admire your clean and winterized garden. Winter will be here soon, and it will be too cold to hang outside as much. So make yourself a nice steaming mug of chai tea, sit in your garden or on your porch, and enjoy the pleasures of the fall season.
More Gardening Tips:
- How to Plan Out Your Fall Garden
- Preparing Our Garden Beds for Spring Planting
- Why You Should Plant Cover Crops In Your Garden
- Where to Buy Heirloom Seeds
- How to Make Compost Tea
- Seed Starting Guide
Learn more about how you can help your garden over the winter with cover crops by listening to the Old Fashioned On Purpose podcast episode #26 HERE.



Your ebullience is refreshing!!
It’s definitely time to get the pots and planters cleaned and ready for next year. I have too much clutter on the porch now, as far as my pots go; of course, when spring returns, there’ll be no such thing as too many plants! For now, I’m all gardened out ??
Hi Crystal! It’s that time of year up here in New England too! I’m always thankful for the seasons, because I also become tired of gardening at a certain point during the late summer, and thankful for the winter “break.” In the spring, I always think I won’t ever get tired of gardening, but eventually I always do. 🙂
We’ve all experienced at least one, but it doesn’t mean we have to live with — or even like — an insect infestation.
Whether it’s an army of ants, spindly spiders, paper-loving silverfish, creepy cockroaches, pesky mosquitoes, or tenacious termites; when insects invade our home, we feel violated. What’s the first thing you do when you see a bug — or full blown colony of critters? Most people reach for the nearest can of can of insecticide spray or rush to the store for bait traps.
Winter makes our garden sad. Very nice article. Thanks, you put pen on this issue. Wintertime is always a hard time for gardeners.
After reading tips about cleaning garden questions that clicked me is that What are the signs of diseases in dead vegetables and plants. I have a lot of debris of this kind in my garden But I can’t identify diseased dead plants.
Hopefully, you will; write more about your gardening experience. I would love to read more from you.