I’m not stranger to dealing with poisoned and tainted soil in my garden.
I wish that I could say that tainted and damaged garden soil has only happened to me once, but it’s actually happened multiple times…
–> The first time was when we accidentally bought contaminated non-organic hay for our Deep Mulch garden method (read more about that story here).
–> The next time was when we accidentally tainted our compost pile (watch my video here to learn more about my bad compost).
–> The third (and hopefully final) time was when we accidentally purchased bad potting soil for our seed starting (find more details about our bad potting soil adventure here).
Each time this has happened to us, we learn a valuable lesson about how to be more aware of what we are buying for our garden soil as well as what new thing to be aware of for the future. It’s not easy in these modern times to avoid tainted soil in the garden.
Fortunately there are ways to improve and fix tainted soil. It will take patience and time, but it’s possible to fix bad garden soil, friends. Below, I’m going to talk about how soil can get contaminated, what signs to look for in tainted soil, and some ways we can naturally improve the soil for the future.
How Does Soil Get Contaminated?
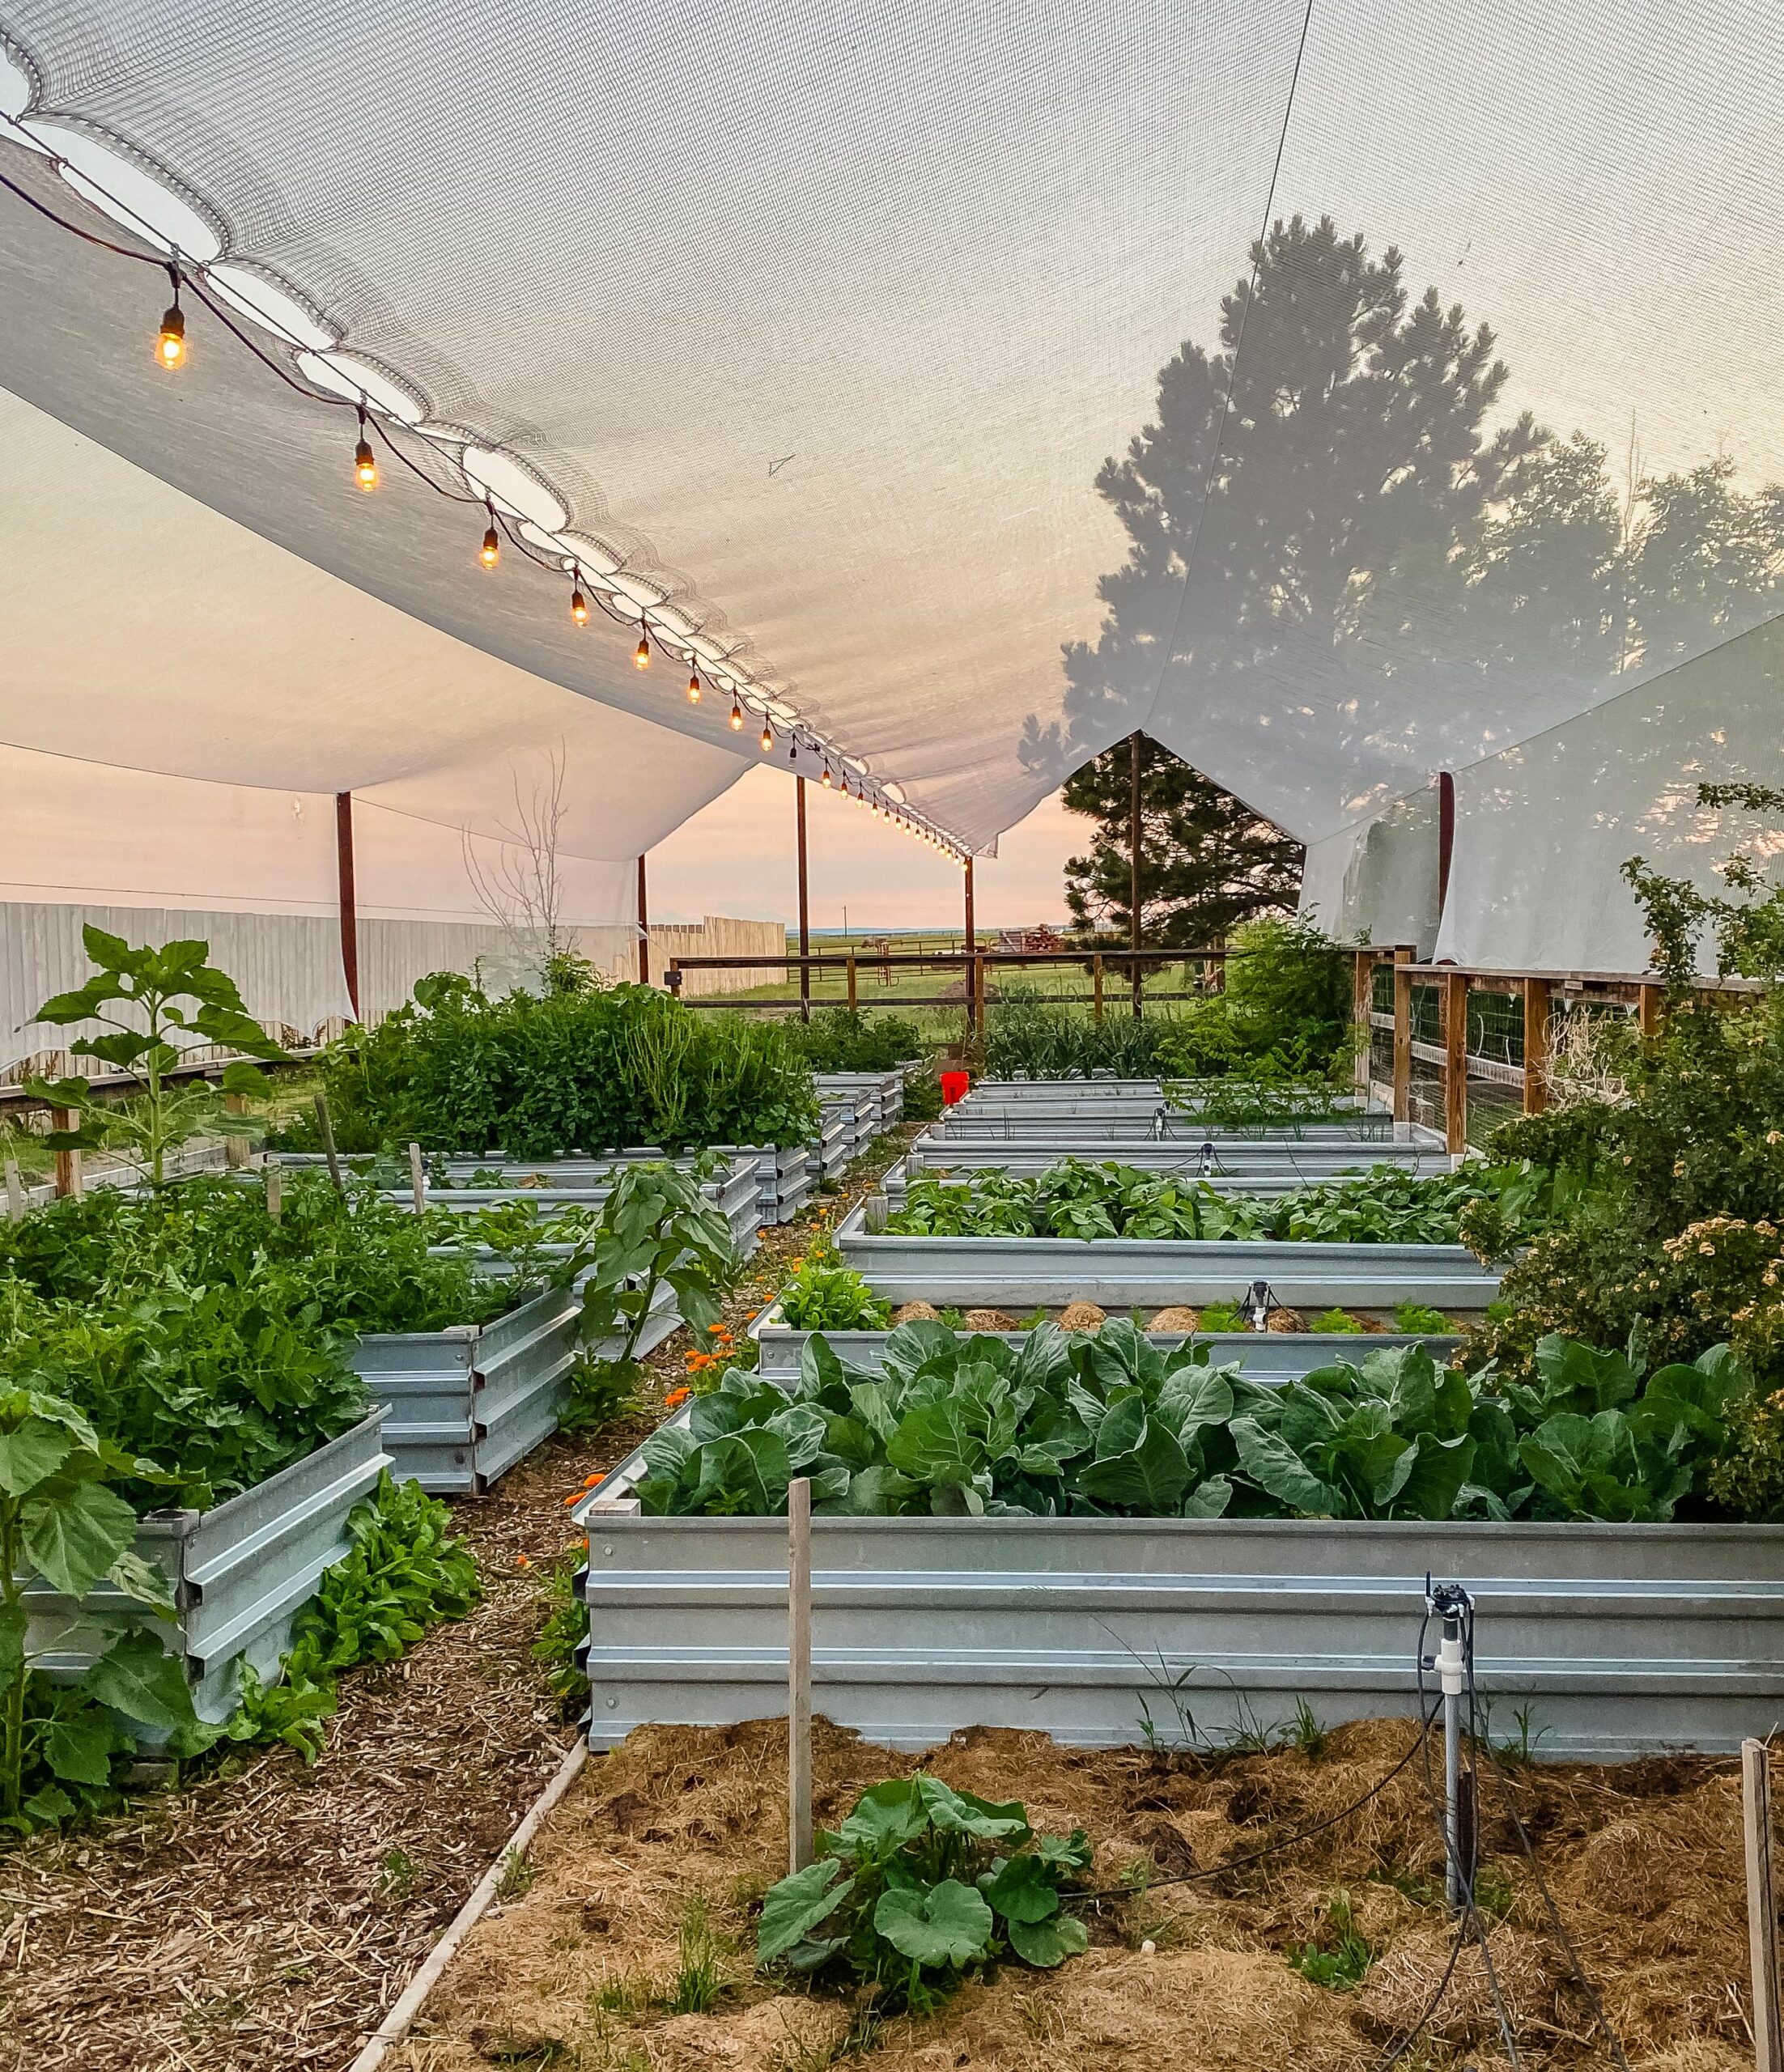
It is unfortunately getting harder and harder to avoid your garden soil from eventually getting damaged from all of the various forms of herbicides and other modern/chemical contaminants running amok in our world right now.
The most common way soil gets tainted is from broadleaf herbicides (a common one is called Clopyralid). Many farmers use herbicides on their hay fields and pastures to manage weeds.
So if you purchase hay for your garden (as mulch, for your compost pile, etc.) you need to be extra careful about the source of your hay and you need to make sure it hasn’t been sprayed with herbicides. And also keep in mind that if your livestock has been fed hay that has been treated with herbicides, then that herbicide can enter your compost pile and/or garden in the form of manure.
Herbicide residue can stay in the soil for at least two years and unfortunately does not break down in the compost process. Herbicide issues greatly increased during 2020 when more folks started getting into gardening and purchasing more and more compost and other soil components from the store. This article shares a story told time and time again of folks having bad garden crops due to herbicide contamination and the various responses from farmers, small-scare gardeners, and the EPA about this issue.
Besides herbicide issues with the hay, you should also be careful with other chemical issues. For example, do not add grass clippings from lawns that are sprayed with weed killers to your garden or compost. And make sure that runoff from industrial sites, construction sites, etc. cannot get to your compost pile or your garden soil.
In addition to all of that, you should also be extra careful about what potting soils your purchase for your seed starting adventures. Don’t buy the cheap stuff and do some detective work on the ingredients in the potting soil bag as well as read some reviews of the potting soil company before your make your purchase and start your seeds (learn more in my podcast episode here: The Mystery of the Poisonous Potting Soil).
How Do You Know If Your Soil Is Tainted?
Obviously, the way to know if your soil is possibly tainted is if you are lacking vibrantly healthy plants in your garden.
Some typical symptoms of tainted soil include:
- Low seed germination
- Your young plants/seedlings die prematurely
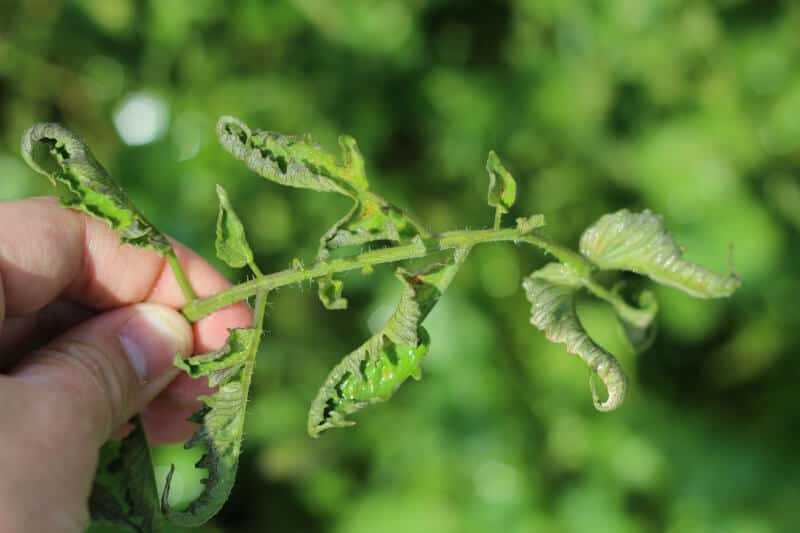
- The plants have twisted leaves or misshapen fruit
- Your plants have smaller harvests than normal
- Your plants are overall sickly, stunted in growth, etc.
The plants most vulnerable to herbicide contamination are nightshades (tomatoes, peppers, etc.) and the legume family (beans, peas, etc.). If you’re mainly having struggling plants in these two plant families, it might be indicating tainted soil issues.
However, please keep in mind that the symptoms I mentioned above can also mean other issues like plant diseases or nutritional deficiencies. For example, tomato leaf curl is the most common sign of tainted soil issues for tomatoes, BUT tomato leaf curl can also mean watering issues, stress issues, and much more (learn all of the common reasons for tomato leaf curl here).
So consider doing some research first about the specific symptoms of your plants to cross off any other options before focusing on it possibly being because of tainted soil.
You might suspect tainted soil issues if you have these types of signs:
- Your seeds sprout, but then become weak and die when they enter the seedling stage
- More than one type of plant is affected
- Only one section of your garden is affected (which might happen if you used a tainted compost/hay/etc. in one section of your garden while other sections of your garden used something else)
- You’ve witnessed herbicides being applied in your local area and/or neighborhood
How to Test for Tainted Soil
Unfortunately, there are not a lot of official avenues for homesteading/home-gardeners to pursue to get answers about if you have tainted soil. However, there are still some ways to test your soil to figure out some more details about your soil health that can help you out.
#1) Perform a Bioassay Test at Home
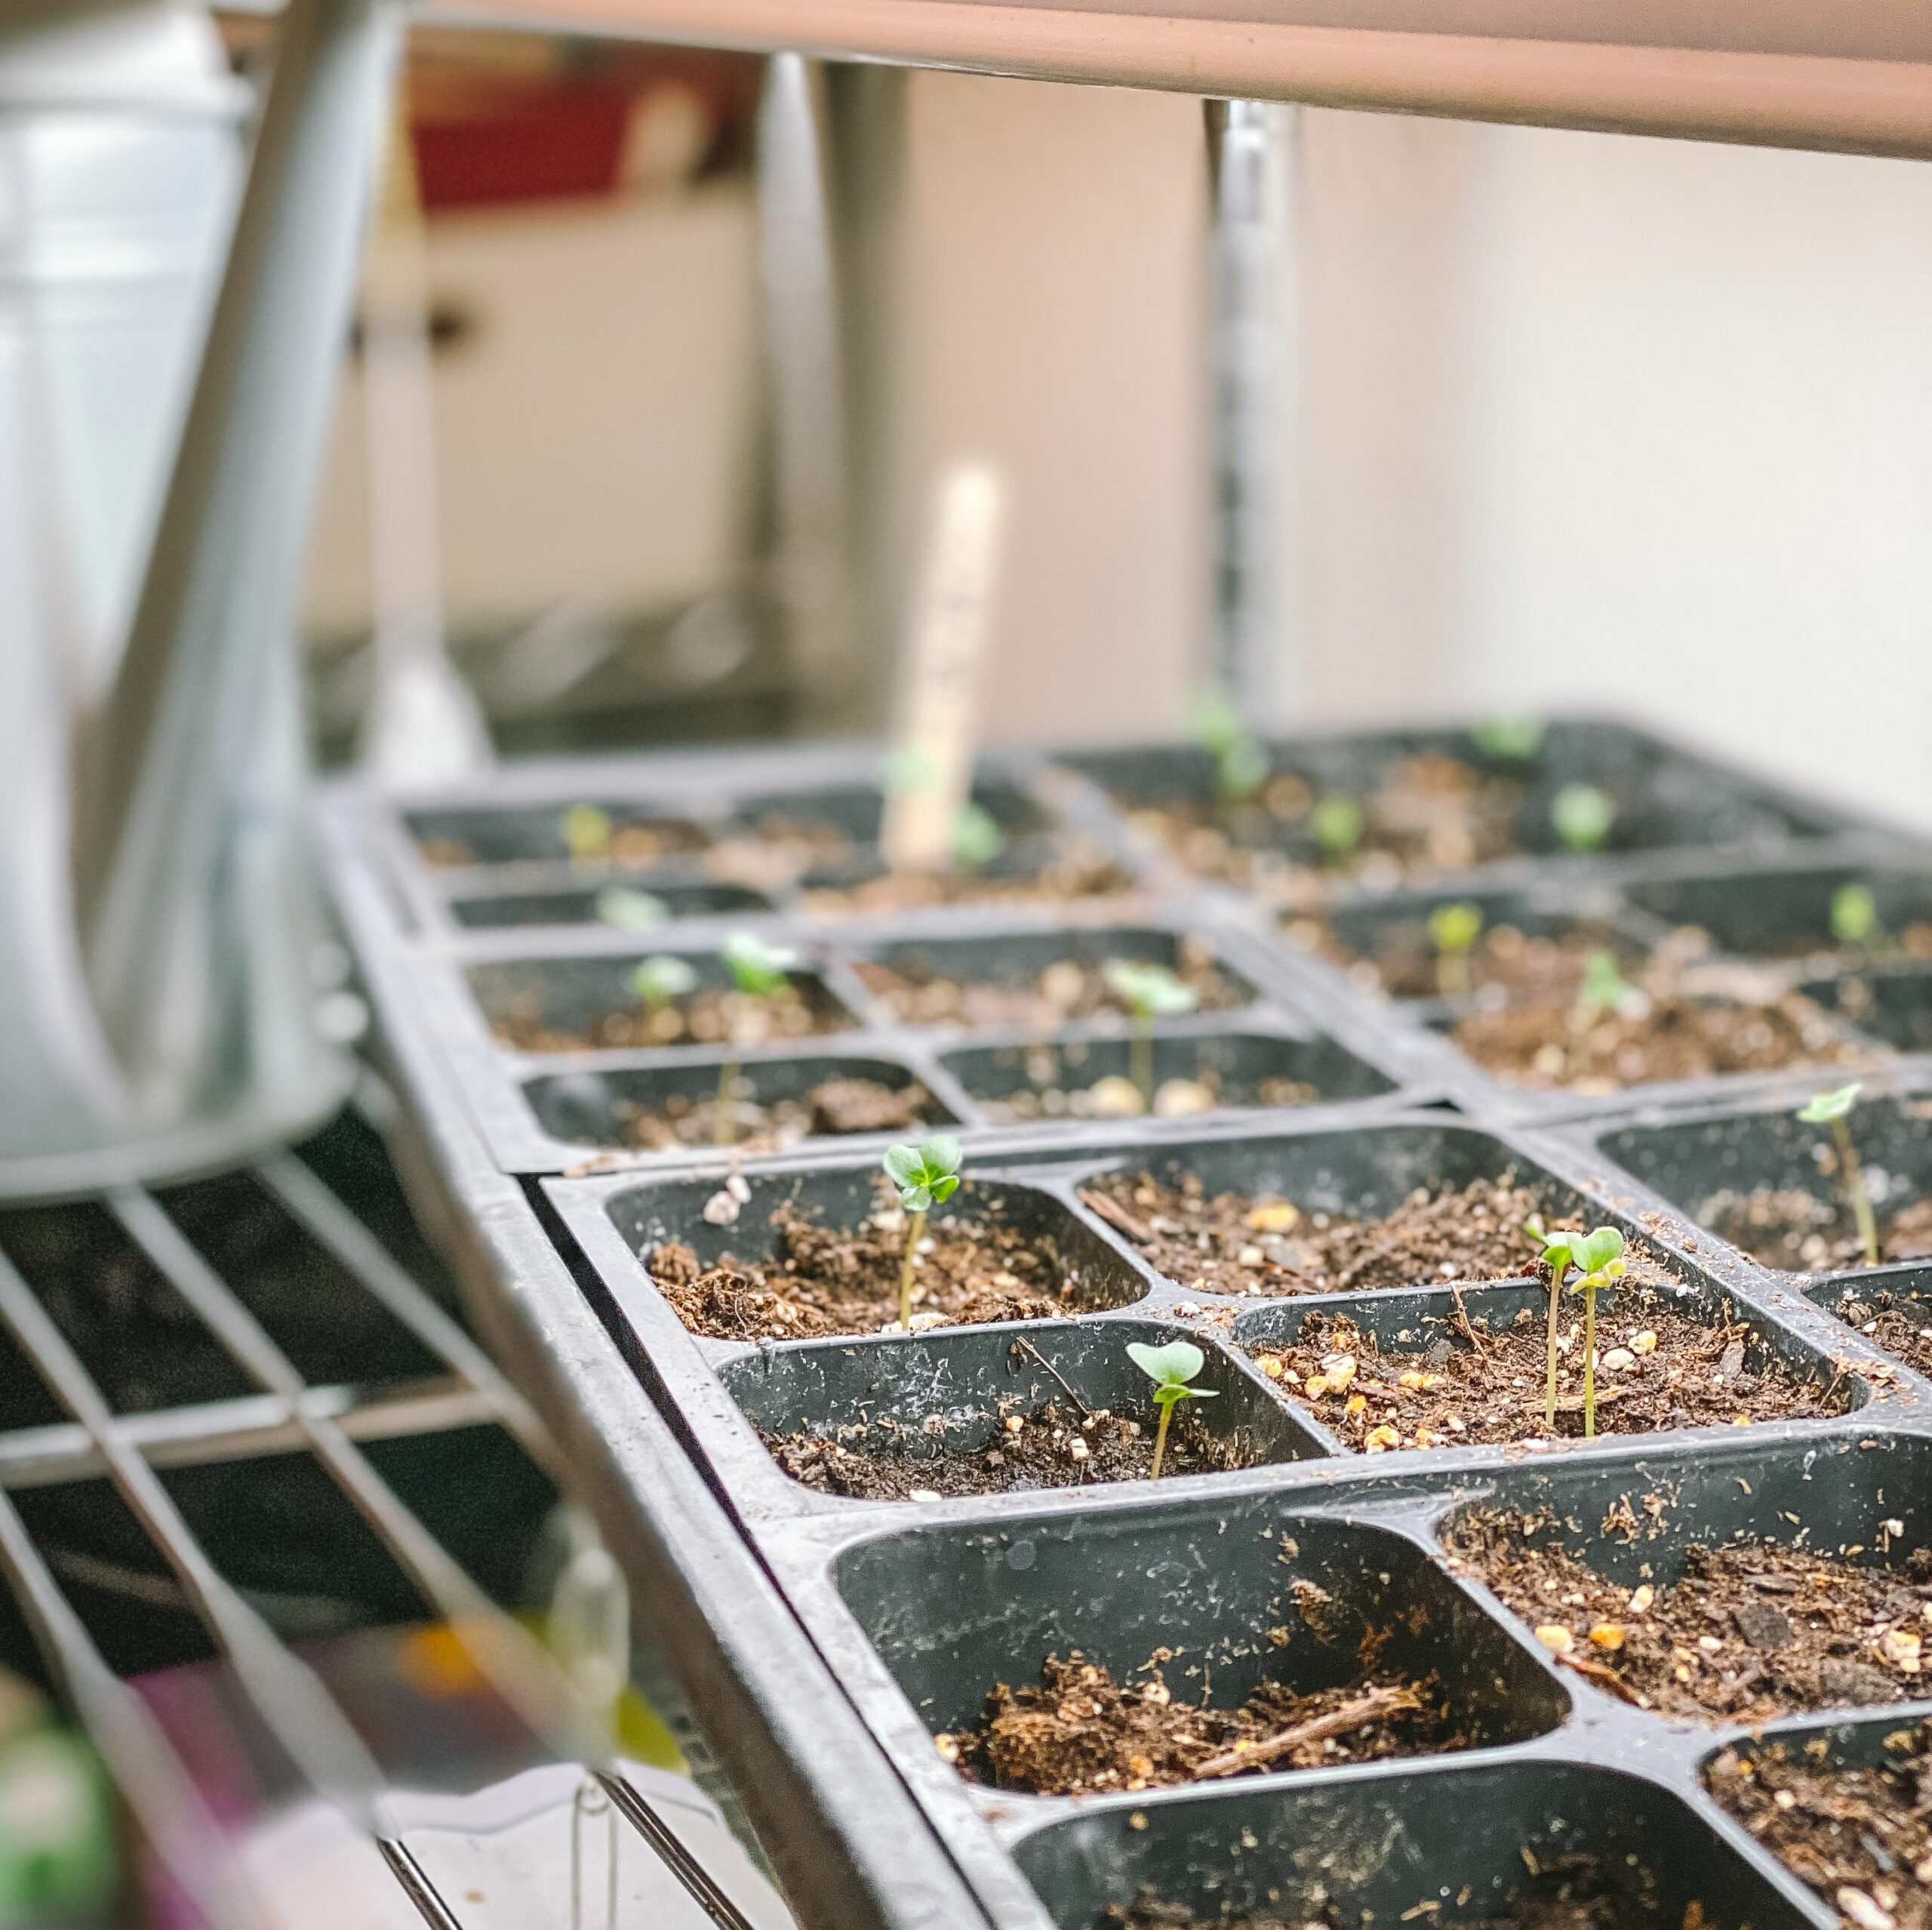
Peas are very sensitive to contaminants in the soil, plus they grow quickly, so they are a great seed option for doing an at-home bioassay test.
The nice thing about this test is that you can compare and contrast different parts of your garden (and even your compost pile) to see if all parts of your garden are affected or just a few. Plus, you can compare all of the results and see if some areas are more affected than others. It’s also pretty cheap to try this test and you’re in charge of the entire process (bonus: you could use this as a learning opportunity with the kids).
WHAT YOU NEED FOR BIOASSAY TEST:
- Test material (you may test more than one at a time, but carefully label each)
- Clean-source ‘control’ material (try to find a good-quality highly reputable potting soil)
- Small planting pots (identical or nearly identical pots would be best to keep the materials as close to the same growing conditions as possible)
- Plant tags/labels for each pot
- Garden pea seeds
BIOASSAY INSTRUCTIONS:
- For the test material: fill up three pots with one type of test material. If you are testing multiple areas of your garden, you can repeat this step for each test material. If you are testing compost, then you first need to mix two parts your test-compost with one part potting soil in a separate bucket before putting it in the pots. Label each of these pots with a ‘test’ label.
- For the control material: fill up three pots with your clean source ‘control’ material. Label each of these pots with a ‘control’ label.
- Plant three pea seeds in each pot. Plant them 1 inch deep and record the planting date.
- Grow the pea plants in similar growing conditions (consistent light, temperature, and water).
- As the plants grow, evaluate them and record your findings. Record the germination dates, how many of the three peas sprout in each container, their health and overall vitality, and pay close attention to their leaves.
If you are seeing sickly plants and/or misshapen leaves with the test materials, you most likely have tainted soil. Scroll through these bioassay testing documents from both Montana University and Washington State University to find some example images of what you might see with peas grown in tainted soil.
If you need help figuring out how to grow seeds in similar/consistent growing conditions, check out my seed starting setup for inspiration.
#2) Get Your Soil Tested in a Lab
Having your garden soil tested is an inexpensive, quick way to find out exactly what is going on in your garden soil.
Soil tests provide you with actual factual information, so you are not left playing a guessing game every gardening season. It provides you with data that can tell you exactly where you need to start with your soil and how to improve it.
If you’re curious about soil tests, check out my other resources on this subject:
- What We Learned From Getting Our Soil Tested (blog article)
- How to Feed Your Soil a Whole Food Diet (a podcast interview with Redmond Agriculture about their soil tests)
- How Fall in Love with Your Soil (a podcast interview about herbicide issues with our soil and what we can do about it)
Soil tests can give you plenty of data on soil nutritional deficiencies, which is super helpful for fixing imbalances, but they (currently) do not tell you if you have tainted soil. Even the at-home bioassay test isn’t absolute proof that you have tainted soil. At the moment, there are no good options for home-gardeners to figure out if there is tainted soil issues happening. However, doing both of these tests together will paint a pretty good picture about your soil and any issues you have and it’s the best we can do for our gardens at this time.
You can get your soil tested by either local extension services (simply search via the internet for ‘your state’ + ‘soil test’ to find your local University or extension office option) or through a private company source like Redmond Agriculture. I’ve been using Redmond Agriculture for the last few years and I absolutely love the information I learn from their tests about my soil (watch me use their soil testing kits in this video).
Some of these soil testing labs will give you the option to test for heavy metals (usually for an additional fee), so if you are particularly concerned about that issue, you can get an even more thorough test done on your soil.
How to Fix Tainted Soil
If you are pretty sure that you have tainted soil in your garden, please know that there is hope and a way to help make the soil healthy again, but it will require patience. Nature is a beautiful thing and there are many natural ways that the soil can recover. However, it will require time to heal the land (unless you can afford to scoop every bit of your tainted soil out of the garden to completely replace with new clean soil…that would be ideal but most of us cannot afford this option or it’s simply not possible). On average, it can take 2-3 years to heal land that has been tainted with herbicides or other gunk.
We can help heal our garden with some of these soil-building tips and soil remediation actions. Soil remediation is the act of removing contaminants from the soil. In my list (below), I’m focusing on the main soil remediation actions that home-gardeners can do. You do NOT have to do all of these things, but I wanted to include everything that I could find so that you have multiple options.
Soil Remediation Strategies for Your Garden:
- Build Raised Garden Beds
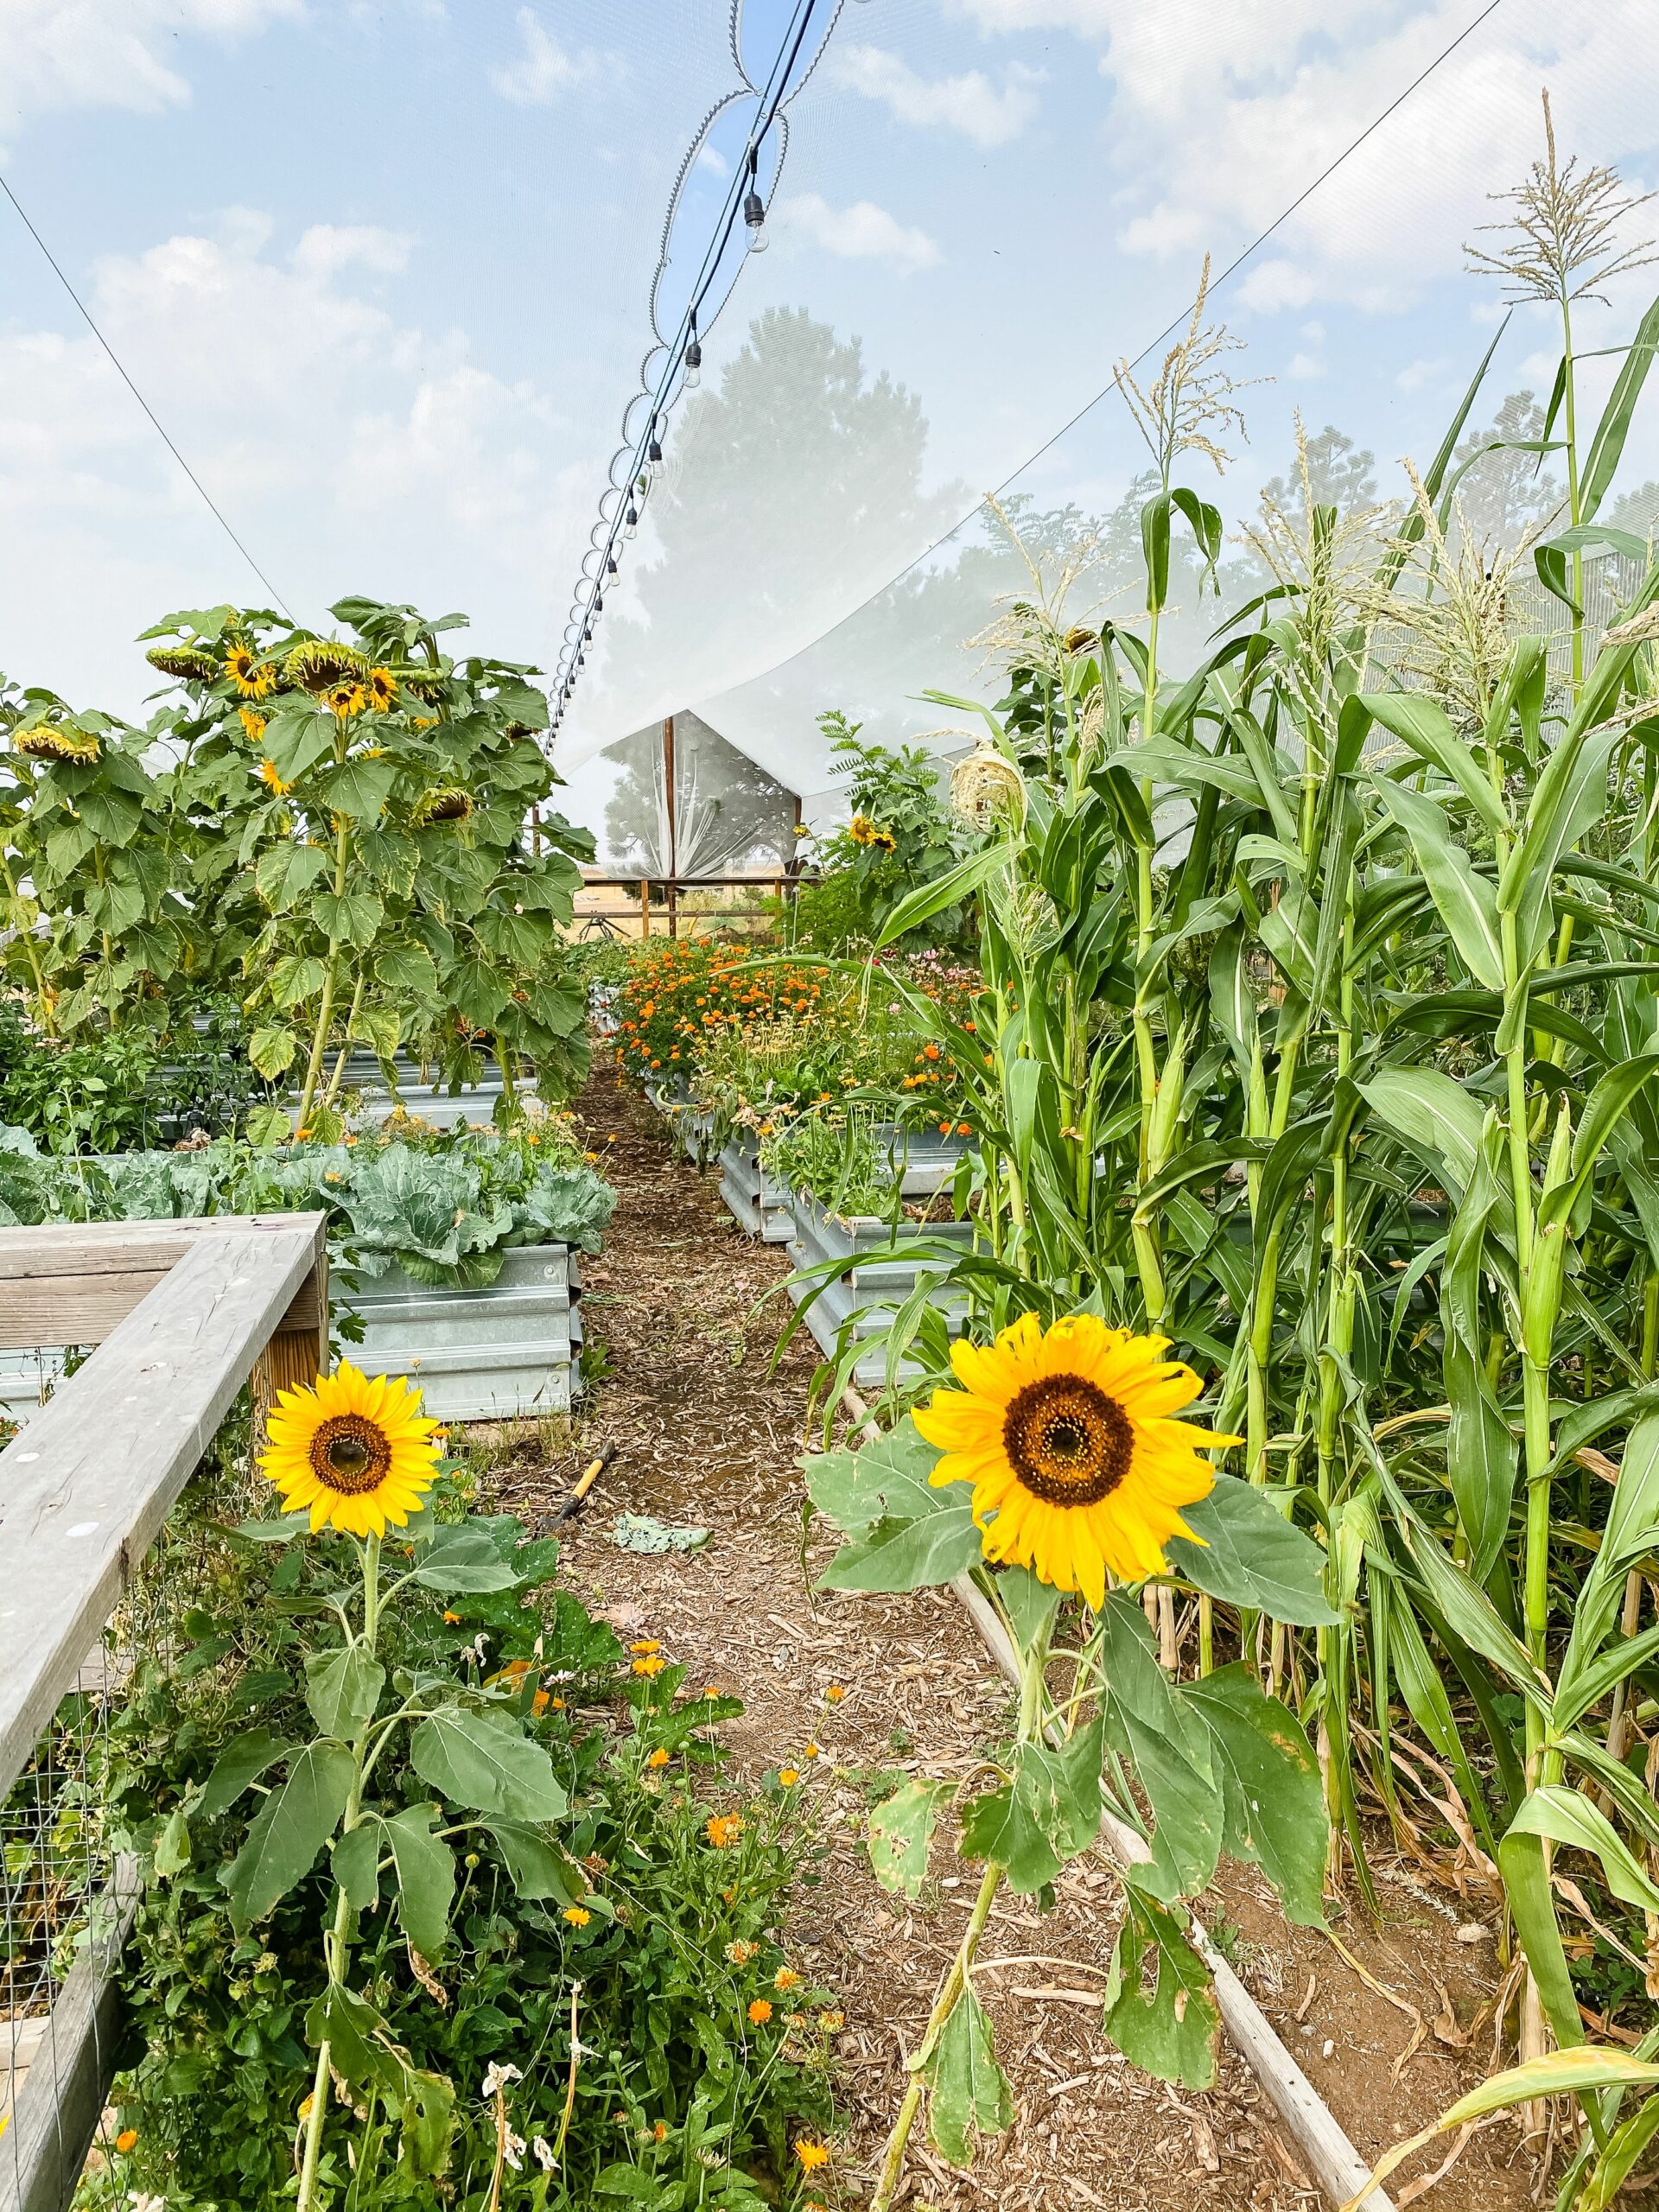
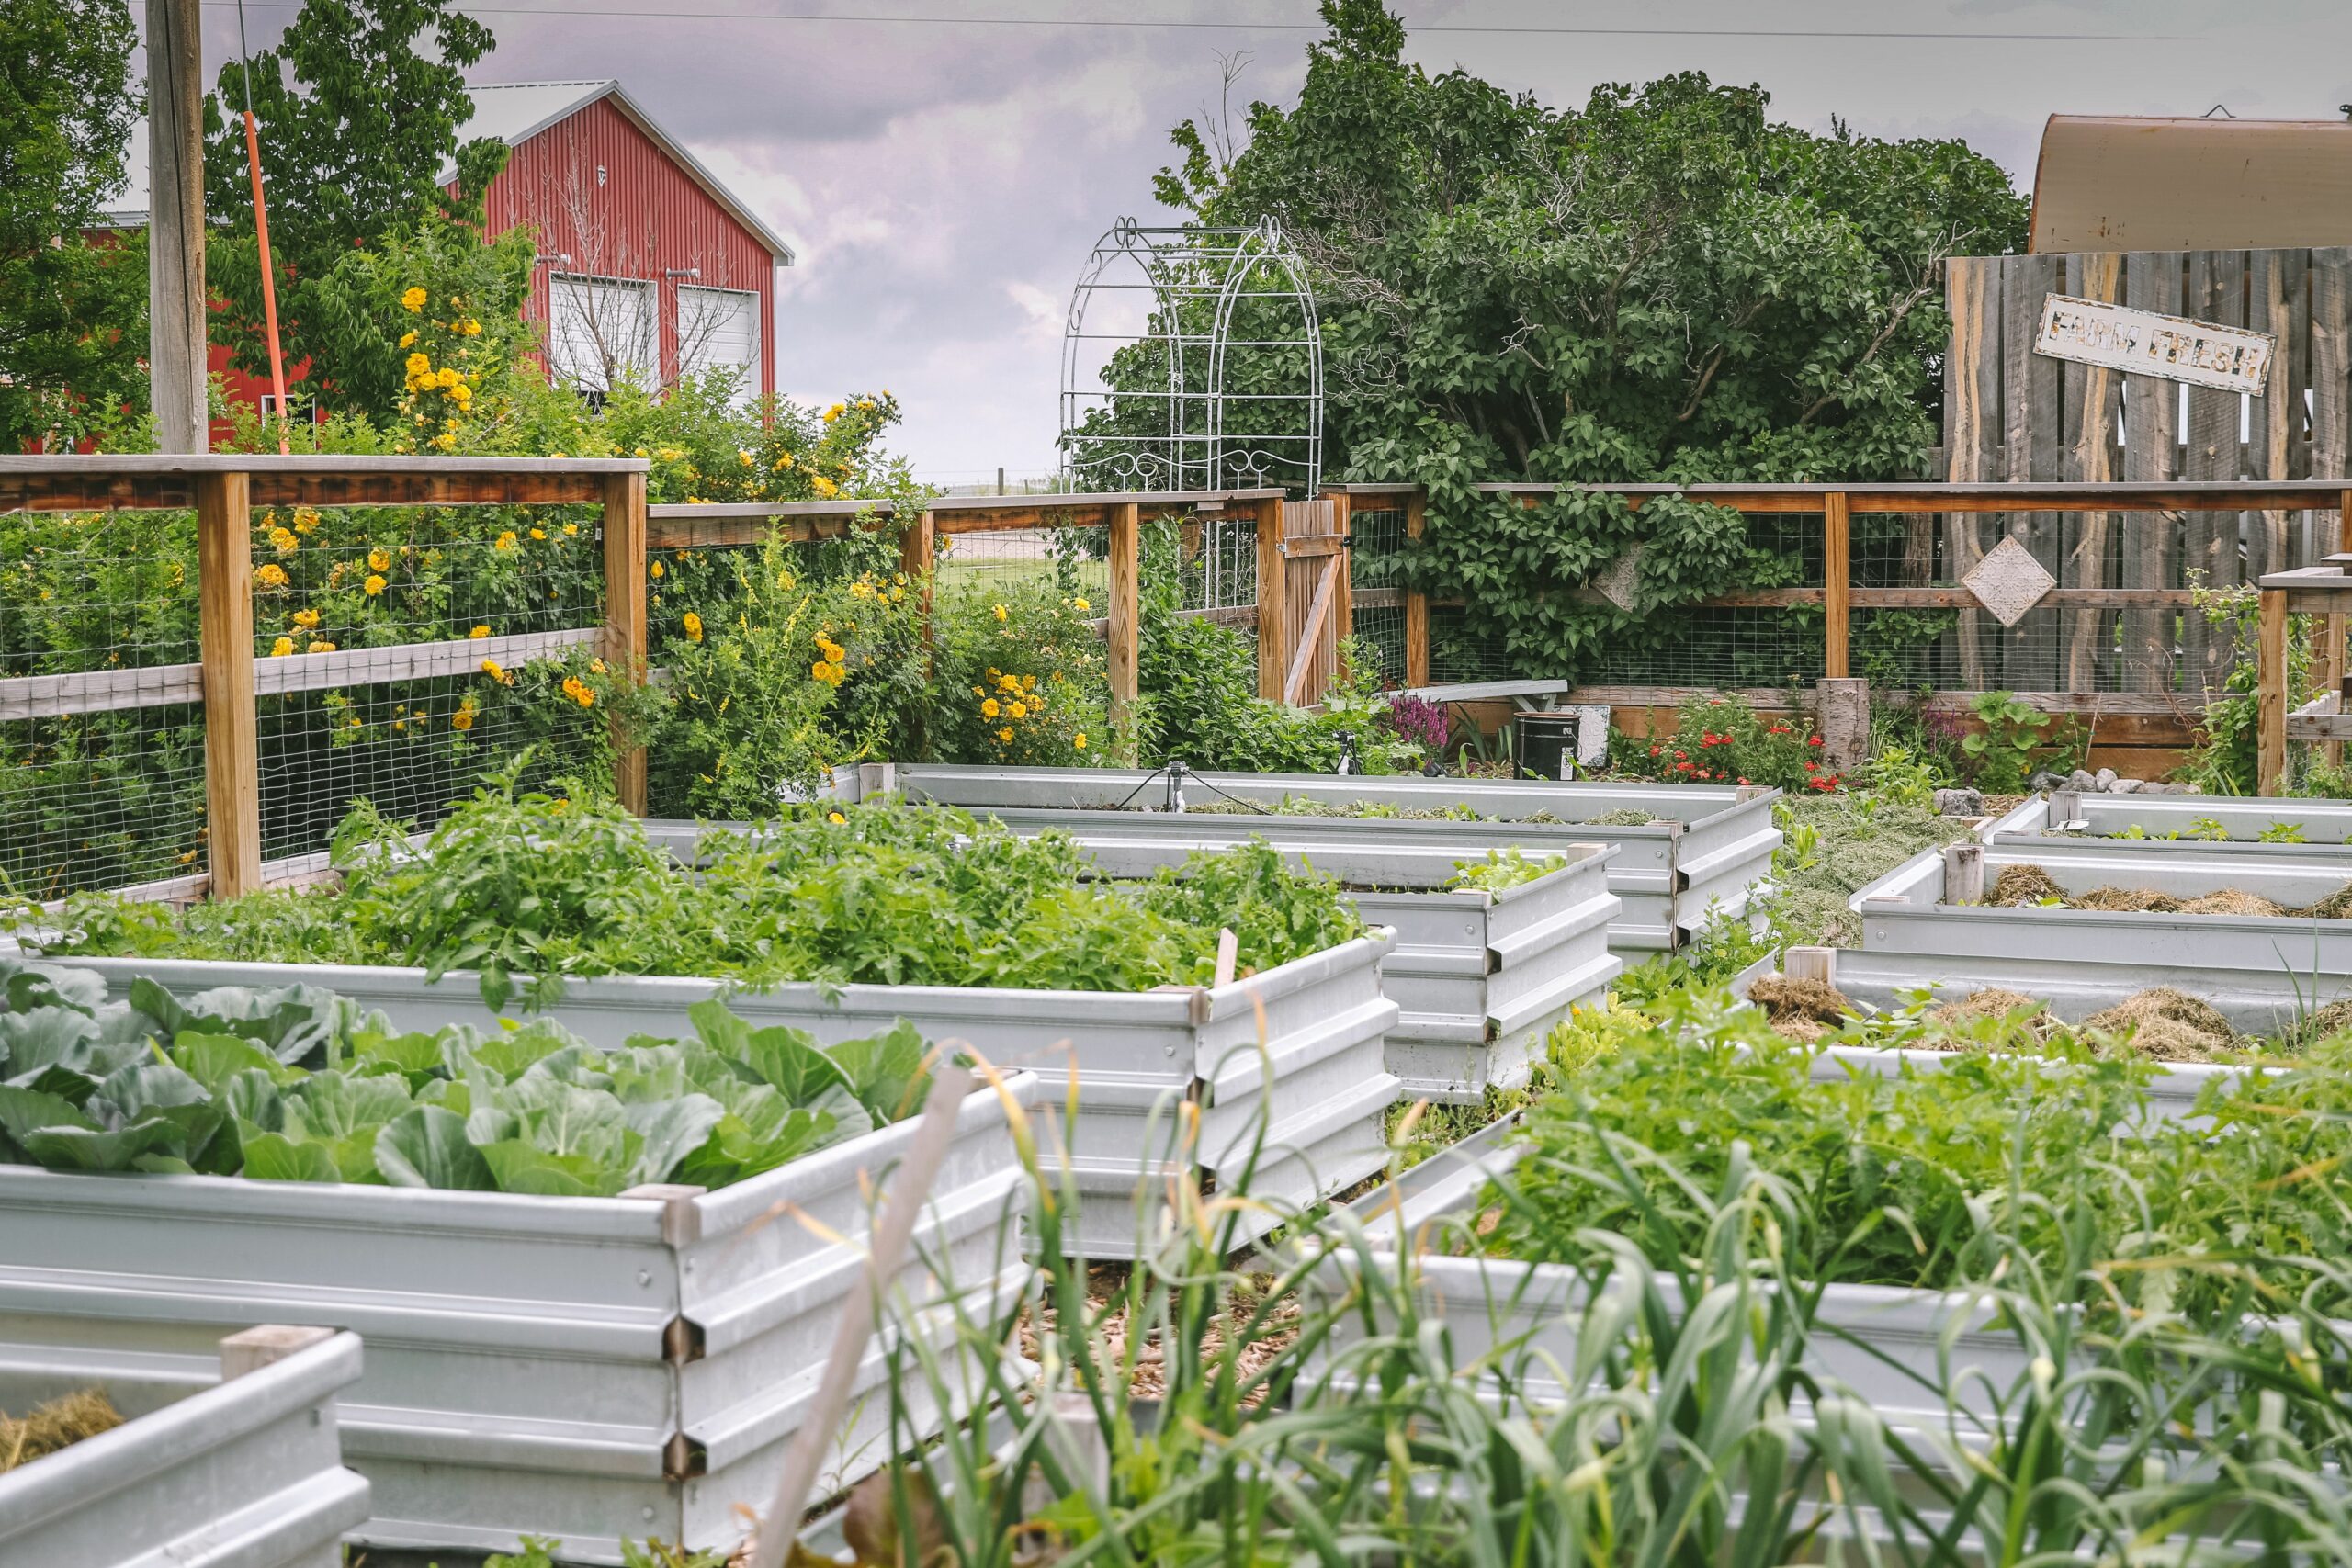
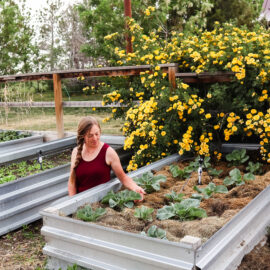
After my first incident with soil contamination, we switched from traditional garden beds to raised beds. This can be an easy (though not necessarily cheap) way to fix your garden, as you simply avoid the tainted soil area and build new garden beds with completely new healthy soil in them.
Here’s more info on how we built our raised beds and a tutorial on how we prepare our raised beds each spring. You don’t have to make your raised beds like we did, but make sure you use good materials so you don’t have to keep rebuilding them or worry about contaminants from the materials you used. And, of course, be extra careful with your soil source so you don’t have the same issue in your raised beds later on.
- Increase Microorganisms Living in Your Soil
Microorganisms can help your soil get rid of the herbicides and help return your soil to a healthy state. There are already plenty of organisms living in your soil, so what we’re doing here is simply encouraging more of them to the area. Microorganisms need food, water, and oxygen to be healthy and increase.
–> Feed them by adding non-contaminated organic compost to your soil and also add a mixture of homemade compost tea
–> Add extra water to the soil to give them more water
–> Boost their oxygen needs by tilling your soil.
Tilling vs. no-till is a controversial issue amongst gardeners and homesteaders these days, but since tainted soil is also a serious issue; so you might want to consider tilling your damaged soil to help feed and grow a healthy group of microorganisms.
- Add Natural Amendments to Your Soil
Herbicide contaminants often create some serious imbalances in your soil that make it hard for your plants to thrive. If you get a soil test done and the results come back showing serious imbalances, you can help build up your soil again by adding good natural amendments to your garden.
Once you know what nutrients are missing from your soil, you can add natural amendments such as:
- For low nitrogen: add fish emulsion, blood meal, or legume cover crops
- For low phosphorus: add rock phosphate for long term results and bone meal for a quick fix
- For low potassium: add wood ash and compost rich in banana peels
- For low calcium: add lime (either calcium carbonate lime or dolomitic lime), gypsum, or clam/oyster shells
- For low magnesium: add dolomitic lime
Natural amendments usually take 6 months to a year to slowly release into your soil, so it’s a great thing to add to your long-term soil remediation regimen.
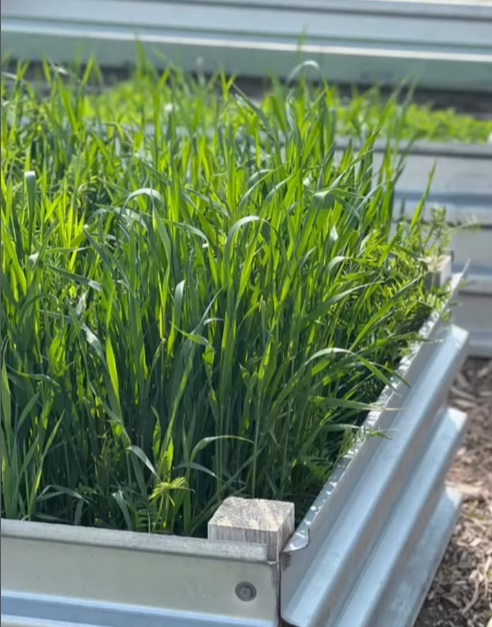
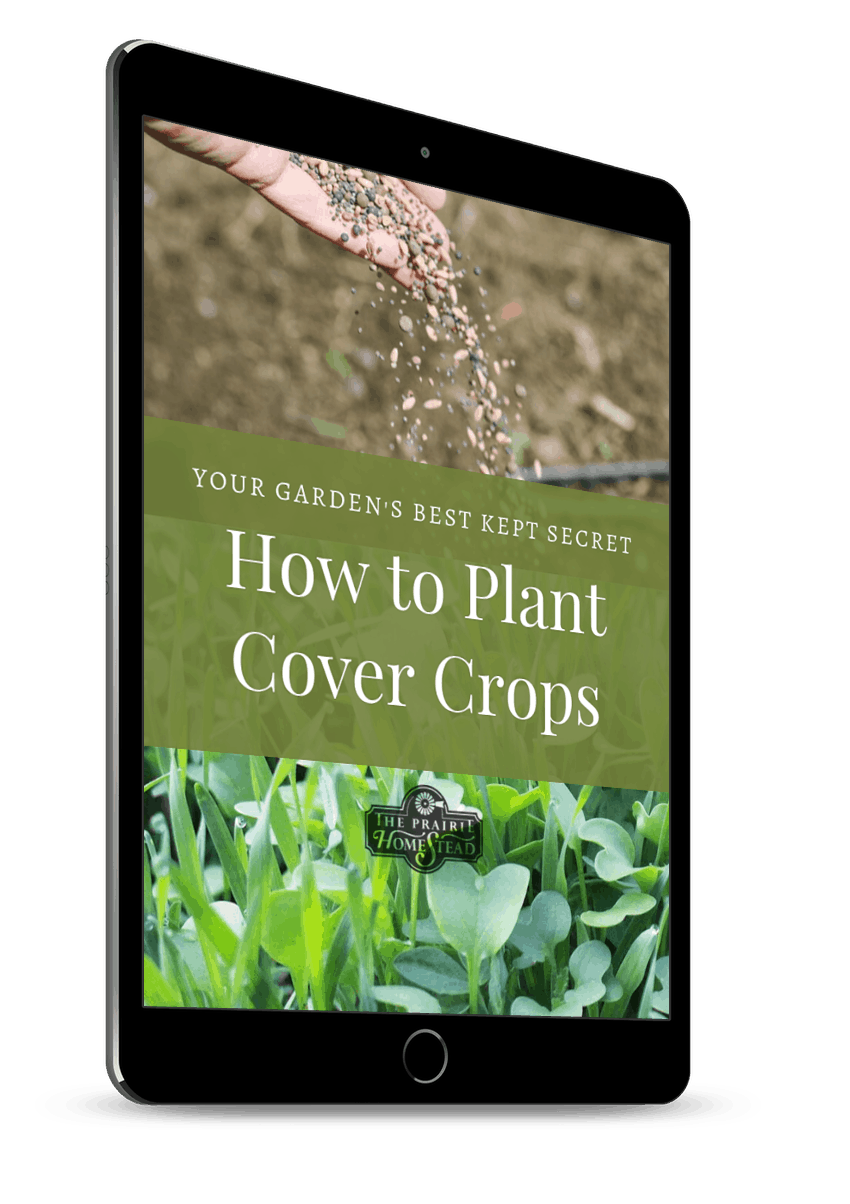
- Plant Cover Crops
I have fallen in love with cover crops in the last few years and I’ll always be adding them to my garden beds in the late-fall season from now on.
A cover crop is simply a mass of plants that you plant to cover your garden soil during the fall, winter, and early spring. They are a very sustainable and natural technique to rehabilitate your garden beds after the garden season is over. Basically, you are adding green biomass back into the soil.
Cover crops help keep your garden soil covered during the dormant months. That not only acts like a natural weed control method, it also keeps your soil from becoming depleted of nutrients by being vulnerable and open to the sun, weather, and wind. (Remember: nature HATES bare soil.) Their fibrous roots can also help feed your microorganism population.
I love the many varieties of cover crop seeds you can buy from True Leaf Market. Each variety of cover crop does something different for your soil, so you can look at their different varieties and choose which ones will help you most (or get their cover crop mix, which is my favorite, which contains a little bit of everything). Learn how to plant cover crops in this tutorial.
If you have healthy garden soil, you typically add the cover crop matter back into your garden beds or compost piles in the spring. However, for serious issues with tainted garden soil, do NOT return the cover crop material back into your garden soil. Instead, in the spring, pull the cover crops out completely and dispose of them in the garbage. Those plants have been helping soak up the contamination gunk and we don’t want to add it back into our garden; instead we want to get rid of it.
- Plant Soil-Remediating Crops in Your Garden
Some plants can help bioaccumulate the herbicides in your garden soil. Some of the most popular soil-remediating crops include: sunflowers, peas, radishes, and oats. Consider growing these crops to help draw out the toxins from the soil and boost your natural soil remediation actions.
Should you eat these crops?
Whether or not you eat these soil-remediating crops is a personal choice. They probably do contain trace amounts of the contaminants in them. However, if your tainted soil issue isn’t too severe, you might personally decide that it’s fine, since non-organic produce from the grocery store is also allowed certain percentages of chemical residue on them. Again, this is up to you.
If you decide you do not want to eat these crops, you will probably also want to make sure they do not end up in your compost pile and dispose them in the garbage.
How to Keep Your Garden Safe from Future Soil Issues…
It’s challenging to prevent tainted soil issues from happening in the garden (I mean, it’s happened to me three times now…). There are, however, a few things you can do to try your best at avoiding bringing contaminants to your garden. Of course, these actions will require keen observation skills, hard work and bold effort.
Tips to Avoid Garden Soil Contaminants:
- Before you purchase bulk soil or compost, research the company/vendor and also consider contacting them. Ask them all sorts of questions about the potential herbicides they use, potential sources/risks of contamination, etc.
- Think about buying a small sample of their bulk soil or compost before purchasing it in bulk. Take that sample home and run a bioassay test (instructions above) on it. Keep in mind that it will take a few weeks for the peas to grow enough to have an idea if their product is safe, so don’t wait until the last minute before the garden needs to be planted to do this sample testing.
- If you cannot buy a small sample first, you can buy it in bulk and do the bioassay test on the bulk materials before you put the bulk soil/compost in your garden.
- Be extra careful about the source of your hay or straw for either mulch or feeding your livestock (especially if you plan on putting that livestock manure into your compost/garden). Just like with the bulk soil or compost, research the company/vendor and consider contacting them to ask them questions about potential contaminations in their hay/straw.
- Make your own compost so you know all of the ingredients going into your garden are safe. If you stay aware of each thing you put in your compost pile, you can be pretty confident in your garden’s health. Learn how to make your own compost here.
Final Thoughts…
Before buying something that will enter your garden soil, make sure you research the source company/vendor and ask them questions. Be aware of what you are putting in your soil so you can do your best to keep it healthy.
A final thing to think about with this topic is to consider (kindly) contacting the company/vendor and letting them know about a potential contamination issue with their product if you are very certain it came from them. If you purchased from a local farmer, it’s possible that they were not aware of the issue about herbicides tainting garden soil. Bringing awareness of the situation to them might help keep garden soil contamination issues from spreading in your local area.
If you have struggled with tainted soil, please take heart. It might take a few years to get it back to healthy again, but nature finds a way to heal, and the tips I’ve shared here will help you boost that healing process. Before you know it, you’ll be reaping baskets of tomatoes and beans again.
More Soil Tips & Resources:
- Why Good Potting Soil is Important (blog article)
- How to Feed Your Soil a Whole Food Diet (podcast episode)
- How Fall in Love with Your Soil (podcast episode)
- Making and Using Compost for Your Garden (blog article)
- How I’m (Attempting) to Improve Our Clay Soil This Year (podcast episode)
- How to Feed Your Soil WITHOUT Compost (video)
Leave a Comment