I FEEL SO BEHIND.
Except I’m not. At least not yet.
Wyoming is horribly deceiving this time of year. We’ve been getting lots of 70+ degree days the last week or two, and I’ve been spending all day outside piddling out in the garden and getting sunburns, which is quite heavenly after a long winter.
My perennials are slowly awakening. The lilacs and ash trees are budding. And the prairie land all around is gradually turning a brilliant shade of green, which is a welcome sight after months of nothing but brown.
And I’m getting all ancy because it feels like I should be planting ALL THE THINGS in the garden.
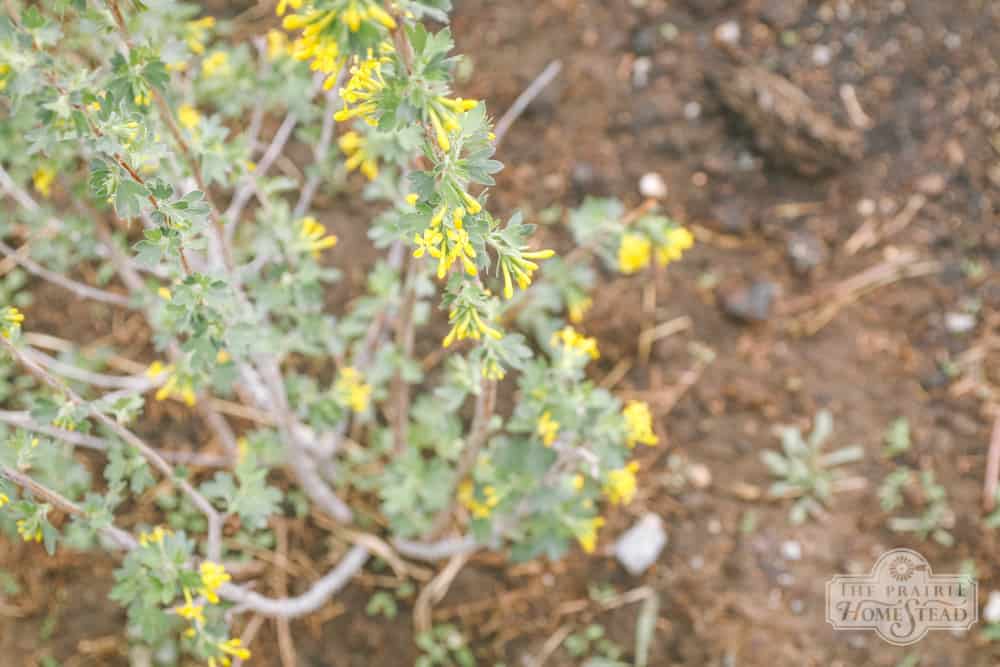
But I can’t. Because getting a full-on blizzard on Mother’s Day (or beyond) is entirely common around here.
And so I wait. And I water my tomato and pepper starts in the house. And I lurk in the garden like some sort of creepy stalker staring at the beds and making plans in my head.
It helps that our entire yard is completely torn up and in a state of utter chaos (we’re redoing the grass and adding irrigation). Well, maybe “helps” is a weird word choice, but at least the work to be done in the yard is distracting me from obsessing over my garden… Sorta.
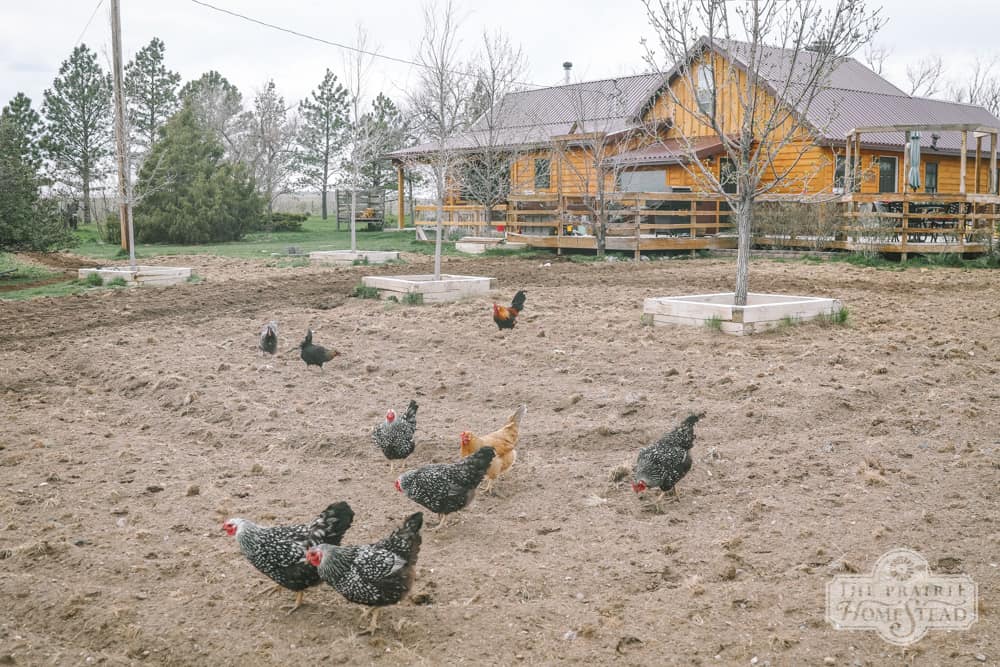
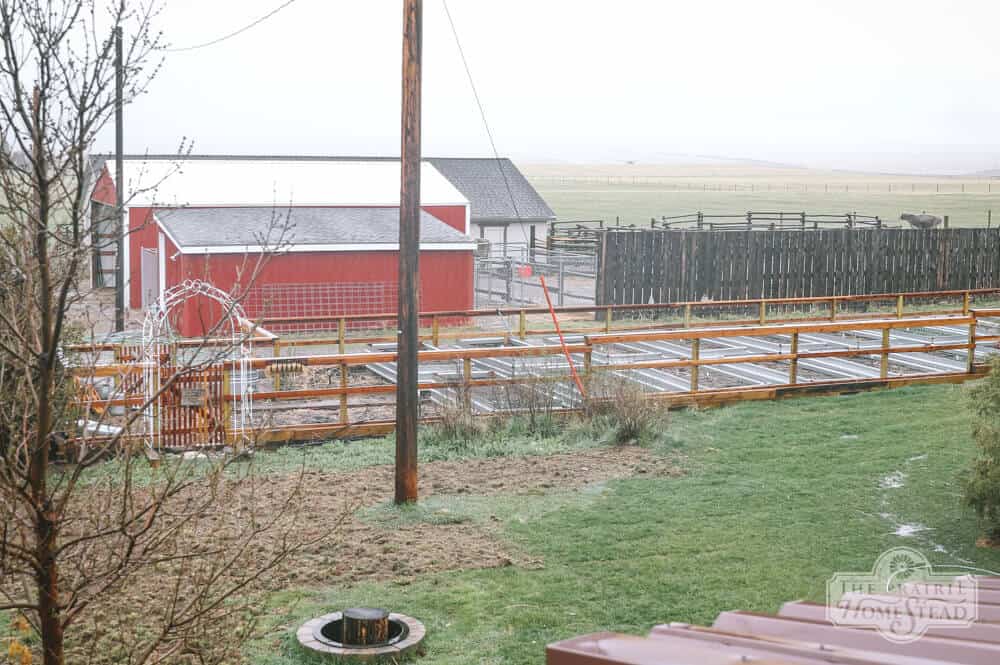
This is our second spring with our raised bed set up, although last year we were still in construction-mode. Since we’re not tilling or heavy-mulching like years past, I had to really think about exactly how I needed and wanted to prepare my raised beds for the upcoming season.
Because I might not be able to plant right now, but I can at least get as ready as humanly possible.
So, here’s what I’ve been doing to prepare our raised beds for planting– in a couple weeks it’ll be GO TIME, baby!
How We’re Preparing Our Raised Beds for Spring Planting
Making Repairs as Needed
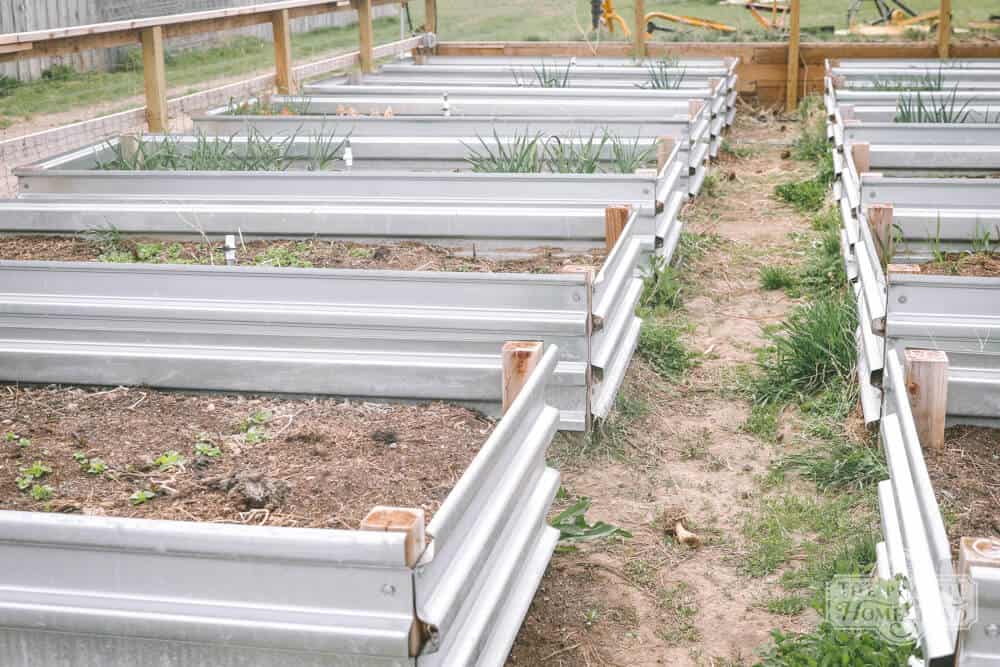
Thankfully, Christian built my raised beds to last until Armageddon, so there aren’t any repairs we need to do on the beds themselves.
However, if you have more traditional wooden beds, you may need to replace boards or reinforce the corners, as the wood will begin to decompose over time.
I stabbed one of our sprinkler lines with a pitchfork last fall when I was harvesting potatoes (yay Jill), so we need to fix that before we turn on the water this year, but that’s really our only repair.
And, we are adding landscape fabric and mulch to the walkways to cut down on the weeds there and make it prettier.
Removing Leftovers from Last Year
I know some experts say you aren’t supposed to leave dead plants in the garden over the winter, but I did.
My decision was mostly made out of laziness, but I also figured leaving some of the root structures in place would help to aerate the soil and provide some organic matter that could decompose and add nutrients over the winter.
Well, at least that’s my story and I’m sticking to it.
(Bonus– the remaining tomato and cabbage roots were WAY easier to pull out after several months of decomposition.)
If you had plant diseases the year prior, I would make a point to remove and dispose of any remnants, but we had no issues of that sort last year, so I just didn’t worry about it.
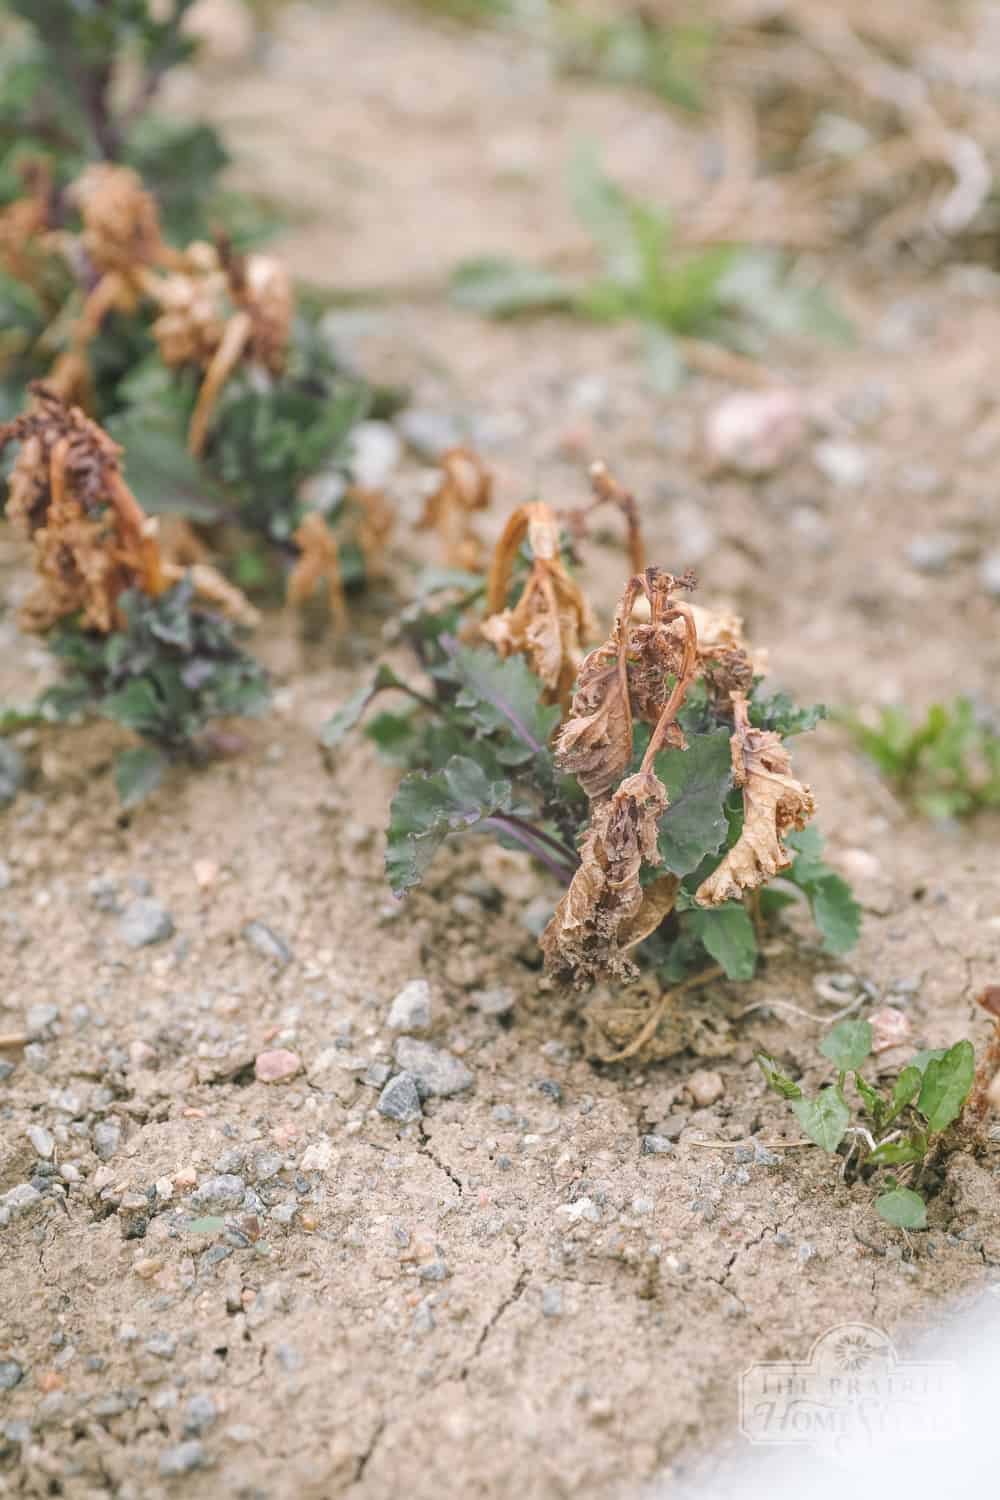
Another cool bonus– my kale is actually coming back to life! I’m going to leave it and see what happens.
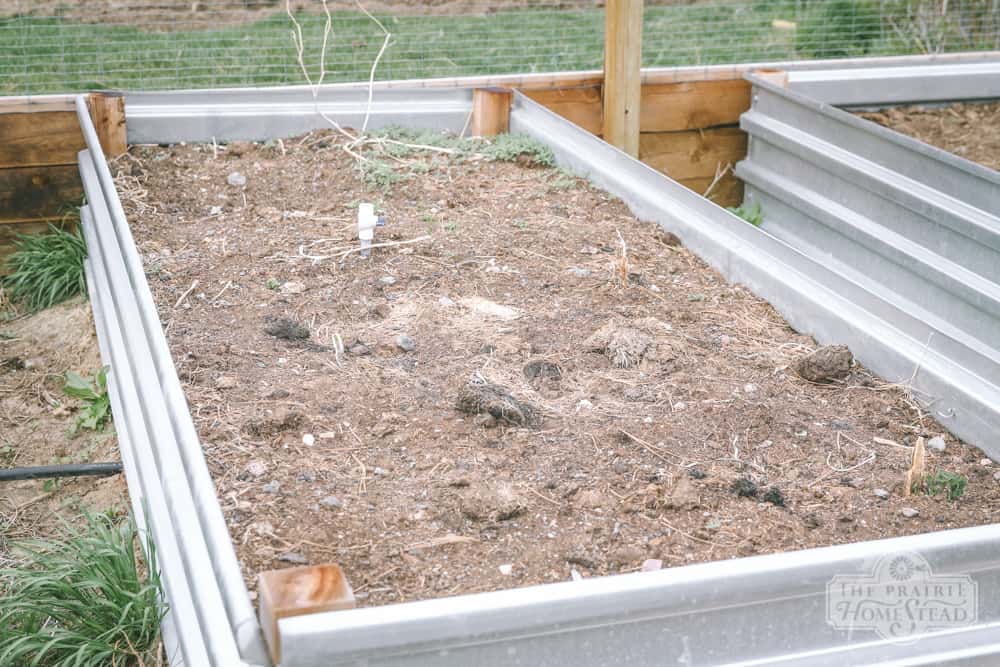
Testing the Soil
You don’t *have* to do this, but I highly recommend it. We did our first soil test this year and the info was super helpful and pretty much saved me from ruining my garden with too much composted manure. (Whew.)
Get all the details on soil testing here, as well as several mail-in lab recommendations.
Amending as Needed
Thanks to my soil test, I know my soil is deficient in iron, so I found some chelated iron at the local garden store. I’m going to apply that to all of my beds in the recommend dosage (which isn’t very much…)
The soil in raised beds often settles and sinks, so you may find yourself needing to add more in the spring. We didn’t need to do that this year, but I suspect we might next year.
I did add a wheelbarrow full of composted manure to each bed in the fall, so that helped add some nutrients, and increased the volume of soil in each bed.
Here are a few other ideas for improving your garden soil (whether you have raised beds or not!).

Hoeing & Removing Weeds
We don’t have nearly as many weeds as we used to when we did our in-ground gardening (probably because it was easier to weed last year so I stayed on top of it), but there are still a few popping up.
Since the soil in our beds is never stepped on, it’s not compacted and it makes it very simple to hoe. I’ve been hoeing each bed to mix in the compost I added last fall, and also chop up any weeds that have popped up. (Hello lambs quarters.)

You’ll want to find the right time to hoe– the soil shouldn’t be waterlogged, but you also don’t want it to be super dry, as that will make the job much more sweat-inducing.
I waited a day after a nice rain storm. The soil was damp enough to easily hoe, but not sopping wet.
After hoeing, I like to smooth out the top of the beds with my hands and remove any clumps or rocks.
Another weed removal option is covering each bed with black plastic for several weeks to kill the weed seeds. I didn’t do this this year, but it might be a good idea if your beds are overcome with weeds.
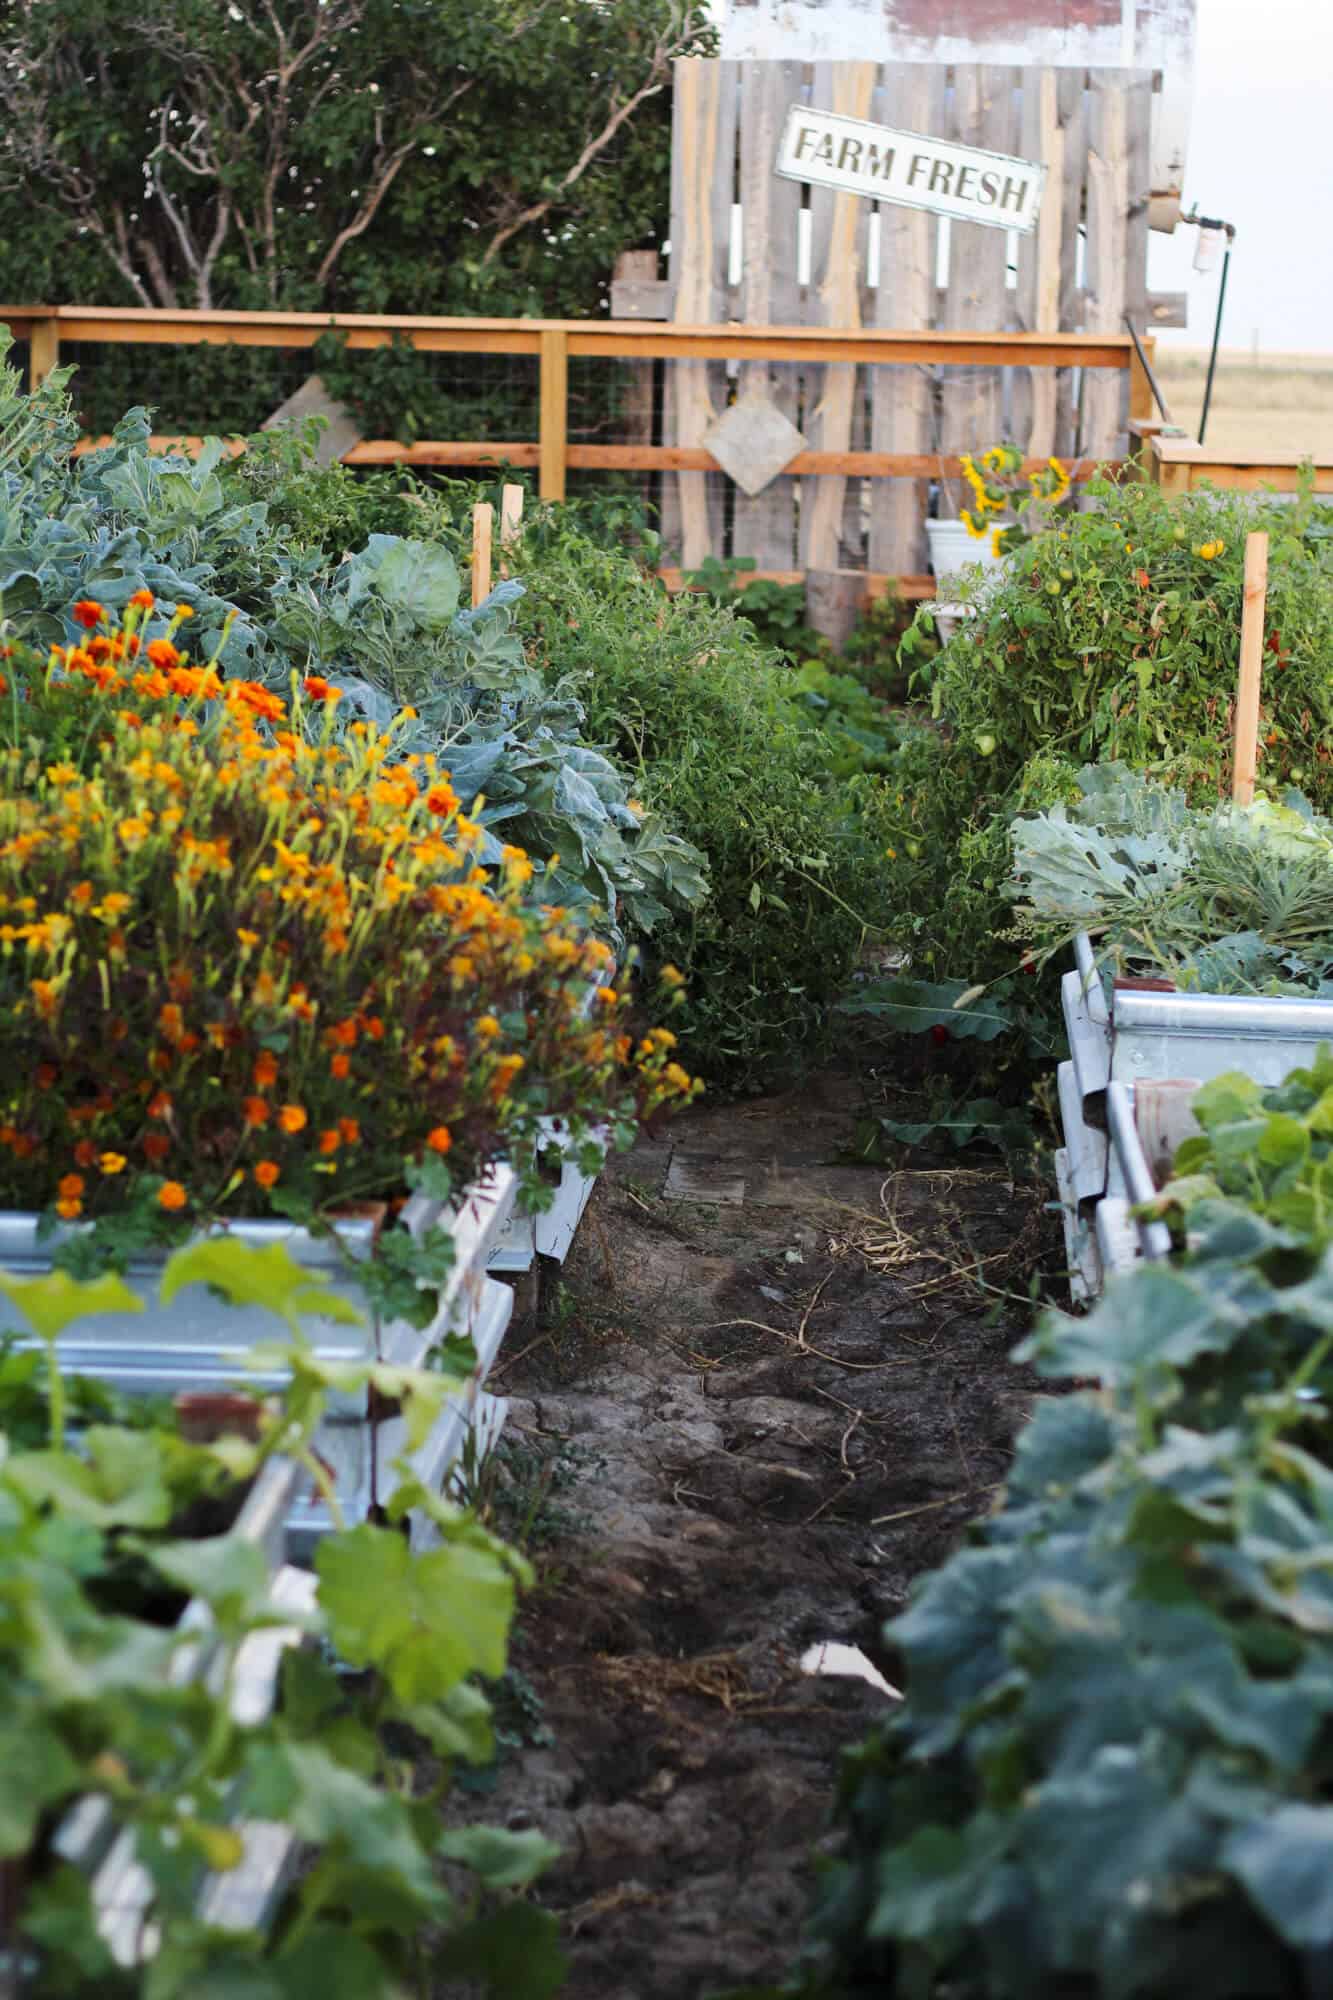
And that’s pretty much it. It almost feels too easy– is that possible? (I probably won’t be saying that once I’m in the thick of planting and weeding…) Fingers crossed we’ll have another stellar growing season this year!
Other Gardening Posts You’ll Love:
- Homemade Gardener’s Hand Cream
- How We Built Our Raised Beds
- Garden Tour 2017
- How Much to Plant Per Person
Listen to the Old Fashioned On Purpose podcast episode #3 on the topic Why We Chose To Garden In Raised Beds HERE.


I’m hoping to have at least one crop this year. I haven’t had much success yet! Last year I planted too late, and everything died. This year, well, I haven’t even started my seeds. I live in lower Quebec, so I’m not sure when to start planting.
Anywhoo, I wanted to let you know that I tried replying to your email today, and it got sent back to me. I just wanted to thank you for the heads up about Home Medicine Summit!
Thanks for the heads up re: my email– we were having issues with it earlier this week, but should be fixed now. 🙂 Glad you enjoyed the Summit, too!
Hello there. Pay attention to your variety choice this makes a huge difference like on melons use a Minnesota midget instead of hales best you will have melons. There’s variety of everything that thrive in different climates and take into consideration if you live in a area. That. Has weird weather. Add 10 to 20 days to the harvest date.
A friend asked for my feed bags to use in between the rows. I am keeping them and trying it myself
Love your posts…I’ve been reading them for quite a while now..You are right about leaving dead plants in the garden. I read that many beneficial insects winter over in their stalks. So if you pull them in the fall, you take away their homes!
Thanks for following along and reading Lee!
Awesome tips, thanks for sharing!
Ancy or Antsy?
The kale beds look like a little gypsum might help.
Before you use black plastic … toss in some worms and/or night crawlers. Toss in a few hands full of coffee grounds and coarse corn meal, spread out well. Then cover with black plastic.
Give it at least a month. Prepare to be surprised!
Whoops, typo…
Good idea about the worms/coffee, too.
Oh my gosh, I want a currant bush for my scones! I need to test my soil. Great reminder!
You’ll have to definitely get a currant bush and try it! 🙂
I didn’t see any perennials in your garden, so I would think you could herd those chickens into the garden space and let them have at it.
I personally like planting and taking care of my seedlings, but in my place there isnt enough rain and everytime the plants die out because of lack of rain.
i cant also depend on irrigation because water here in our country is very expensive. water bills are very high at times.
what is the solution for such climates
mulch keeps water from evaporating too quickly, great for dry climates.
Jill, I love your newsletters that you send out and all your posts. We just got 4″ of rain last night here in Iowa. Thank God I was able to do some cleaning out of beds and work the ground in my 10×10 where I have 3 kinds of beans, celery, broccoli and lovage growing. I checked my 18 garlic plants that I planted last Fall and the smallest one had a bulb about 3/4 to 1″ in diameter. I’m SO thrilled because this is the 2nd time I’ve planted garlic and I have success this year. To with your melon comments I’ve planted Heirloom Rocky Ford Cantaloupe this year and have 4 plants that have blooms galore so hoping for a bountiful harvest. If I have to much for our family will give some to my neighbors and set up a small stand in my driveway and sell the rest to whoever wants one. Thanks so much for everything you do to keep us informed on your homestead.
Hi there, I’m a new reader and I was so excited to learn that you are from Wyoming! I’m a Wyoming-ite also. I’m from Northern Wyoming, near the Montana border. I look forward to exploring your blog further.
Hi just curious why you decided to do raises beds over the deep mulch method?
I put leaf mulch and a few grass clippings over my raised garden beds in the fall. There is still a lot of leaves on top that hasn’t composted into the soil. Is it okay to till them in or should I scrape them off the top and put them in the compost pile and add composted manure instead? Thanks!
Love your raised beds, and the industrial looks it gives!! We just did wood, but got to love raised beds in general! Thanks for all the great info.
I loved this post, and it might actually inspire me to start some garden beds of my own this spring. Up until now I have felt overwhelmed, but maybe this is the year to go for it!
If I do, I will be referring back here frequently!!!
Raised beds are easier to manage and plan especially if you have different varieties of plants that you want to grow. Preparing them early, repairing any broken parts and soil testing are very important as they will help you increase productivity.
Hi Jill, I live just South of you in North-Central Colorado (North of Denver). I just recently came across one of your homesteading stories on YouTube and have subscribed to that and also your newsletter.
I know you wrote this post a couple of years ago, but I wanted to add a tidbit that seemed to work really well for me in my raised beds a couple of years ago. At the time I had been reading up a lot about composting and amendments for the garden beds and I wanted some really good organic soil for my garden. The rest of my comment would not fit so I will add-on…
Jill, I saved all of my egg shells and used coffee grounds throughout the summer. In the fall, after all the harvesting was done I alternately added the egg shells, coffee grounds and all the leaves from not only our yard but also the neighbors’ yards on both sides of us. I turned the existing soil, leaves, egg shells and coffee grounds a couple of times before the cold weather set in and my neighbors continued to donate the leaves as they took care of their yards. By Spring I had the most beautiful soil ever. So black and rich with little tiny beneficial creatures and my garden that year was the best ever. I was so upset when we had to leave that home and my garden beds. We haven’t lived in a place I could garden in much more than buckets. Now we find ourselves making another big move (for a better job opportunity for my husband) to Ohio. We are in the process of this new adventure as I sit here and write this so I will have to let you know how it goes. Blessings to you and your family.
SuzyJCinColorado
I saved all of my egg shells and used coffee grounds throughout the summer. In the fall, after all the harvesting was done I alternately added the egg shells, coffee grounds and all the leaves from not only our yard but also the neighbors’ yards on both sides of us. I turned the existing soil, leaves, egg shells and coffee grounds a couple of times before the cold weather set in and my neighbors continued to donate the leaves as they took care of their yards. By Spring I had the most beautiful soil ever. So black and rich with little tiny beneficial creatures and my garden that year was the best ever. I was so upset when we had to leave that home and my garden beds. We haven’t lived in a place I could garden in much more than buckets. Now we find ourselves making another big move (for a better job opportunity for my husband) to Ohio. We are in the process of this new adventure as I sit here and write this so I will have to let you know how it goes. Blessings to you and your family.
SuzyJCinColorado
Hi Jill, I apologize, I have tried to finish my comment a couple of times but it just does not appear as a reply to my original comment. All I really wanted to add is…..
I saved all of my egg shells and used coffee grounds throughout the summer. In the fall, after all the harvesting was done I alternately added the egg shells, coffee grounds and all the leaves from not only our yard but also the neighbors’ yards on both sides of us. I turned the existing soil, leaves, egg shells and coffee grounds a couple of times before the cold weather set in and my neighbors continued to donate the leaves as they took care of their yards. By Spring I had the most beautiful soil ever. So black and rich with little tiny beneficial creatures and my garden that year was the best ever. I was so upset when we had to leave that home and my garden beds. We haven’t lived in a place I could garden in much more than buckets. Now we find ourselves making another big move (for a better job opportunity for my husband) to Ohio. We are in the process of this new adventure as I sit here and write this so I will have to let you know how it goes. Blessings to you and your family.
SuzyJCinColorado
Hi Suzy says
I was wondering what soil you used for your raised garden beds?
Do you plant green beans in your raised beds?
That’s insane you have such great weather already! What zone is your area? I’m in East Idaho, an hour from Jackson, and we only get to 50 in a rare day. We still have snow!
Mandy, I hear you I live in Northwest Montana zone 3/4 and our snow is just about gone. I thought yesterday with it being 60* I’d go out and separate the iris. HA, the edges were fine but the center was still frozen. Guess a few more days before I get to play.
A bit new to the gardening scene. So how do you test the soil? Take it somewhere? Or do it yourself somehow?
And PS Jill, where did you say one could order evaporated milk without carrageen? I know it’s off topic but I’ve sent a few emails and I don’t think they are going to a box where they are seen…LOL.
regarding “And, we are adding landscape fabric and mulch to the walkways to cut down on the weeds there and make it prettier.” — our experience with landscape fabric under any sort of mulch has not been a pretty situation – here’s what happened for us – weed seeds will settle on the mulch, take root, and get their roots woven into the landscape fabric making it impossible to pull out the weeds without heaving up the fabric. mulch on the walkways is a big help, but we suggest not using the landscape fabric. here’s a site with more information on landscape fabric if you want to further research the topic https://www.facebook.com/groups/GardenProfessors/search/?query=landscape%20fabric&epa=SEARCH_BOX — as usual, your mileage may vary – all bets are off when gardening in Wyoming ::)) thank you for a great page.