“Well, my favorite manure is horse, followed by goat or rabbit….”
I was on a call with the members of my HOMEGROWN mentorship program and those were the exact words that came out of my mouth right as a friend walked through door. I wonder what on earth he thought? ?
And this is why us homestead folk are our own breed of weird…
But yes, I do indeed have a favorite manure, because I believe manure is one of the very best garden fertilizers there is.
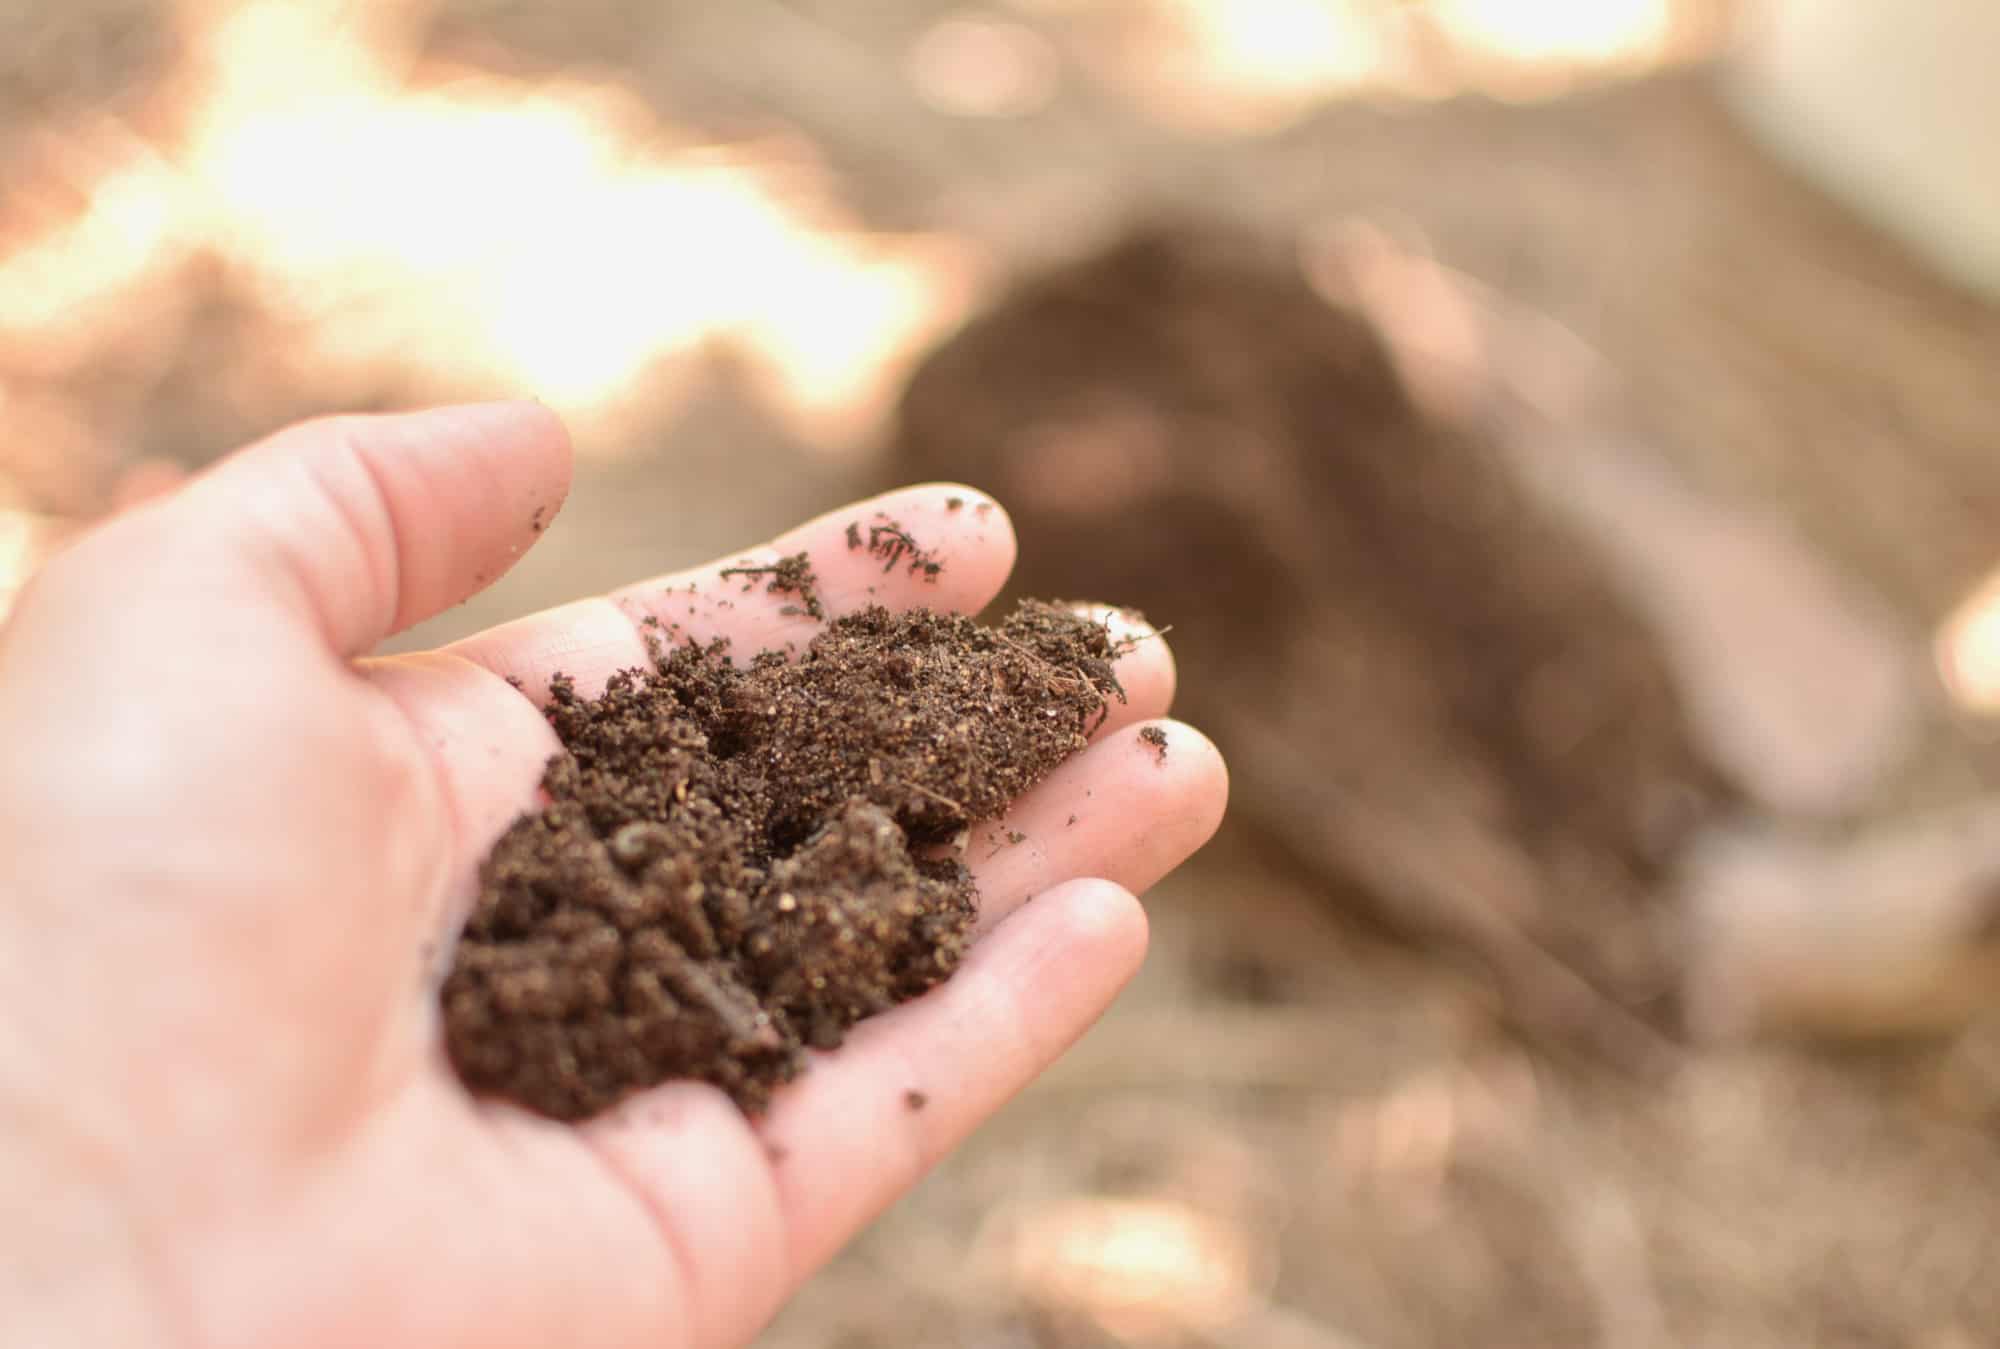
As I’ve done a deep dive into soil health, structure, and gardening amendments this year (this book is one of my favs right now), I’ve started to see compost and organic matter as more important than ever before.
Here’s why and how you can make your own garden gold:
What is Compost?
Quite simply, compost is decomposed organic matter. The best part? You can make your own compost. It’s basically free plant-food created by you for own your plants. Even if you live in an apartment, you can buy small compost buckets and create composted matter for your plants.
A healthy compost pile creates an environment where bacteria, fungi, worms, and insects can break down materials naturally to create a beautiful nutrient-rich material that you can add to your soil and garden.
Reasons Why You Should Use and Make Compost
Buckle up– there are LOTS!
1. Composting reduces the amount of garbage you send to the landfill.
Making compost is one of the easiest ways to do your part for the environment. According to the EPA, 28% of the garbage sent to the landfill is made up of food scraps and yard waste, which are key components to compost.
Instead of throwing them away, you can keep them for your compost pile and create something beneficial for your garden AND beneficial for the earth.
(Side note– feeding scraps to your chickens (if you have them) is another excellent way to put food scraps to good use.)
2. Compost saves money & boosts your sustainability
Compost is an almost universal answer to garden issues. Have poor garden soil? Add compost. Need to mulch your garden? Compost is an ideal choice. Want to give your plants a boost of nutrients? Make compost tea (here’s how to make compost tea).
If you want to make your own potting soil, guess what you need? Yep, compost again. And if you have raised beds like we do, those beds usually need to be topped off with additional soil or compost almost every year due to soil compression over time.
Good-quality compost from the store ain’t cheap. And if you have a large garden, the price tag on additional soil and compost might make you wince, especially if you have any sort of gardening budget.
Therefore, making your own compost makes the most sense if you need compost in any quantity at all.
3. Compost improves soil health
Instead of purchasing synthetic fertilizers and gunk, reach for homemade natural compost when your garden needs a boost. Commercial fertilizers, even organic ones, do not provide the amount of nutrients that you can get with good-quality compost. Compost gives out nutrients gradually, over a long period of time, while fertilizers are usually a “quick fix” action that only works for a limited time.
Compost also improves soil structure. Most gardeners don’t start out with great soil and compost improves your soil’s texture and boosts your soils ability to hold on to nutrients and water. Compost is loaded with beneficial microorganisms, earthworms, and other good stuff that leaves you with the perfect material to produce a healthy garden.
How to Start Composting
In order to compost, you’ll need a way to collect yard waste and food scraps. The easiest way to do this is to have both an inside composting bucket and an outdoor composting pile. Simply gather up your food scraps for the day in the inside bucket and then add that bucket of scraps to the outdoor compost pile along with your yard waste.
Selecting an Inside Composting Pail/Bucket
It doesn’t have to be fancy and a basic bucket (with a lid) under your kitchen sink will absolutely suffice. The only downfall to this method is the potential attraction of fruit flies or other bugs. (And, if the lid gets loose, it can stink up your kitchen.)
Therefore, if the simple bucket doesn’t work for your home, there are also specific compost pails for your kitchen. Lehmans has a number of designs, from wooden compost pails to vintage-styled pails and even stainless steel ones. The handy thing about kitchen compost pails is that they usually have some sort of odor-free additions with charcoal or filters, so they can look cute in your kitchen, keep the bugs away, and won’t smell bad.
Creating an Outside Compost Pile
There are many ways to keep a compost pile outside, and you can be as creative or budget-friendly as you’d like.
Here are just a few options:
- Get a composting bin.
Lehmans has this composting bin, which is the perfect size for small yards or homes with strict HOA rules. A bin like this makes your composting adventures tidy and does a great job at keeping critters out of the compost. Many composting bins rotate in a way that speeds up the process, too. The downfall to the fancier bins is that sometimes they can be on the expensive side and often hold only a small amount material at a time.
- Make a composting container.
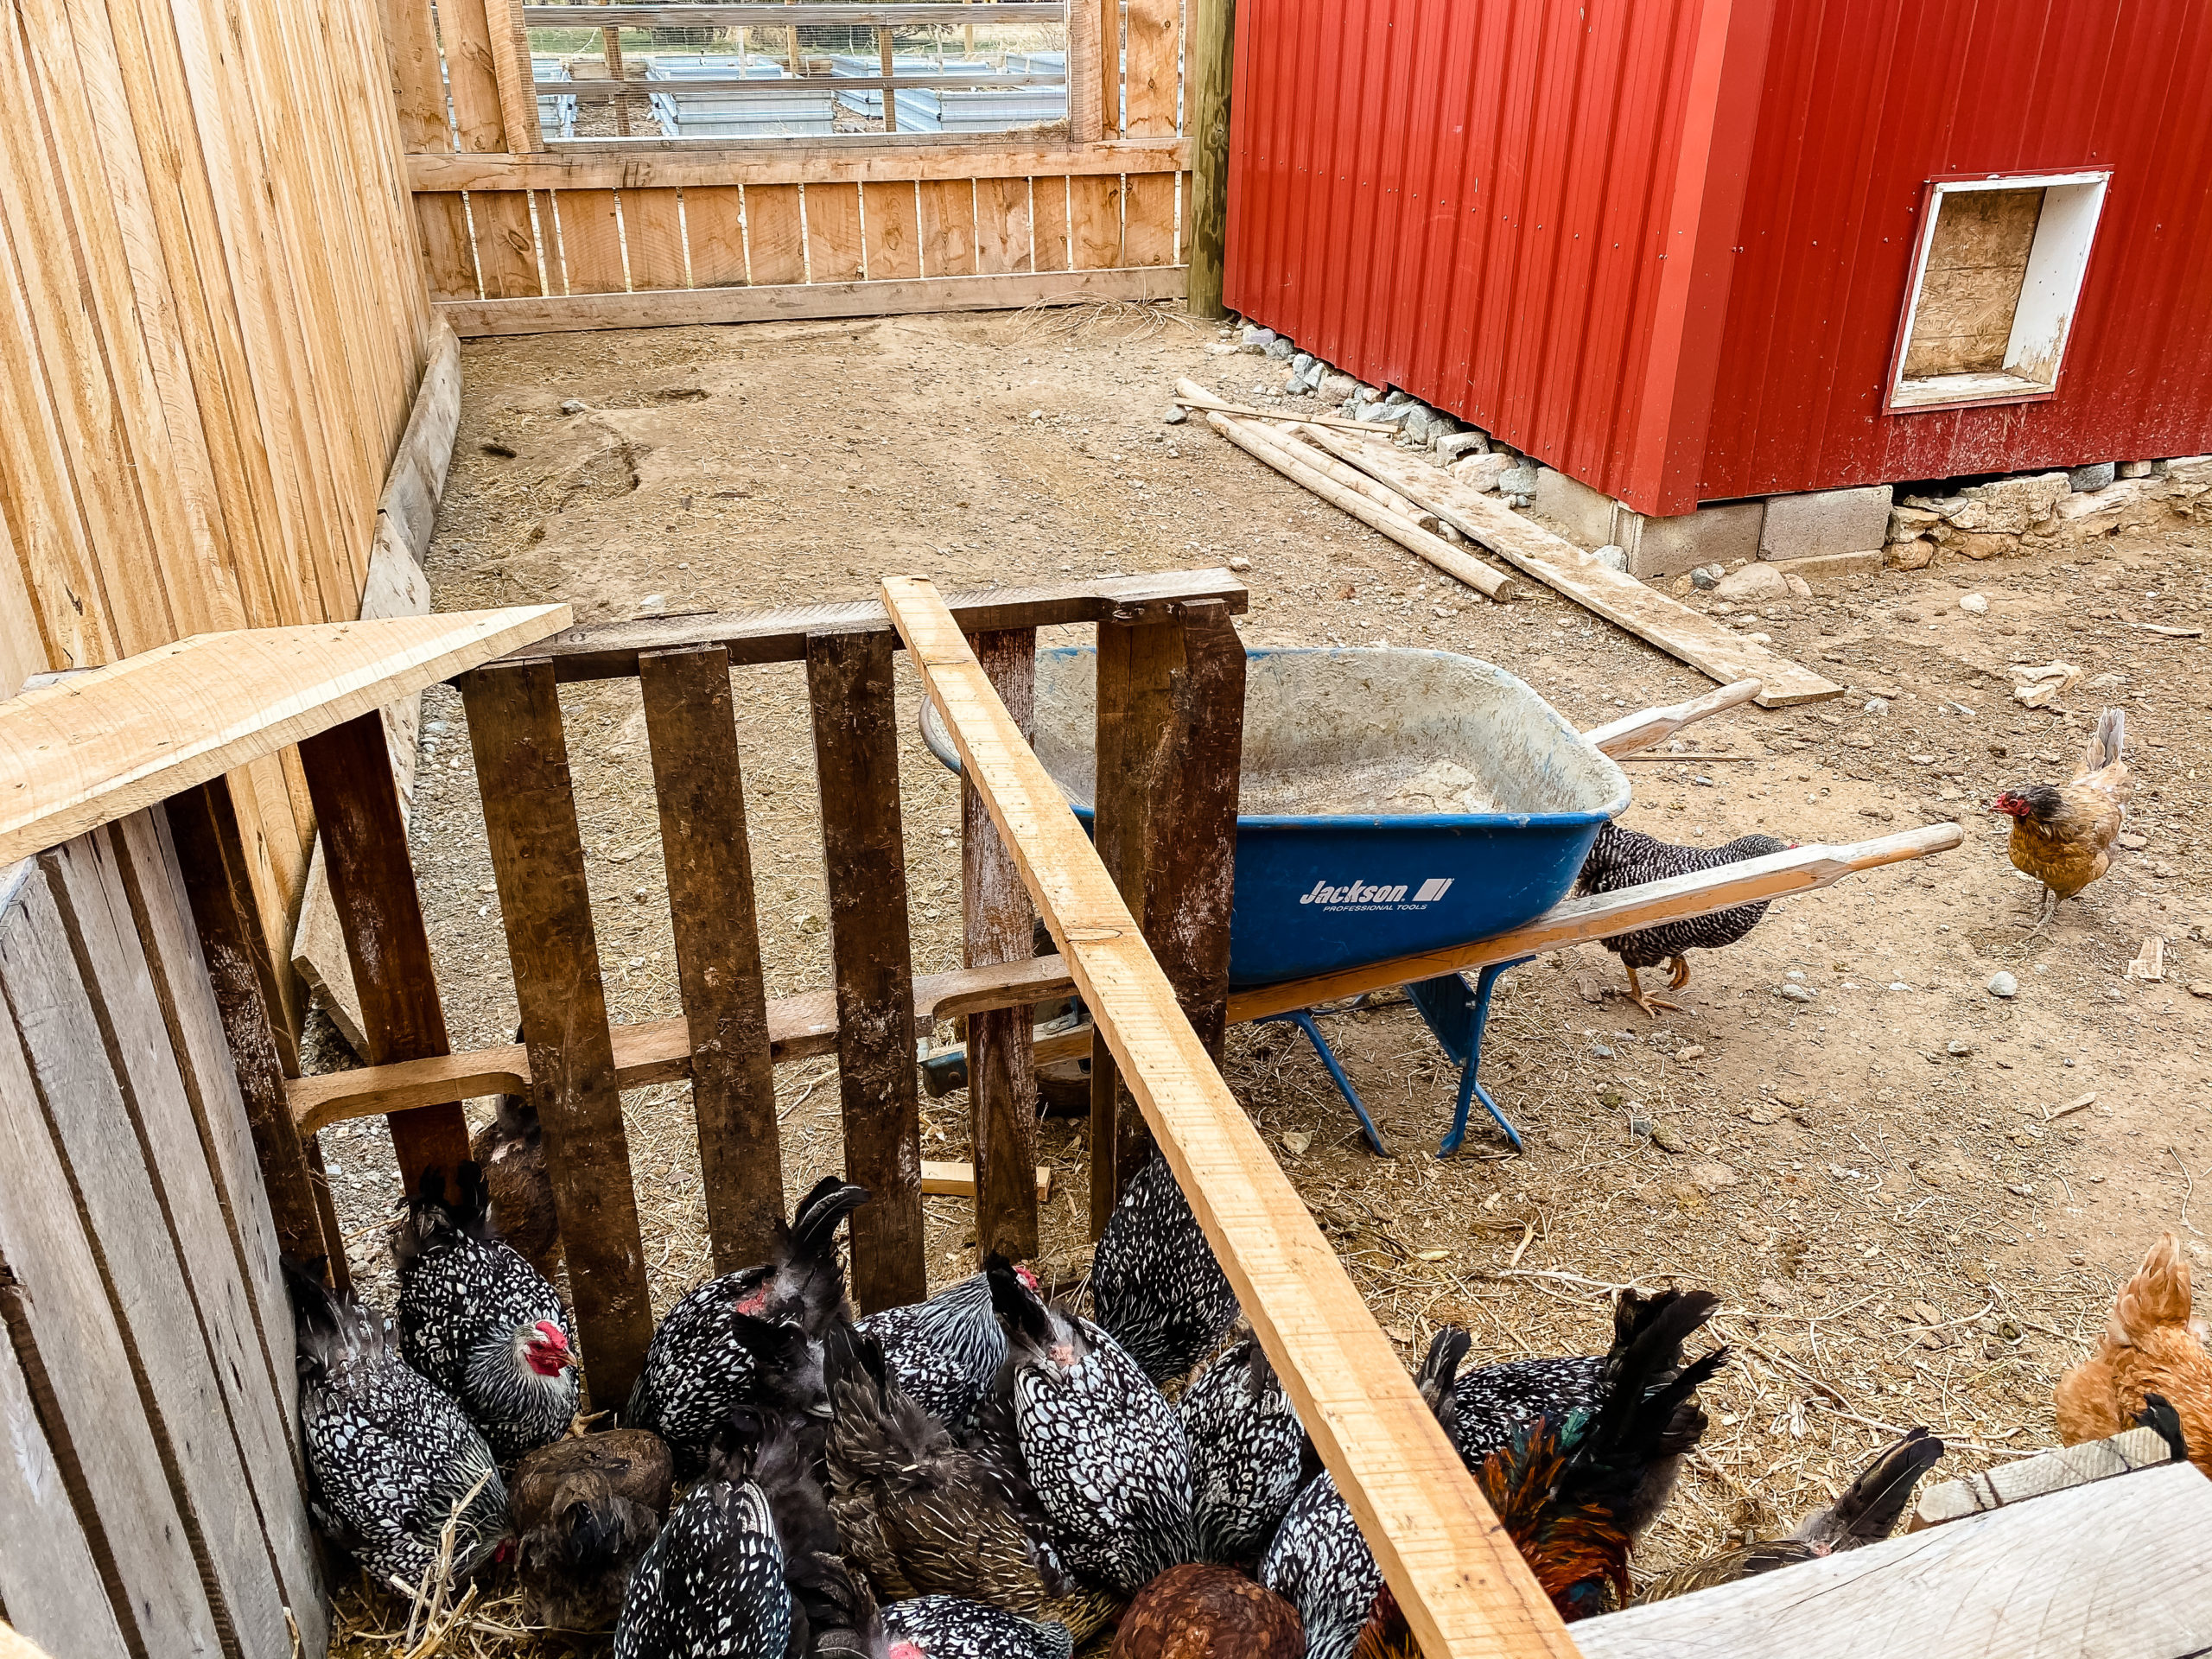
As I mentioned in my Chicken Power on the Homestead article that we recently created a pallet structure in our chicken run to hold compost materials. You can make a similar composting container out of cinder blocks or other materials you have around the house. The most basic composting structures are squares with three sides of walls and the fourth side open so you can toss your composting materials in there and get them out later with relative ease.
- Just make a big ol’ pile somewhere.
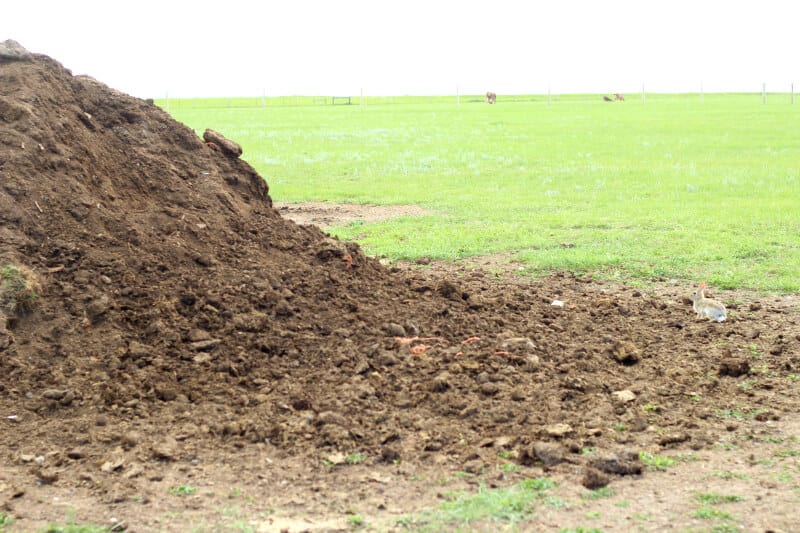
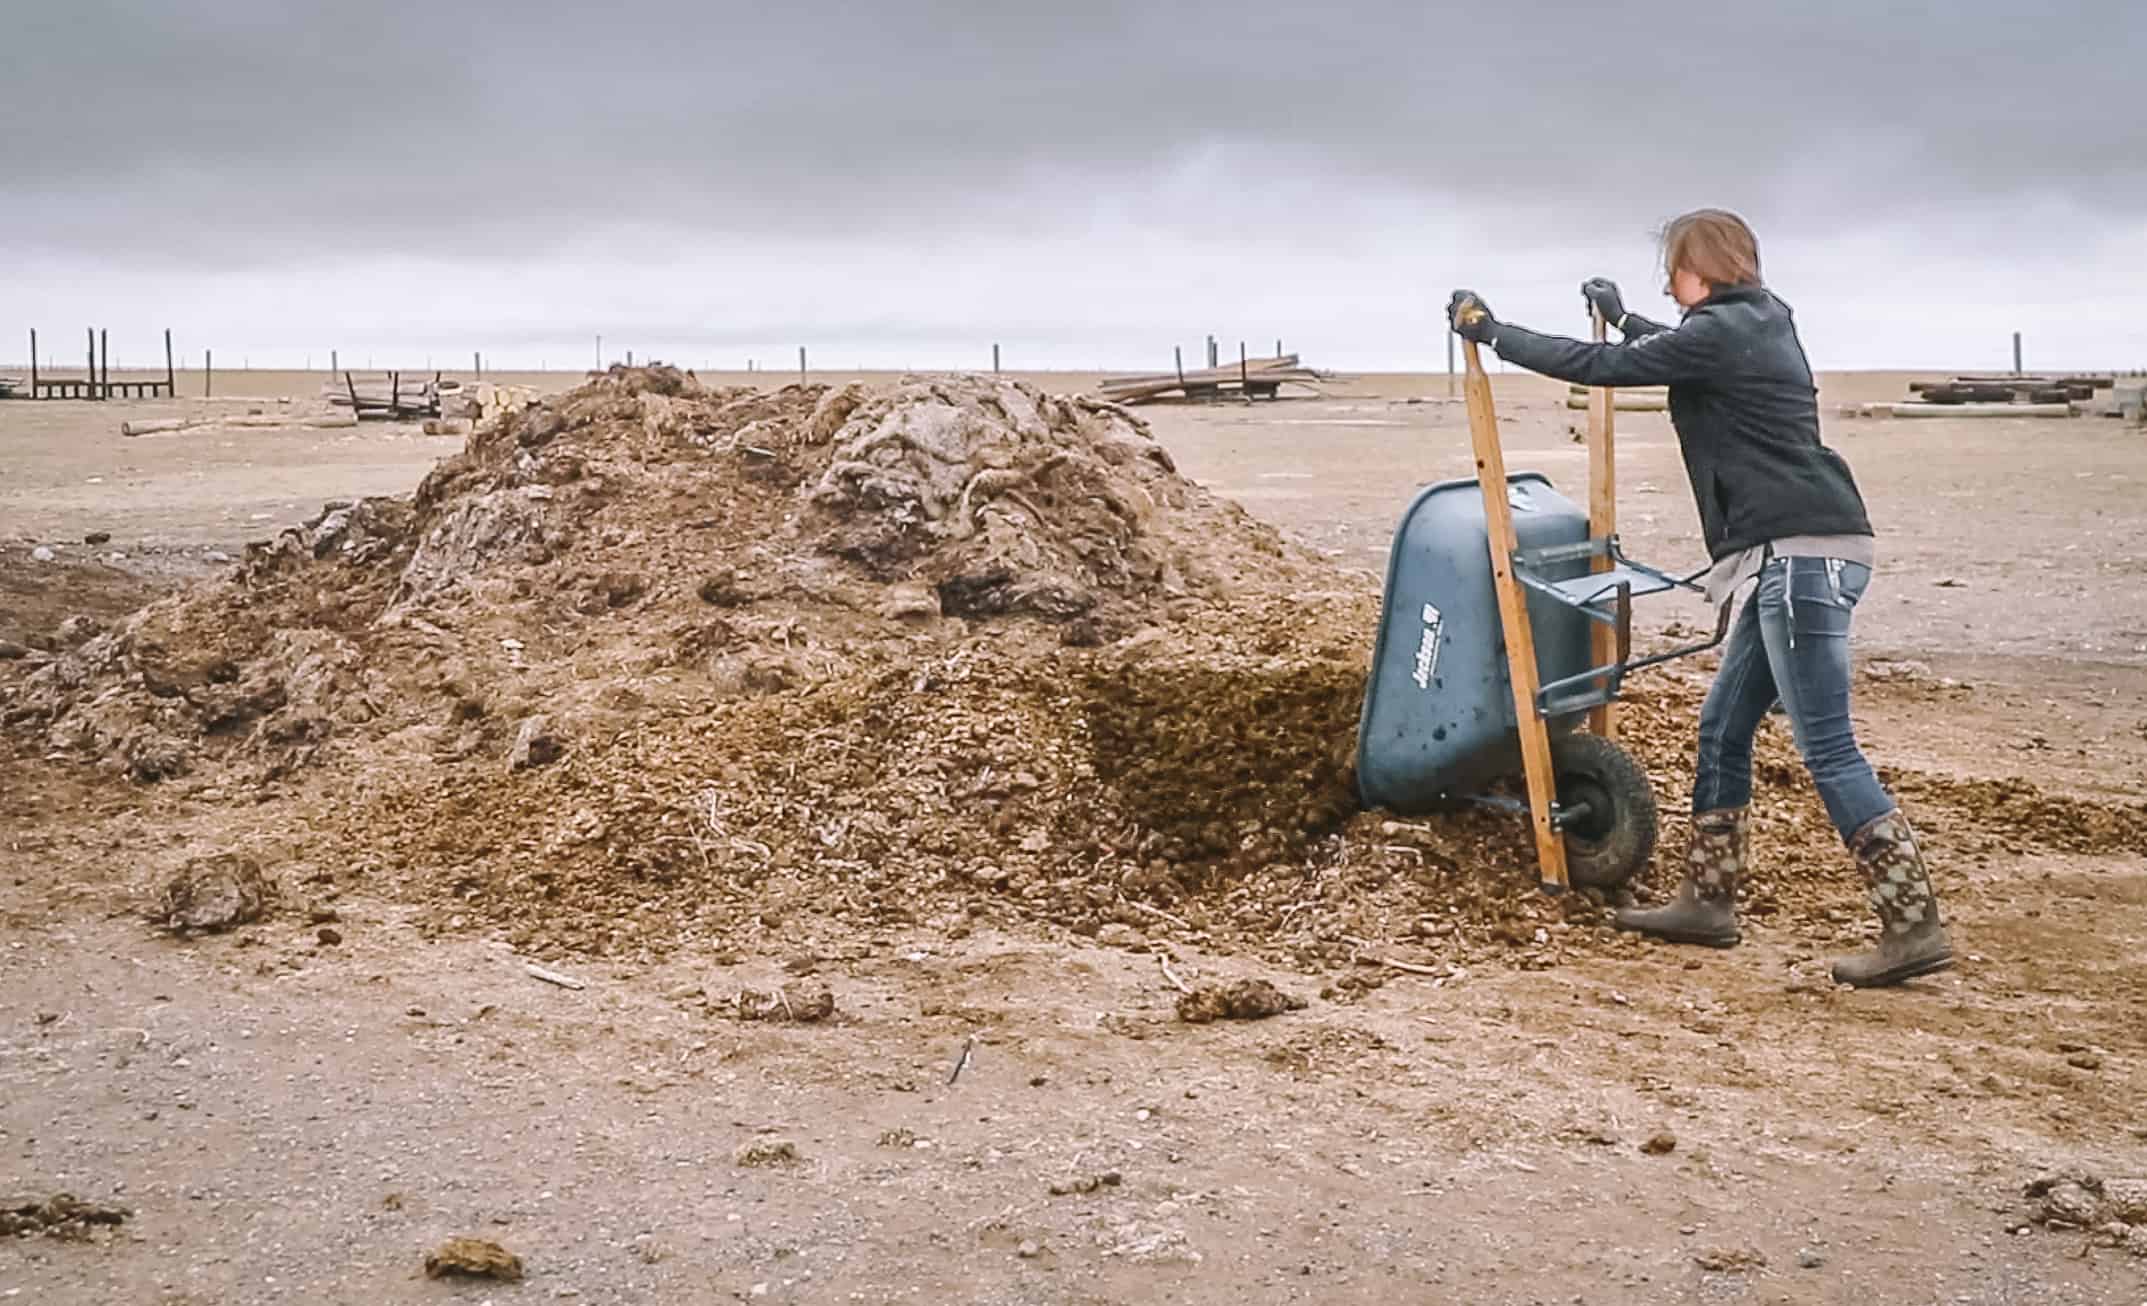
This is the perfect option for those with big homesteads with a spare area where you can make a huge pile of composting materials. It will look a bit sloppy, but it’s the easiest and least time-consuming way to make your own compost. The downside to a gigantic compost pile is that, depending on how big it is, it can be hard to mix it up (and mixing helps speed up the process), so it can take longer for that compost to be ready to use.
Where to Put Your Outdoor Compost Pile
In brainstorming your outdoor compost pile, it should be:
- Close to your garden (so you don’t have to carry heavy loads of compost a long way to your garden)
- In decent proximity to your kitchen (so you don’t get tempted to be too lazy/busy to bring your food scraps to the compost pile)
- Easily accessible for your yard waste (make it easy to drive your lawnmower with grass clippings right up to the compost spot, etc.)
Depending on where you live, you might have other considerations too, such as putting it somewhere the neighbors won’t see it.
Types of Composting
There are two main types of composting you can do at home: cold and hot composting. Cold composting is a casual and slow approach to composting and hot composting is a serious and faster way to compost.
For cold composting, simply gather up your compost materials in your pile, and ignore it. (I excell at this method, hahaha) Over 1-2 years, that pile will naturally decompose. You will be doing pretty much zero additional work on your homestead and as long as you can be patient, it will eventually decompose and be ready to use.
Hot composting is for more serious gardeners or self-sufficient folks. It is a faster process, but it is also requires more work. If done properly, you will have compost ready to use in just 1-3 months. Basically, there are four necessary ingredients for hot composting: nitrogen, carbon, air, and water.
When those four ingredients are properly balanced, your compost pile gets hot (the goal is around 140 to 160 degrees Fahrenheit) and the hotter it gets, the more quickly your compost will decompose and be ready to use.
The nitrogen and carbon come from the materials you add to your compost (mentioned more below). For air and water, turn the compost often and keep it somewhat moist. If you experiment with keeping the nitrogen, carbon, air, and water ratios correct, you can feasibly get compost for your garden within a year.
If you want to get super serious about hot composting, you can probably find some local connections in my Local Food Source article. A local Master Gardener course or even local compost company that might have tours can be super helpful for getting the bigger picture about how to compost with the correct ratios of the four ingredients.
What Can You Compost?
“What can I put in my compost pile?”
I get this question from y’all quite a lot, so let’s take a closer look at composting matierals.
There are two categories of materials that you can add to your compost: Greens (aka nitrogen sources) and Browns (aka carbon sources).
If you are just casually composting (cold composting), you can add these materials freely to your compost pile. If you are more serious about your compost (hot composting), try to go for a ratio of 3 or 4 parts brown materials to 1 part green material.
Composting Tip: Whenever possible, layer the pile with lots of browns, then some greens, and repeat. Layering the materials helps aerate the pile and encourages more earthworms, which helps your compost break down more quickly.
Ideal green (nitrogen) materials for your compost include:
- Fruit peelings and scraps
- Vegetable peelings and scraps
- Coffee grounds and coffee filters
- Egg shells
- Grass Clippings
- Animal manure (from herbivores)
- Seaweed
- Fresh leaves
- Tea bags
- Nut shells
- Spent cut flowers
Brown (carbon) materials for your compost includes…
- Cardboard (includes empty toilet paper tubes. Try to rip them up into small pieces)
- Newspaper
- Dried leaves
- Pine needles
- Paper materials (shredding the paper first helps)
- Straw
- Hay
- Sawdust and wood shavings (from untreated wood)
- Cornstalks
- Small twigs and small branches
- Dryer lint
What You Should NOT Compost
There are so many amazing things that you can compost, but there are a few items that you should avoid adding to your compost pile. The items that you should probably NOT add to your compost can be divided into two categories:
- Things that will make your compost unsafe/bad for your food-garden, and
- Things that will make your compost smell and attract pests or animals.
Here are a few examples of things you should not compost because it can contaminate your future garden:
- Sawdust or wood chips from chemically treated wood
- Straw or hay from chemically sprayed fields (here’s what happened to my garden)
- Diseased plant materials
- Weeds that have gone to seed
- Manure from domestic pets (like cats and dogs)
There are also things you probably should not compost because it can attract pests or animals (rats, raccoons, etc.), plus these items usually take longer to decompose and/or can make your compost very smelly.
If you are getting pretty savvy with hot composting, you can add small amounts of these items correctly. However, if you are a newbie or if you are worried about attracting pests or making neighbors angry due to the smells, I suggest avoiding putting these things in your compost pile:
- Oils, fats, and cooking grease
- Animal meat, scraps, and bones
- Dairy products (I do think adding whey to any compost pile can be beneficial, though)
How to Care for Your Compost Pile
Don’t forget: you can always just do cold composting (aka lazy composting) if you want. It’s still a great way to keep trash out of the landfills and use your waste to eventually make free compost for your garden.
However, if you have the spare time to care for your compost pile, you’ll get rich-nutritive compost available for use much quicker.
Here’s how to care for your compost pile:
1. Add Layers of 3 or 4 parts Brown Materials to 1 part Green Material
Every time you dump your kitchen compost bucket into your outdoor compost pile, add huge scoopfuls of brown materials at the same time. You can have a pile of brown materials (such as leaves and twigs) available next to your compost so you have easy access to them.
Composting Tip: Work on getting the compost pile about 3 feet deep before you stop adding new materials and start focusing on getting it to decompose. It’s smart to have a few compost piles (3 is ideal) so you can always have one pile that is ready to use, one pile that is partially decomposed, and one that you can still add materials into.
Composting Tip: If your compost pile looks too wet and/or smells really funky, add more brown materials and turn it more often to add more air. If it looks extremely dry, add green materials and more water to get it more moist. It’s a balancing act where practice gets you closer to perfection over time.
2. Occasionally Water Your Compost Pile.
While you don’t want to over-water your compost pile, it is important that your compost does not get too dry. If you’re going through a hot and dry summer, check the pile to ensure it’s not overly dry.
3. Aerate Your Compost Pile.
Oxygen is vital to the decomposition process The more you turn your compost, the more quickly it will decompose. If you’re on a mission to compost as fast as possible, I’d recommend turning your pile at least once a week. Otherwise, once per month is fine (or whenever you remember!)
Turn compost with a garden fork or a shovel. Simply scoop up some of the material and turn it and mix it up. While mixing and turning, it should be evident if the pile needs more green or brown materials or if it needs more moisture. Also watch for earthworms and other bugs in your compost as you turn it. The more worms, the better.

Composting: Frequently Asked Questions
How long does composting take?
This depends on the type of composting you are doing. With cold composting, it will probably take 1-2 years for your compost pile to properly decompose. If you are doing hot composting and adding 3 parts brown materials to 1 part green materials as well as turning your compost often and keeping the pile moist, the pile may decompose in as early as 1 month.
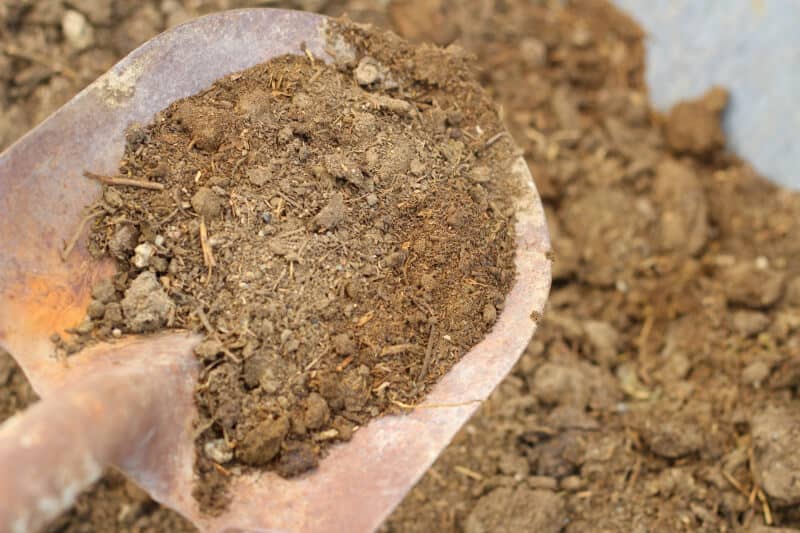
You will know when your compost is ready to use because it will have become mainly dark earthy soil, instead of pieces of veggie scraps and yard waste. You can help speed up your composting process by cutting up the materials into smaller pieces.
How can I use my compost?
Remember that compost is not a replacement for your soil. Instead it is a natural fertilizer addition for your soil to help nurture your plants.
- Use compost like mulch as a top layer on your existing garden beds
- Make homemade potting soil
- Make a compost tea for fertilizing your plants
- Add it to your garden beds before planting
- Top dress landscape, flower gardens, and vegetable garden halfway during the summer for a nutrition boost
Help! My compost pile smells bad and it’s attracting pests!
If your compost pile smells bad, this means your ratio of brown and green materials is off-balance. Stop adding green materials for a few weeks and add large amounts of brown materials to the compost pile. Start turning the compost pile often and wait until it stops smelling before adding your green materials again.
Do you have a good example of what to include in a perfect compost pile?
Layering 3 or 4 parts brown materials and 1 part green materials is all you really need to make your compost pile. This will depend a lot on what materials you have around your home. Here’s a sample of a good compost pile: 3 parts dry leaves, 1 part fresh grass clippings, 1 part food scraps. Layer this in 4 inch layers, turn once a week, and add water if the pile is dry.
What is vermiculture?
Vermiculture is the process of making compost with worms. Worms are not only beneficial for normal compost piles, but you can also compost solely with worms, if you have the proper container and worms. Worm castings are amazing nutritional additions for your garden soil.
If you are interested in vermiculture, I suggest reading a book or finding some online tutorials on how to do it properly. Worms are not happy with temperatures that are too hot or too cold, and you also need to use a watertight container and feed them correctly. Once you have learned how to care for them, you can purchase red worms for composting online.
More Gardening Tips:
- Natural Weed Control for the Organic Gardener
- How to Extend Your Gardening Season
- 8 Ways to Prepare Your Garden for Winter
- Preparing Our Raised Beds for Spring Planting
- What We Learned By Testing Our Garden Soil
Go HERE for a list of my favorite gardening tools.
Very thorough article. We have added an open-air yard waste pile this year. Any branches, twigs or leaves that aren’t otherwise processed (mulching, chipping, or using as structures in the garden), are piled and left to rot. We also have a worm bin and an enclosed compost bin outside. The stuff is gold!
Have you heard of using a pipe with holes drilled in it in the compost pile? It is supposed to aerate it a little better.
If you don’t have space for a compost heap or you don’t create a lot of compostable material you can collect it and bury it anywhere in your garden about a spade depth down , it will break down relatively quickly. An old technique for planting vegetables called trenching is to dig a trench about 18 – 24 inches deep fill it with compost waste (brand new or semi rotted down) cover it in soil then plant your vegetables on top. You can do this in the autumn let it break down before planting in spring although I have planted on top straight away without issues before.
I live on my own in a unit now and virtually all my growing is in pots and planters , I do have a worm farm ( worm juice is amazing fertiliser) but they are a bit fussy so anything they don’t like gets buried like at the bottom of planters or in the very small garden bed I have.
My dad swears by putting as much of his waste through a garden shredder first before adding to the compost heap which speeds up composting as well.
Like Jil says it’s a great free resource and stops a lot of landfill.
I have a compost pile, a barrel on a frame I rotate, chickens, 2 worm beds and a 55 gallon drum that I brew my compost tea in. We rotate between them all with the daily scrap bucket.
For your indoor compost bin use pine pellets! Absorbs all the doors and shafts the composting while it’s still inside. Total game changer for me. About an inch of pellets at the bottom of the bucket. Don’t even cover my indoor compost bin anymore (which makes it so much easier to throw stuff into)