I’m not one to exaggerate.
When I say we have a super short growing season here in Wyoming, you know I mean it. In fact, I’m just sitting over here hoping I’ll be lucky enough for just a few of the tomatoes turn red before the first frost this year.
(Side note: Don’t worry, I never waste a green tomato. Even if none ripen before our first frost hits, I’ll pick them green and ripen them indoors. Here’s how I save and ripen my green tomatoes when the frost hits.)
So I was saying… mid-May blizzards and mid-September frosts don’t leave a lot of room in between for many crops to mature. I’ve shared tips before about how to garden in a cold climate, but it’s a huge bonus if you can extend your garden season. That is, if you actually want ripe tomatoes in Wyoming, or mature corn in New England, or any decent harvest at all in a cold climate.
Don’t get me wrong, sometimes I’m pretty darn happy to put away the gardening tools, clean my garden for winter, and call it good. It’s no secret that sometimes putting the garden to bed early in the fall is totally okay with me. But since I’ve started gardening in raised beds, with automatic watering and mulched paths, I haven’t been as garden-weary in September as I used to be.
Add to that the fact that a fall garden of vegetables is pretty low maintenance—with less pests and less weeds than I find in summer—and I’m glad there are lots of nifty ways to extend the growing season. The techniques range from frugal hacks to expensive greenhouses, so I’ve gathered some of the most practical ideas here that will protect your fall garden from early frosts (and maybe even surprise blizzards).
Bonus: Some of these ideas will serve you well in the early spring, too. You know, those years when you get a bit antsy to start gardening, but you’ve still got a foot of snow on the ground in April…
How to Extend the Garden Season
Obviously, different season extenders will work better for some of us than others, depending on garden layouts, typical weather patterns, and other variables. But the basic components for how to extend your gardening season are the same for all of us.
Here are the basic things to consider to extend your garden season:
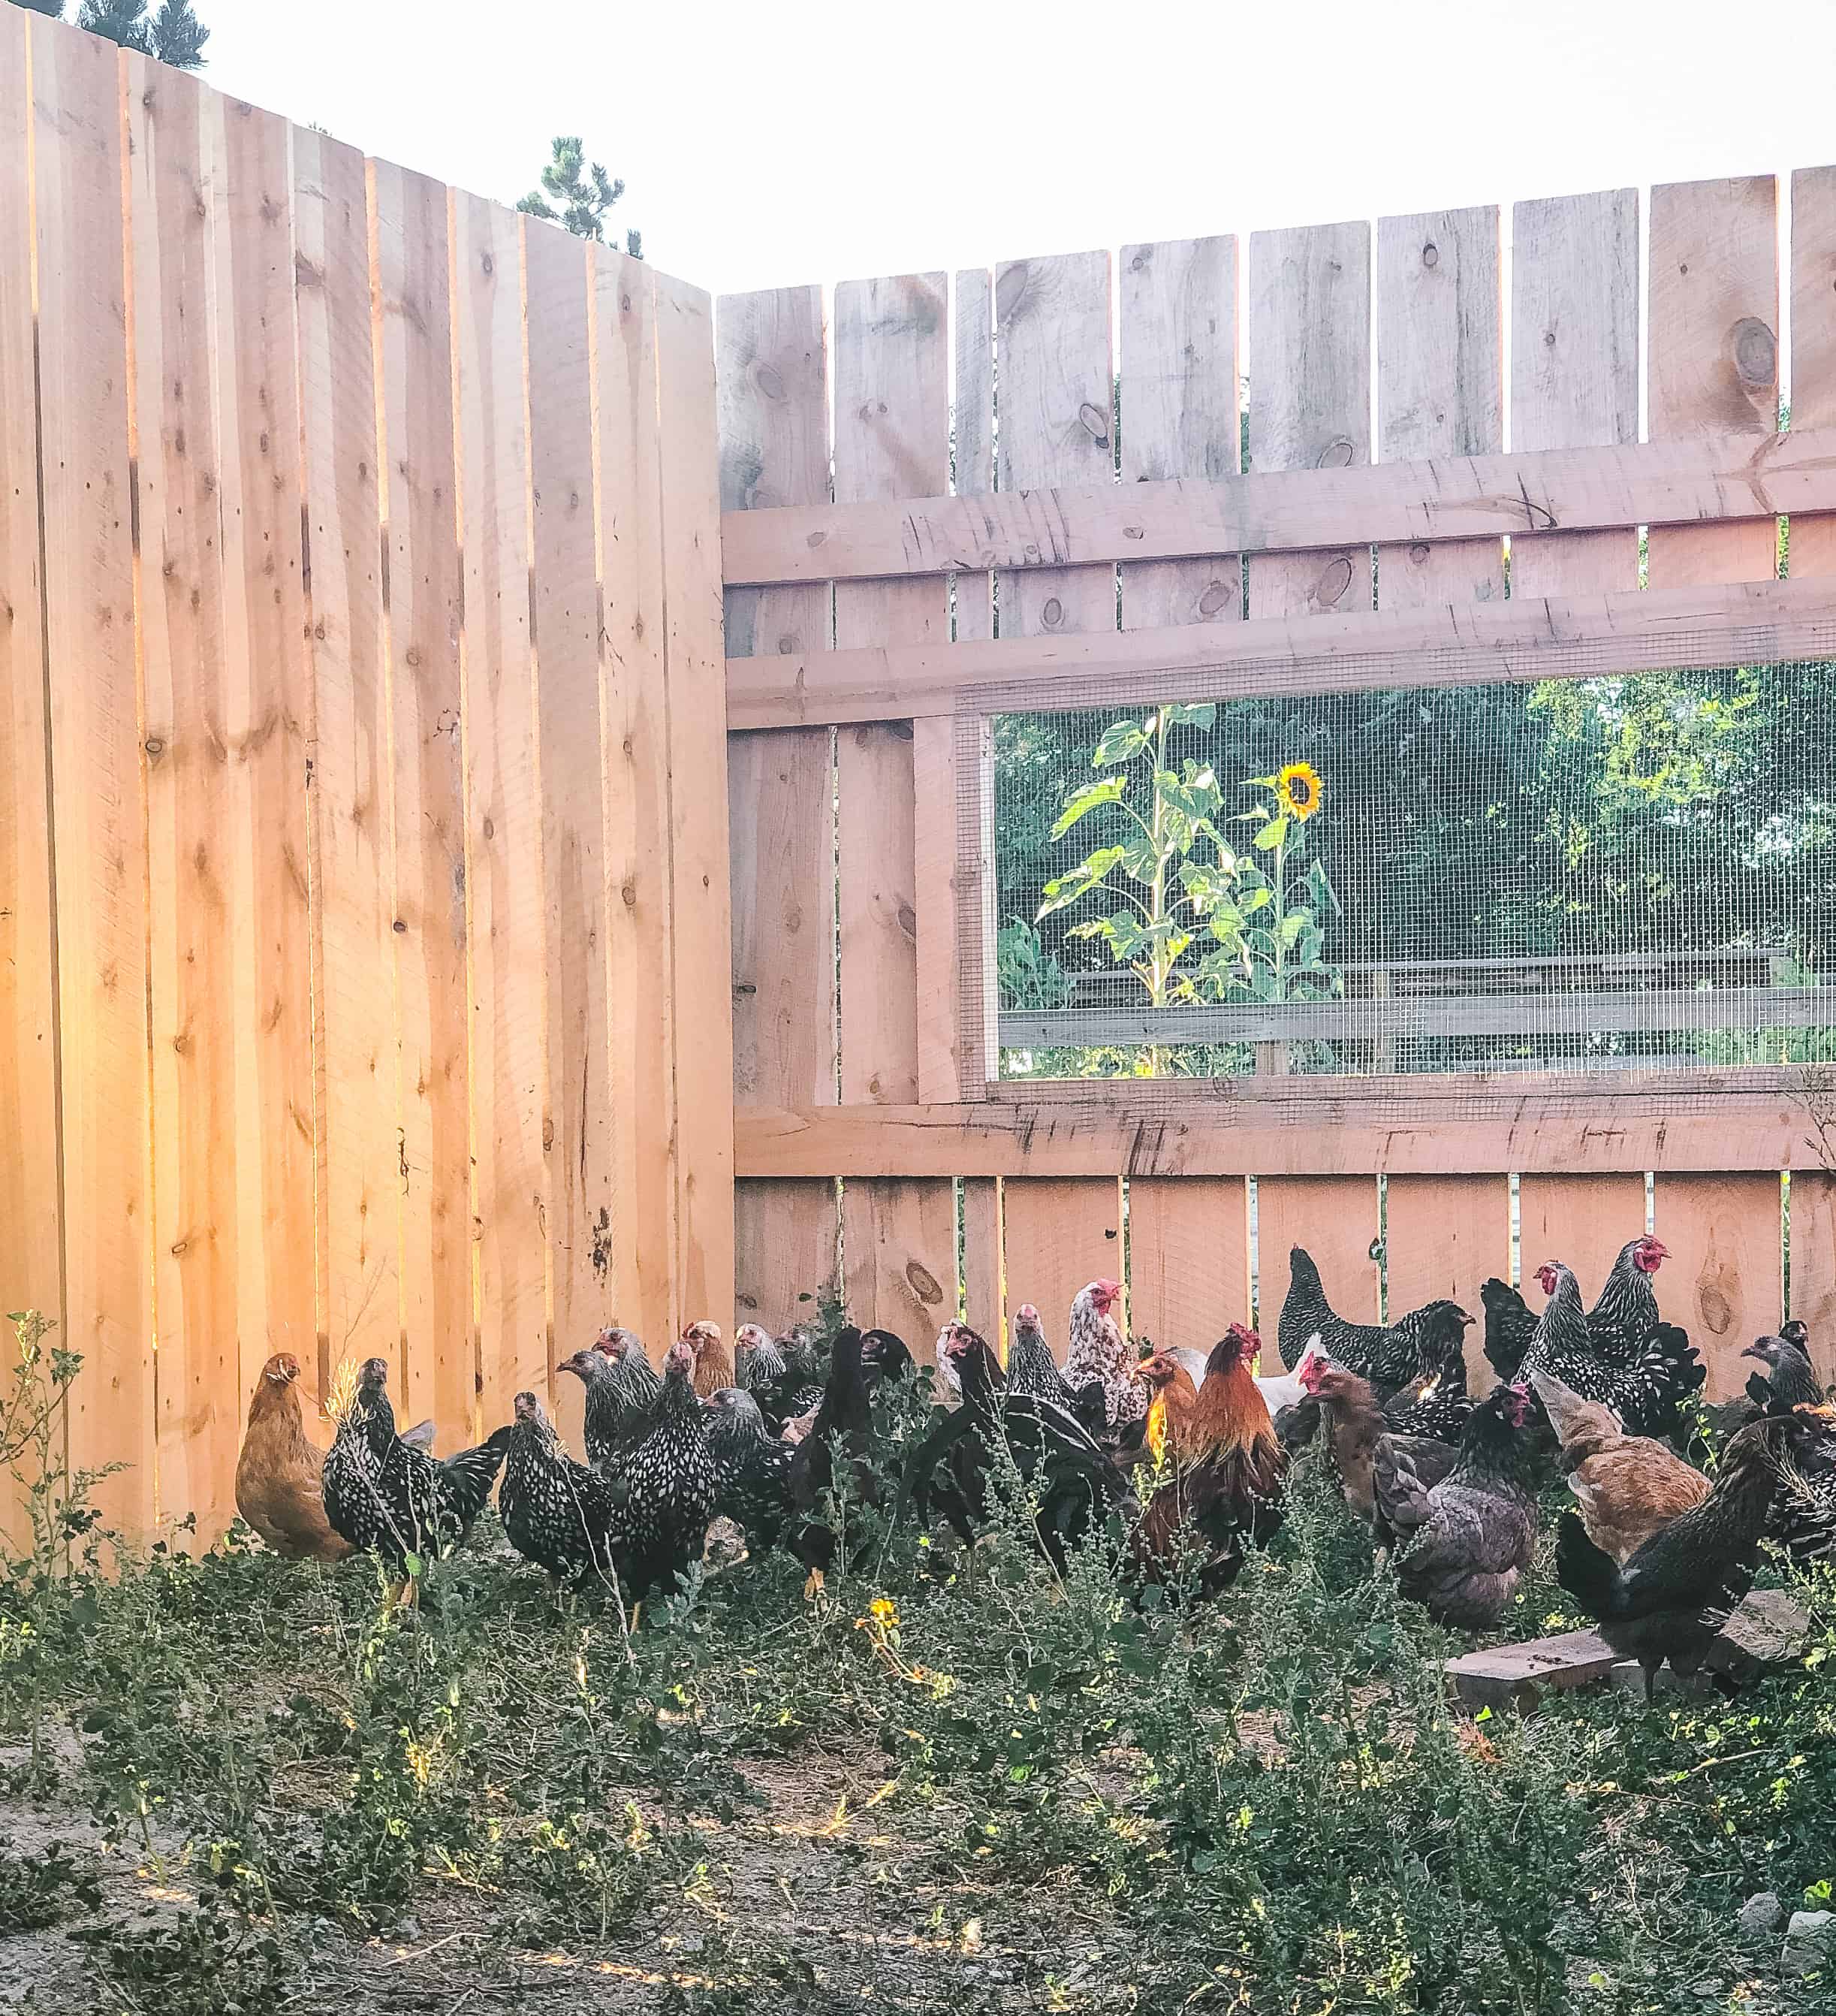
- Reduce wind exposure: Strong winds are a real problem here on our homestead. So some garden extension ideas, like hoop houses, aren’t gonna work for me, unless they are super sturdy. TIP: If you have strong winds, you might find wind blocks—like fences or nearby buildings—super helpful in protecting your garden plants in the late fall and early spring.
- Keep your soil warm: Raised beds have an advantage in gardening because the soil stays warmer longer. If you are not gardening in raised beds, your soil temps might get cold faster, and that’s gonna stop your plants from growing, even if you use some of these garden extending tips. TIP: Mulch and/or garden fabric can help you keep your soil temps warmer for longer into the season.
- Protect from frost: Microclimates have a huge impact on when you get frost. For example, if your garden is in a valley or huge clearing, you may have more frosts than your neighbor down the street who is surrounded by a forest or gardening up a slight hill. TIP: Be aware of your property’s vulnerability to frost, and keep an eye on frost warnings. Have some old sheets, blankets, cardboard, etc. on hand for easy access to cover up your crops at the last minute.
- Amount of natural sunlight: Some of us live in areas known for lots of sunny days, and some of us have to deal with more cloudy days. Also, if your garden borders a forest, or stretches along the side of your house, it might be more effected by the shortening of days and sunlight as we progress towards winter. TIP: Observe your garden’s availability to natural sunlight and decide which garden extension technique works best for your personal needs.
Options for Extending the Garden Season
1. Hoop Houses
Simple hoop houses can be made with many types of materials. It’s basically a form of some sort that is bent in a series of hoops around your garden plot and that form is covered with certain materials. They can be fairly inexpensive to make, depending on the materials you choose to use.
Hoop houses protect your plants from frost and can extend your growing season by an additional 6-8 weeks. On warm days, you need to keep your hoop house ventilated by lifting either the ends or specific openings in the covering.
While the shapes of different hoop houses are all pretty much the same, you can be creative with what you use to make the covering which lays over the hoops. (Bonus, you’ll feel super good that you’ve repurposed that old shower curtain that you just couldn’t bear to throw away last year.)
Here are just a few examples of hoop house options:
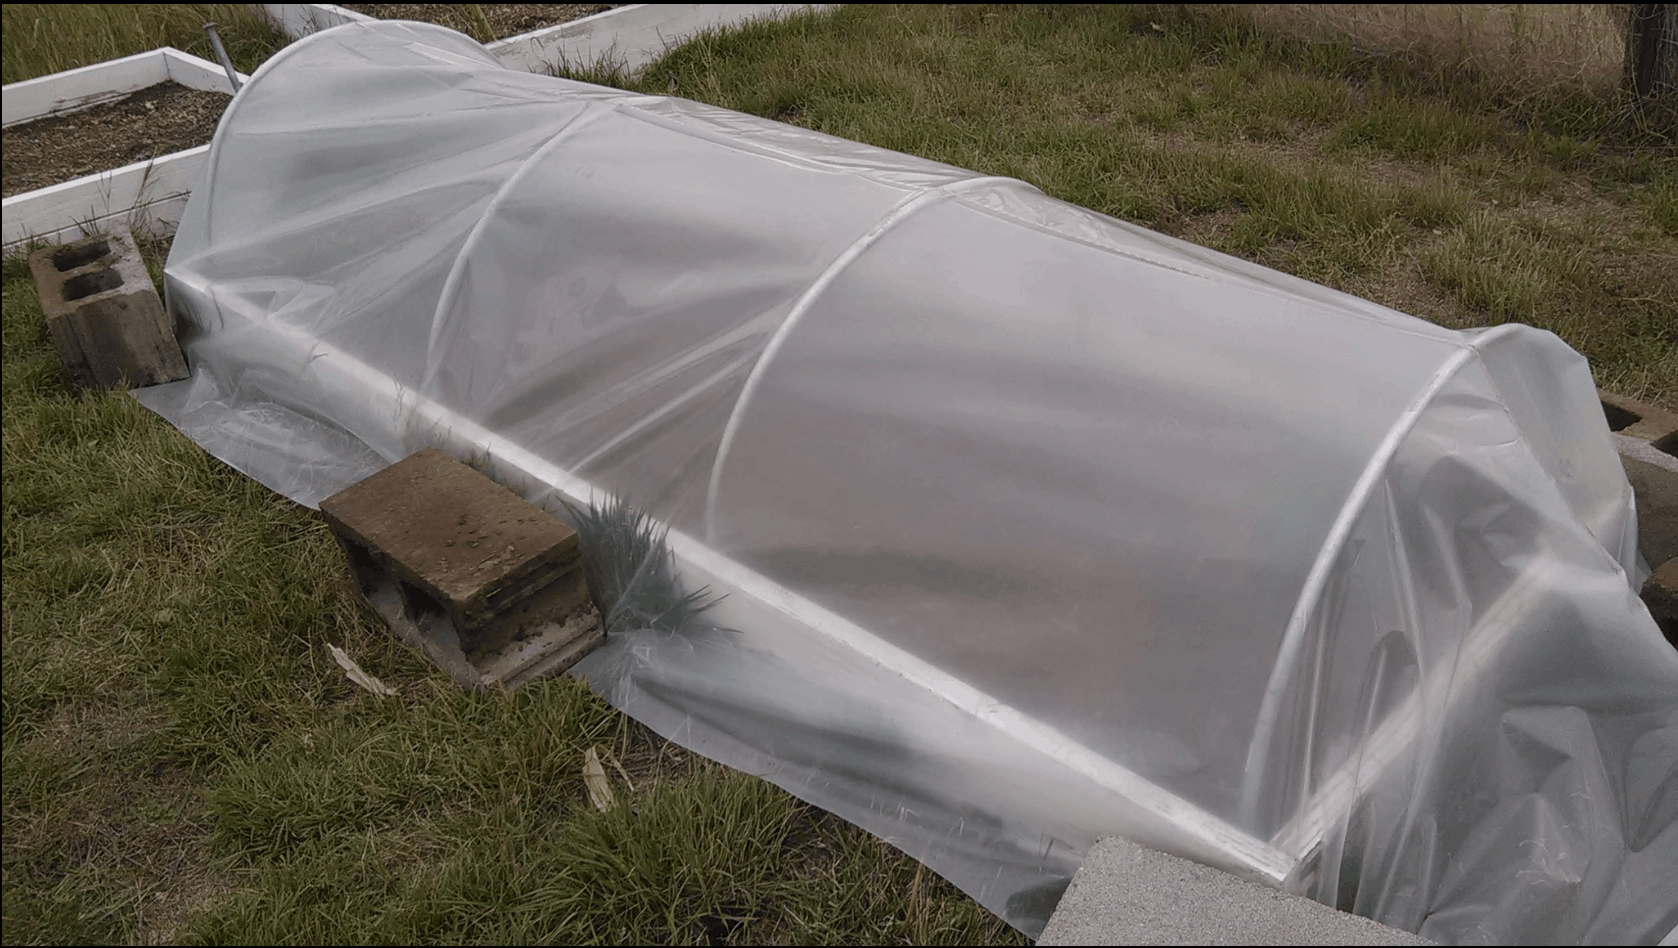
Hoop House Option #1—PVC Pipe and Plastic Covering
You can bend lengths of PVC pipe over your garden beds (you might need to stabilize with rebar under the PVC pipe) and then cover the whole thing with plastic sheeting. Then, either stake the ends down or hold them down with bricks (depending on how much wind you think it may need to battle against). You can decide how tall to make these hoop houses. They can just barely cover the crops or be tall enough to walk under. If you have raised garden beds, you can make these hoop houses even easier by adding conduit clamps (you can find these at a local hardware store) to the side of your raised beds so you can just pop the PVC pipe right into the brackets.
Hoop House Option #2—Hoop Low Tunnels or Floating Row Covers
If you have long garden beds, you can make hoop tunnels or floating row covers. You can make the frame of the tunnels out of a wide amount of materials, including fencing wire, chicken wire, or even slender green branches or saplings. Make a long, sturdy, narrow tunnel over your garden row with your chosen framing material and then cover it with anything from plastic sheeting, to recycled old shower curtains (those inner linings that are waterproof), to any other waterproof material you have on hand. Since they are narrow, hoop tunnels can handle heavy snows and strong winds pretty well. However, they are usually very low to the ground, so you’ll have to remove the long covering to harvest your crops, which can be tedious.
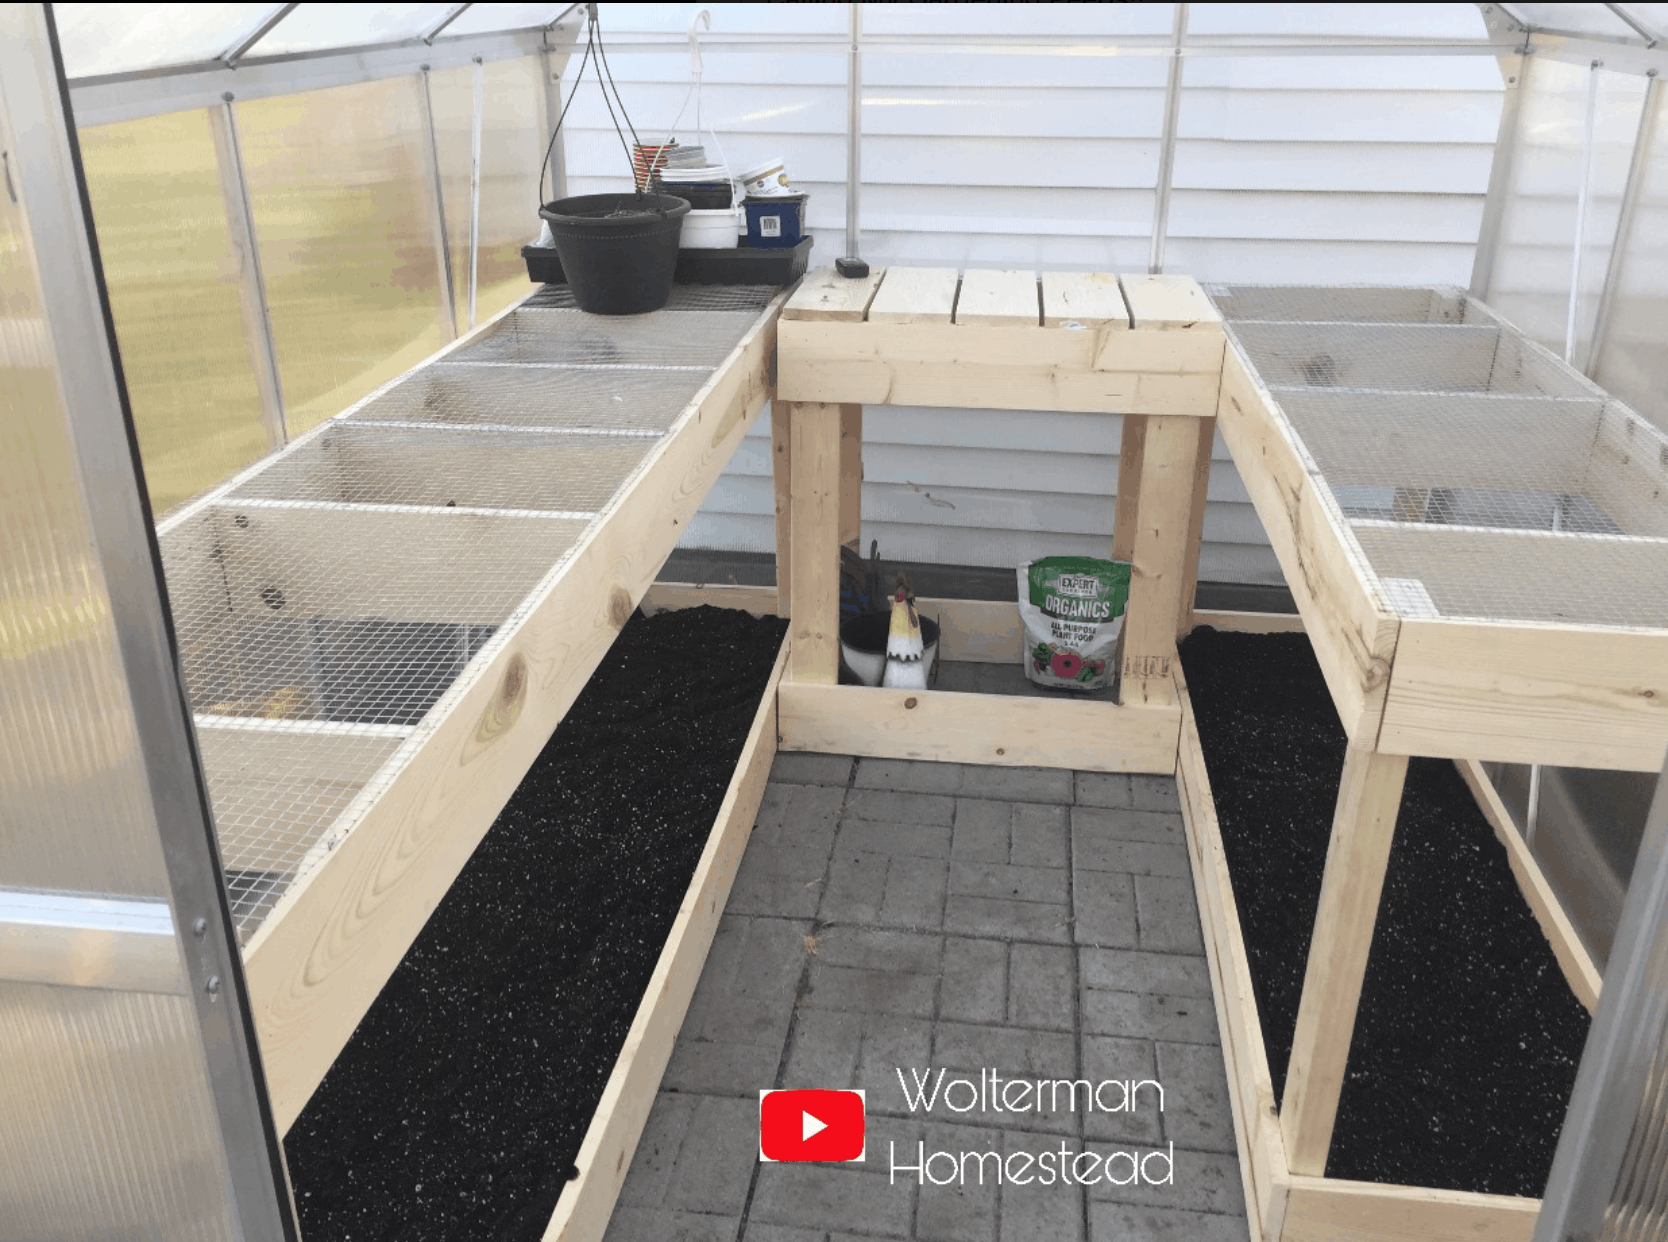
Hoop House Option #3—Mini Greenhouses
If you have a little money to invest, taller hoop houses can be really handy for extending your gardening season. These mini greenhouses can be great for protecting taller crops like tomatoes. They have an advantage over normal greenhouses because you can still easily lift them off the garden beds and move them to different locations in your garden and take them down in the summer. They’re also nice because you can walk inside of them, which is less of a hassle on your back and less tedious than constantly lifting sheets off of your garden plants.
The downside to hoop houses: It can be quite an investment, either financially or time-wise, to deck out a large garden with a hoop house system.
The advantage to hoop houses: Hoop houses, with the exception of an all-out greenhouse, are truly the best way to extend your garden season, with so many options to fit your specific garden’s needs.
2. Cold Frames
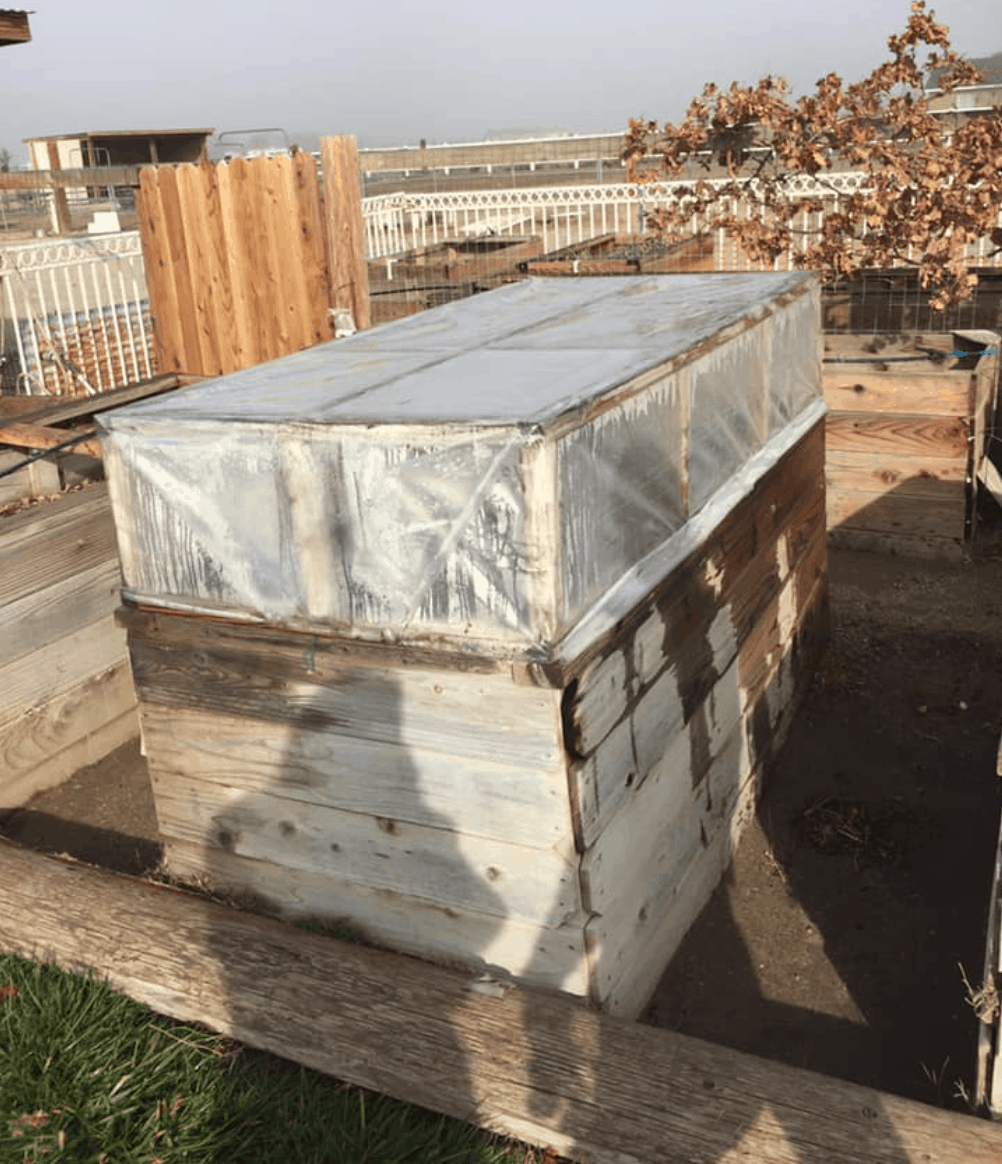
A cold frame is simply a bottomless rectangular box that you can place on top of your plants to protect them from frost. You can use multiple cold frames over small batches of crops (think spinach, lettuces, and other greens) through much of the winter.
You can make the sides of cold frames out of wood, cinder blocks, bricks, or any other materials you have around. You can even call it a “cold frame” and just use straw bales for your sides. For the top, use a piece of glass (think recycled old windows), plastic, or fiberglass. You can make it as simple or as elaborate as you want. They do seem to work best if you’re able to tilt your frame to face the south, so it can really use the warmth from the sun.
Simply place the cold frame around the plants you want to protect and make sure you keep it closed at night and on cold days. Of course, you’ll also need to make sure you don’t forget to open it up on the warmer parts of the day, or you’ll have a sauna in there. Ventilation is also important, even on colder days, so you’ll want to crack it open slightly, even if just for just a few hours daily.
The down side to cold frames: Since cold frames are pretty small and short, this won’t extend your garden season if you’ve got an acre-sized plot. Also, since cold frames use the sun to warm up the soil, they might not work well if you have too many cloudy days in the winter.
The advantage to cold frames: cold frames work wonders in the early spring to jumpstart your garden. They’re super handy for hardening off seedlings. A week in the cold frame can help the seedlings transition from life under a sterile indoor environment, under fluorescent bulbs, to life outdoors with full sun and chilly nights.
3. Cloches
This is an old-fashioned garden extension technique that has been around since the French used them in the 1600s. Originally, a cloche was a bell-shaped glass dome that acted like a tiny greenhouse for a single plant.
Nowadays, you can use lots of different things for garden cloches, including recycled milk jugs, large vinegar bottles or even clear plastic juice bottles. Basically, anything that can fit over the top of plants without bending them can work as a cloche (or you could try garden cloches like these).
Garden cloches work like cold frames and use the sunlight to warm the soil and protect the plants from frost. Like cold frames, heat can build up in them very quickly, so they need to be well-ventilated. That’s why milk jugs and vinegar bottles work so well: you can just take the lid off to allow the hot air to escape on sunny days.
The down side to DIY cloches: While you can try staking them down or giving them some wind protection, flimsy plastic milk jugs aren’t gonna cut it in strong winds. This is also not a handy way to extend a huge garden, since you would be out there forever covering each individual plant.
The advantage to cloches: It’s a great technique to use for tender perennial herbs (like rosemary), or if you just want a few plants for the winter and you’re not in an overly windy area.

Final Thoughts on Extending Your Garden Season…
I love that there are so many creative ways to upcycle stuff from the house and yard to extend the garden season. Of course, if life is pretty darn busy for you at the moment, you can always appreciate the natural break in gardening that comes in the fall and winter. You can simply deeply mulch your crops in the late summer and see how long that helps your garden continue into the fall.
And there’s always things like kale, turnips, carrots, parsnips, chives, and brussels sprouts that you may find thriving in the garden even under a few feet of snow.
But hey– whether you need a gardening break or you want to experiment with how long you can keep your garden going, I think you are incredibly awesome for growing some of your own food.
So be proud of your accomplishments, and don’t forget to be grateful for the seasonal shift. For me, my gratitude is usually wrapped up in something in the kitchen. Since a homemade pie always feels like fall, this pumpkin pie recipe is on my radar for tonight. (It’s one of my favorites!) And a steaming cup of chai tea makes any fall-ish evening so much better.
More Gardening Tips:
- Tips for Planning and Planting a Fall Garden
- Natural Weed Control for Your Garden
- Simple DIY Seed Starting System
- Organic Pest Control Garden Spray
- Seed Starting Guide
- Where to Buy Heirloom Seeds
Listen to the Old Fashioned On Purpose podcast episode #27 on this topic HERE.

Love the cloche idea! I have some old beat up skylights that I’ve used as a temporary mini greenhouse for my seedlings (the UV where I live makes having an actual greenhouse impossible) and some are a perfect size for em to put over my raised beds. Perfect for carrots, beets, and especially lettuce! Thanks to them I had an AMAZING lettuce harvest this past spring.
I love it!! And I’m so glad that your creativity helped you have a great harvest! 🙂