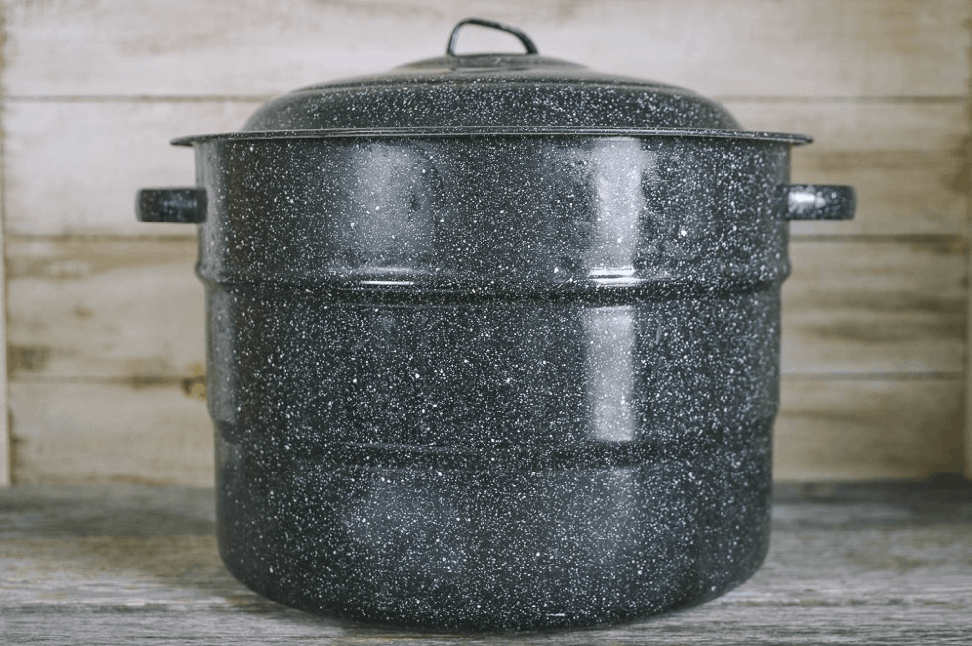
I got my first water bath canner at a garage sale for $1.
You would have thought I’d won the lottery.
I left that garage sale feeling giddy… I kept wanting to look back over my shoulder because I was certain they’d realize I’d just made off with the deal of the century.
I was a newbie homesteader back then, but I was on the cusp of adding canning to my homestead skill repertoire and knew that it was going to be something that would save us countless dollars.
And you know what? I still use that same pot. That $1 investment has canned thousands of jars of food and filled our pantry for 12+ years.
I use all sorts of different kind preservation methods now… Dehydrating, freezing, quick pickling, fermenting, root cellaring, you name it… But after all these years, canning is, by far, my favorite.
The Best Canning Method for Beginners
In my opinion, water bath canning is the best way to learn how to can. It’s less intimidating than pressure canning and has a low start-up cost (even if you have to buy your canner new and can’t find one for $1 at at yard sale.)
By the way, when you are ready to try your hand at pressure canning, be sure to check out tips for How to Use a Pressure Canner. It will give you all the info you need to can low-acid foods, without blowing anything up…
If you are new to canning, here are a few other articles I’ve written that you’ll find helpful:
- Best Resources for Safe Canning
- How to Can with Zero Special Equipment
- The Ultimate Guide to Canning Safety
The Resource I Wish I Had When I Started
If you are a canning newbie, I just revamped my Canning Made Easy course and it’s ready for YOU! I’ll walk you through each step of the process (safety is my #1 priority!), so you can finally learn to can confidently, without the stress. CLICK HERE to have a look at the course and ALL the bonuses that come with it.
This is the information I wish I had when I first started canning– all of the recipes and safety information are double and triple-checked against tested and proved canning recipes and recommendations.
It’s the next best thing to you coming over to my house and canning right along with me.
And now, on to my guide to water bath canning. In this post, I’ll start by talking through the basics about water bath canning and the equipment you will need. Then, I’ll talk about the basic step by step water bath process.
What is a Water Bath Canner?
If you are completely new to the wonderful world of canning, there’s no better place to start than with water bath canning. It’s a very simple process: Jars of food are placed in the pot, covered completely by water (by at least 2 inches), heated to a boil, and then processed for a set amount of time.
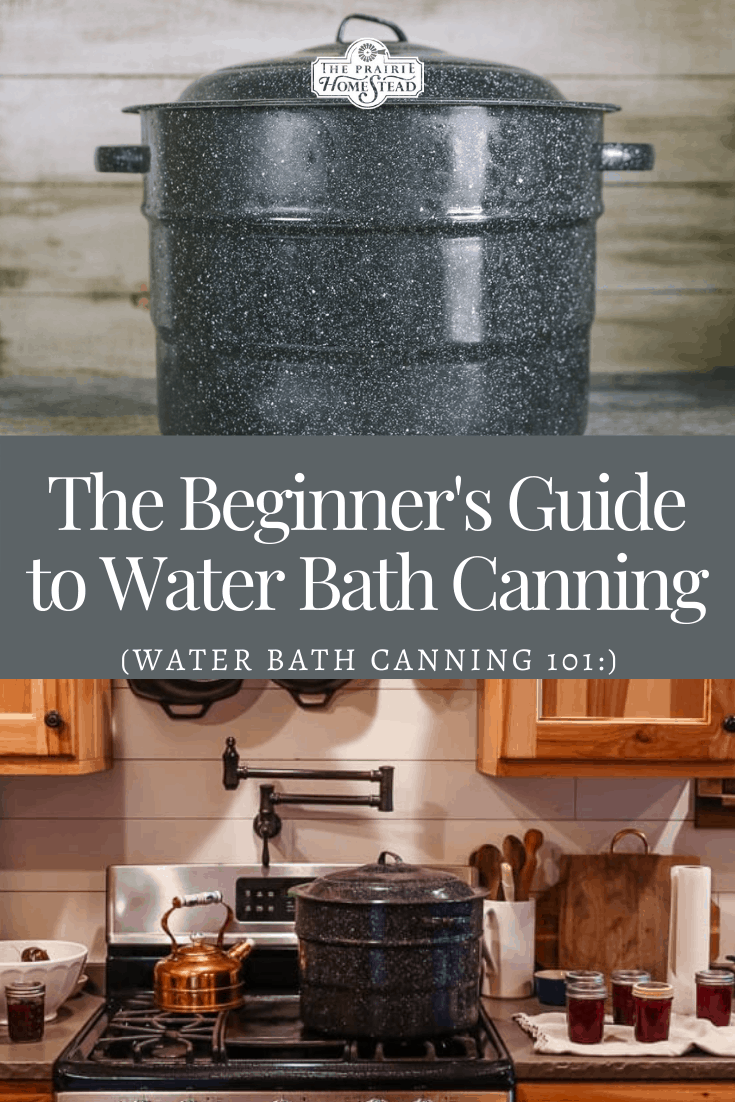
The water bath canner itself is basically just a large pot with a lid — most canners will hold 7 quart-sized jars, and they usually include a coated steel or aluminum rack to keep the jars off the bottom (this helps to prevent broken jars).
Water bath canners are ideal for processing high-acid foods (think pickles, jams, and salsa) with a pH of 4.6 or lower. However, they are not safe for canning low-acid foods like vegetables, meats, or potatoes. You’ll need a pressure canner for that (read about pressure canning in this post).
Where Can I Buy a Water Bath Canner?
Water bath canners vary a bit in price, but it seems that most folks go with the traditional 21-quart enamelware canners, which will hold 7 jars.
They usually sell for around $30.00 or so, and they’re a great place to start for most beginning canners. These canners are usually easy to find and can be purchased at most hardware stores or online (though canning is quite popular right now, and the canning equipment is currently a bit more difficult to find).
If you want to go the online route, I love using Lehmans. I’ve always considered them to be the ‘ultimate’ when it comes to old-fashioned products or homesteading equipment. They’re truly a one-stop shop for homesteading folk like us.
Most Popular Types of Water Bath Canners
There are a plenty of options when it comes to types of water bath canners, and the materials range from enamel coatings, to aluminum, to stainless steel. The most popular ones — the enamelware pots — are inexpensive and get the job done with no issues.
The biggest downfall to these is that they can chip with heavy use, and the exposed metal will rust. However, my canner has a few rust spots and I still use it with no problems.
Stainless steel canners are another option, but they are a bit pricier. However, you may want to graduate to a stainless steel canner down the road if you decide canning is your new favorite hobby.
There are also canners made from aluminum. However, if you get one of these, I do not recommend using it for cooking due to the health risks associated with aluminum in food. (This isn’t an issue if the food is in jars, of course.)
Can You Use a Regular Stockpot for Canning?
Yep! You can use any lidded pot that will fit the jars you want to can. However, you will need to improvise some sort of platform to keep the jars up off of direct contact with the heat. If nothing else, you can tie together a set of the screw-on canning jar bands to fill the bottom of your pan. This is a short-term solution, of course, that will eventually rust, but it will help you get started canning and keep you going until you find a better set up.
Learn more about how to water bath can with limited canning equipment in this post.
More Water Bath Canner Equipment
Besides a water bath canner, there are a few other basic pieces of equipment you’ll need to get started.
Of course, you’ll need mason jars and food to can. Make sure you are using actual canning-safe mason jars and you *will* need to use new canning lids for each canning project (learn more in both my Learn How to Can course and my Canning Safety article).
Other Canning Tools You’ll Need
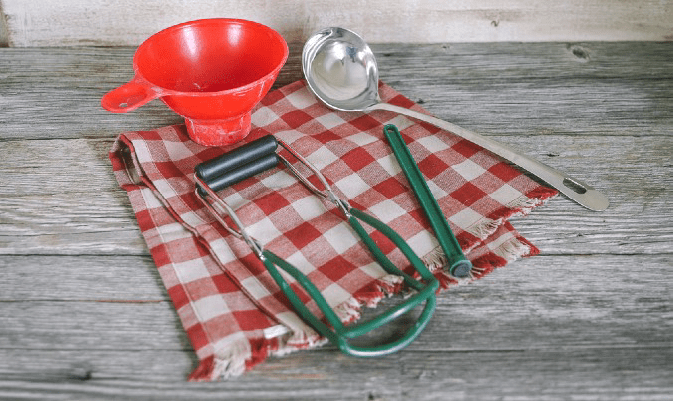
In addition to your water bath canner, the food, and the jars, there are a few other things that will make your life a lot easier as you begin canning. These aren’t 100% necessary, but considering that most of the items on this list are fairly inexpensive and easy to find, I think they’re absolutely worth the investment.
If you’d like to snag all of these essentials in one purchase, many companies sell a tool set for beginners. Check out my tips for canning with zero special equipment for creative ideas around getting these canning tools.
Canning Funnel
In terms of items you’ll use over and over again, canning funnels are probably the most important item on this list. These are a specific type of funnel that fit snugly into the mouth of a canning jar and allow you to ladle all sorts of sloppy foods into the jar without making as much of a mess. Canning funnels come in regular or widemouth sizes and plastic and stainless steel versions. The stainless steel costs a little more, but will also last longer.
Jar Lifters
Can you live without it? Sure. But a jar lifter is pretty handy. They are basically wide tongs that will fit over the top of a jar and allow you to set it into hot water, or pull it out of hot water without burning your hands. If you have a handled rack in your water bath canner, this can accomplish the same task. However, if you don’t have a rack with handles, or you just want to lift one jar at a time, jar lifters only cost a couple bucks and are well worth having.
Lid Lifters
A lid lifter is basically a magnet on a stick. Again, you don’t have to have it, but if you heat the lids in simmering water to help warm up the sealing compound, a lid lifter will save you the trouble of having to fish them out of the hot water with various kitchen utensils (or your poor fingers).
Kitchen Timer
A kitchen timer is so simple, but it’s a vital tool for making sure you process your foods correctly. Remember to always start the timer after the water returns to a boil in your water bath canner.
Other Miscellaneous Canning Tools
There are a few other things that you probably already have in your kitchen that you’ll need for your first canning project:
- a ladle (for pouring liquids into the jars)
- wooden spoons (for stirring)
- cutting boards and knives (for food prep)
- potholders
- kitchen towels
What Can You Preserve with Water Bath Canning?
Water bath canning is perfect for any food that’s acidic (aka a pH of less than 4.6). Many fruits, pickles, jams, jellies, marmalades, relishes, and some tomatoes have high enough acid content for water bath canning as the acid level in these foods helps to block the growth of bad bacteria.
Important Note: Some new tomato hybrids don’t naturally contain enough acid to safely be water-bath canned. However, adding acids such as lemon juice or vinegar to the jars generally solves this so that you can still water bath can your tomatoes. You can learn more in my article on Canning Tomatoes Safely.
Low-acid foods MUST be pressure canned. Those foods aren’t acidic enough to prevent the growth of bacteria unless the water is brought to a very high temperature to kill any botulism spores that may exist in the jar. You simply can’t get the temperature high enough to safely preserve these foods unless you use a pressure canner.
Examples of High-Acid Foods for Water Bath Canning
- Vinegar pickles or dill relish
- Peaches (I love this recipe for canning peaches with honey and cinnamon)
- Jams and jellies (my fav lately is Honey Currant Jam)
- Applesauce
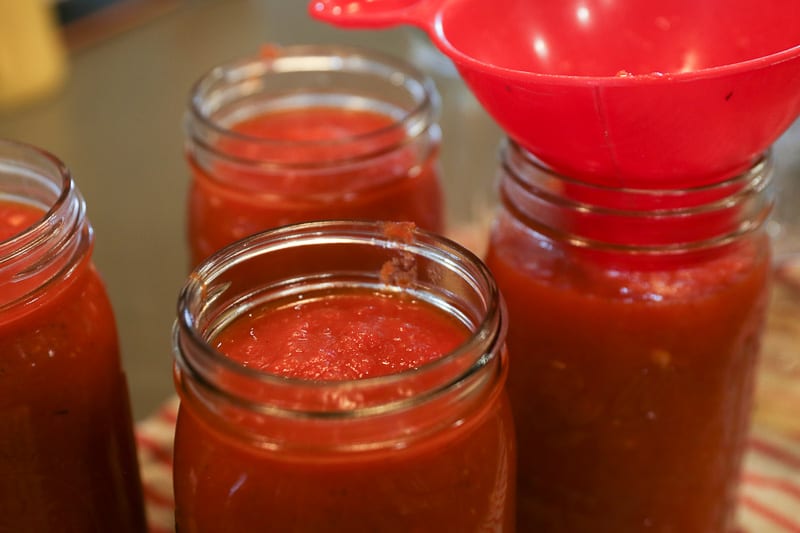
- Tomatoes and tomato sauce (read this article on canning tomatoes safely for additional info)
Examples of Low-Acid Foods for Pressure Canning ONLY:
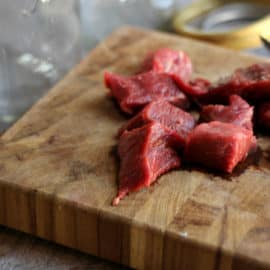
- All meats
- Pinto beans
- Broth
- Carrots
- Green beans
- Potatoes
The Water Bath Canning Process
Ready for your first canning adventure? Water bath canning is the best place to start! Let’s walk through the process step-by-step.
My #1 canning tip?
Take 5 minutes to properly set the stage before you begin putting food in jars! Tidy up the kitchen, do the dishes, lay out your jars, lids, and rings, and preoccupy the kids. Nothing is more stressful than attempting a canning project in the middle of chaos!
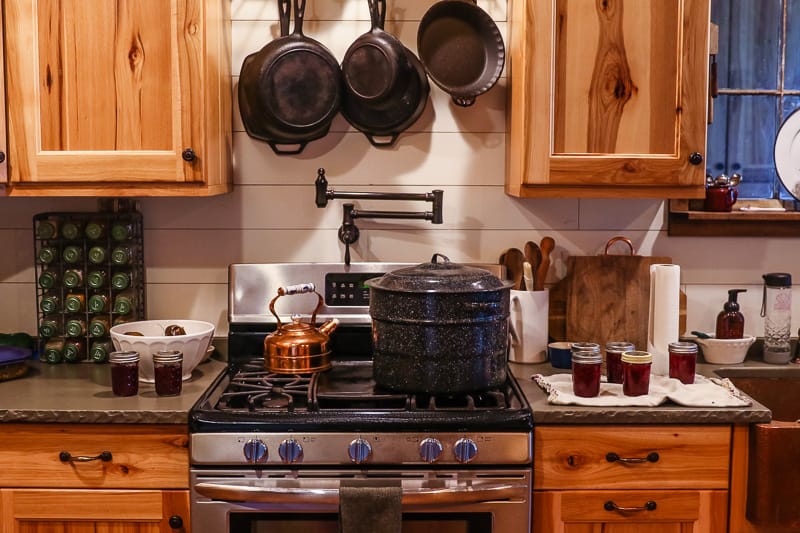
1. Start with a Clean Kitchen
Don’t underestimate the power of a clean kitchen! I often have the tendency to start recipes on the spur of the moment, usually when I have a dozen other things going on at the same time. While this works for some things, I’ve found that impulsiveness and canning do NOT mix for me.
Starting a canning process in the middle of a messy kitchen usually results in me forgetting something (running out of lids in the middle of the show is a very bad feeling…) or simply not enjoying the process as much. When you have less stress, you’ll always work more efficiently. For this reason, a few minutes getting your kitchen clean and in order will save you a lot of time while you’re canning.
2. Stay Organized
Before you start preparing the food to can, read the directions several times, make sure you have enough jars/lids/bands, and gather all of your supplies (funnels, ladles, towels). I like to lay out everything on the counter in a nice little row. While it may seem a little extreme, it really helps me to stay organized as I go.
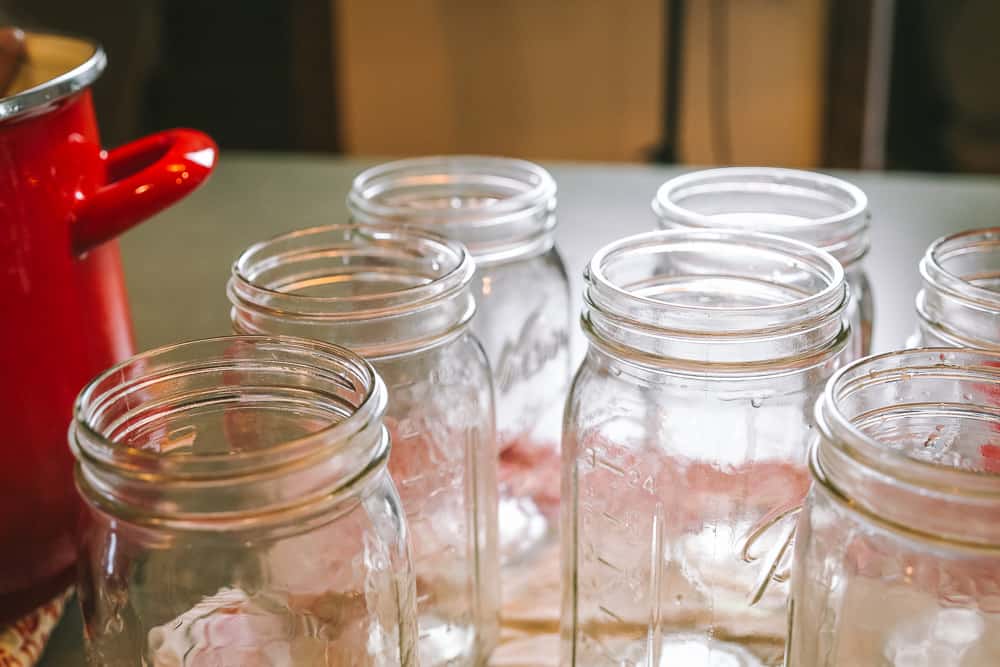
3. Clean the Jars
If the food you are canning has a processing time of 10 minutes or less, you must sterilize the glass jars before filling them with food.
However, if you’ll be processing the jars for 10 minutes or more, you can safely start with non-sterilized (yet still clean) jars, as they will be sterilized during the processing period.
I personally like to sterilize my jars right in the canner. You can also run them through a cycle in the dishwasher, but my dishwasher always seems to be full… According to the Ball Blue Book, they need to be heated for at least 10 minutes, completely submerged. Keep the jars in the hot water until you are ready to fill them– it’s important that they stay hot right up until the food is placed inside.
To sterilize jars for water bath canning, follow these steps:
1. Wash them in hot soapy water and rinse well. (Running the through the dishwasher is fine.)
2. Put them into your water bath canner on the rack, and cover them completely with water.
3. Place the lid on the pot, and bring the water to a boil.
4. Boil the jars for at least 10 minutes, not starting your timer until the water comes to a rolling boil. You can then turn off the heat and let the jars sit in the hot water while you finish preparing the food.
5. Just before you’re ready to fill the jars, carefully pull them out of the pot, pour out the water, and place them on a kitchen towel on your counter (this keeps the hot jars from breaking if they touch the cool surface of the counter).
Keep in mind that it’s kinda pointless to sterilize your jars if the rest of your area isn’t clean, so make sure you have tidy counters, clean dish towels, and clean tools that you’ll be using to fill and handle your jars.
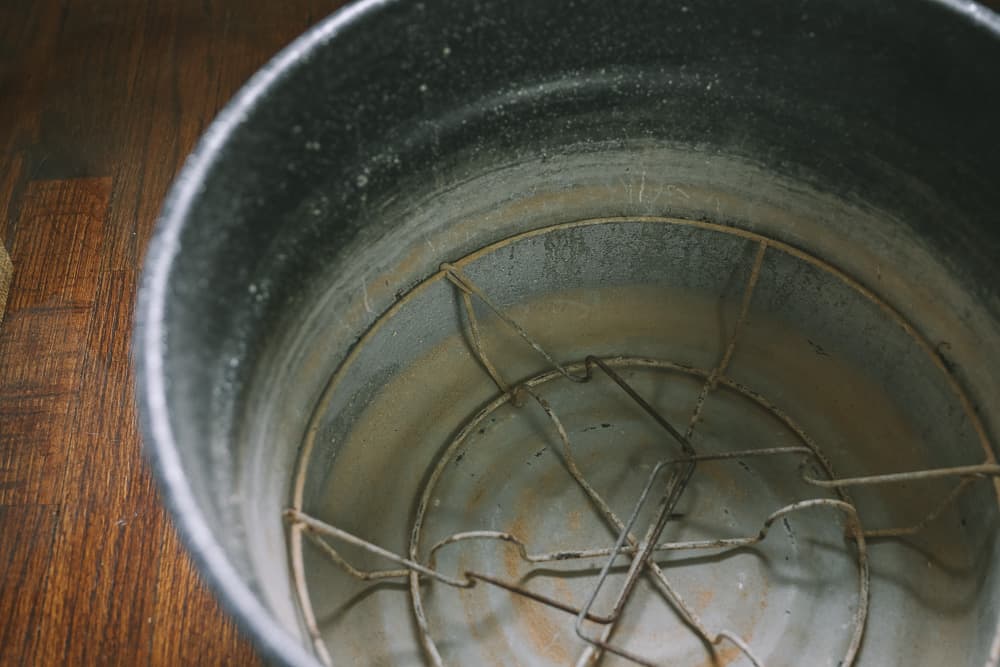
4. Fill the Water Bath Canner
If you aren’t using the canner to sterilize the jars, fill it with water, put the lid on top, and turn the burner on high. It can take a while to get this much water to boiling point, so it’s best to give yourself plenty of time. (If you are using the canner to sterilize the jars, you can use the same hot water to process your jars.)
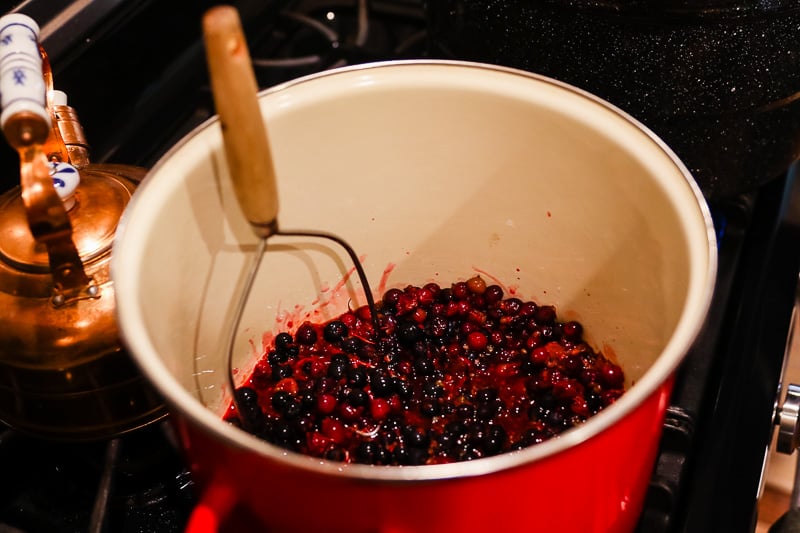
5. Prepare the Food
This will greatly vary depending on what you are canning, so you’ll need to consult the recipe for this one. Usually food prep involves washing, trimming, peeling, dicing, or crushing.
You can find safe canning recipes here on my website or check out the safe canning resources in this article for both books and websites that have safe canning recipes for water bath canning.
6. Prepare the Lids (optional)
**I use to always follow this step, but canning lid manufactures have changed their recommendations in recent years. Most canning lids no longer need to be heated in order to soften the sealing compound. I now just place my unheated lids directly on the jars with no issues.**
Fill a small saucepan with water and add the canning lids (not the rings). While you don’t have to sterilize the lids or the rings, it’s a good idea to warm them in a small sauce pan of warm water for a few minutes before you place them on the jars.
This will soften the sealing compound around the edge of the lid and ensure that you have a higher percentage of sealed jars. (Avoid boiling the lids, as this can damage them and cause them to not seal properly.)
Try my favorite lids for canning, learn more about FOR JARS lids here: http://theprairiehomestead.com/forjars (use code PURPOSE10 for 10% off)
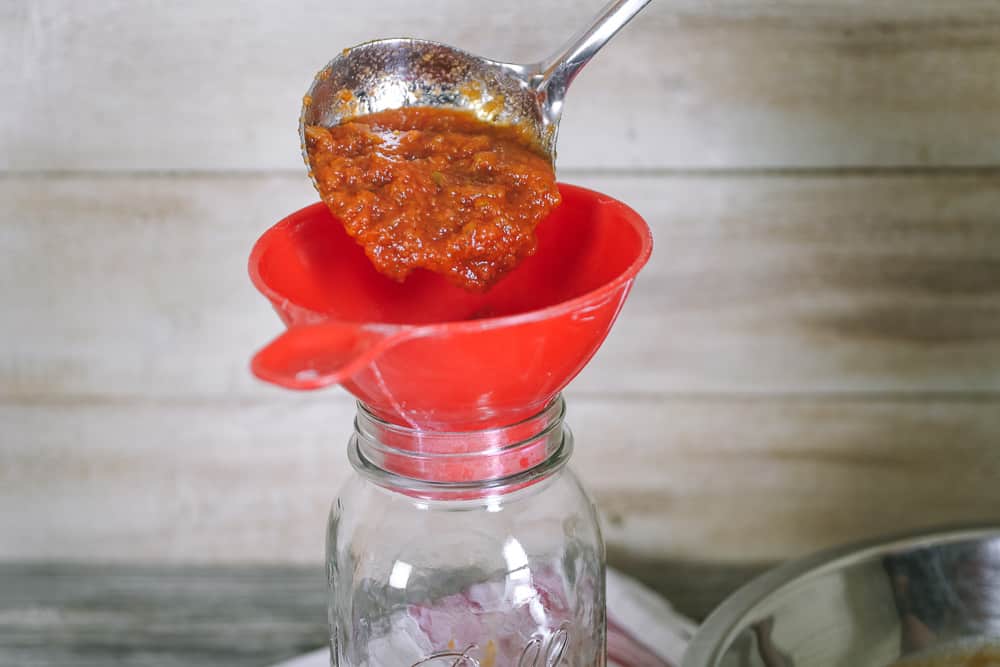
7. Fill the Jars
Keep in mind that you want the jars to be as hot as possible when you put the food inside. If they cool off and you pour hot processed food into them, you run the risk of them breaking. Also, be sure to follow the headspace recommendations of your recipe to ensure the jars seal properly and you minimize siphoning (liquid escaping the jars in the canner).
What is Headspace?
Headspace is the amount of room that’s left at the top of the jar after you’ve filled it.
Leaving too much headspace can cause the food in the jar to discolor, or may even prevent the lids from sealing properly. Leaving too little headspace prevents the food from being able to expand during the canning process, which will also result in unsealed jars.
Canning recipes will almost always specify the exact headspace you need for that recipe, however, here’s a general rule of thumb:
- For high-acid foods like tomatoes and most fruits: Leave 1/2 inch of headspace.
- For sauces, other liquid foods, jams, jellies, and relishes: Leave ¼ inch of headspace

I always used a ruler to check my headspace when I was first learning to can, but after a while you should be able to just eyeball it.
8. Remove Air Bubbles
After filling the jars to the proper headspace (according to your recipe), run a small plastic spatula or wooden chopstick around the inside of the jar to release any hidden air bubbles. You can purchase inexpensive tools made just for this purpose, or just use what you have at home. Avoid using metal utensils to release the bubbles, as these can scratch or damage the jars.
If you notice the headspace in the jar has changed after the air bubbles have been released, you can add a bit more food or liquid to the jar to bring it back to the proper level.
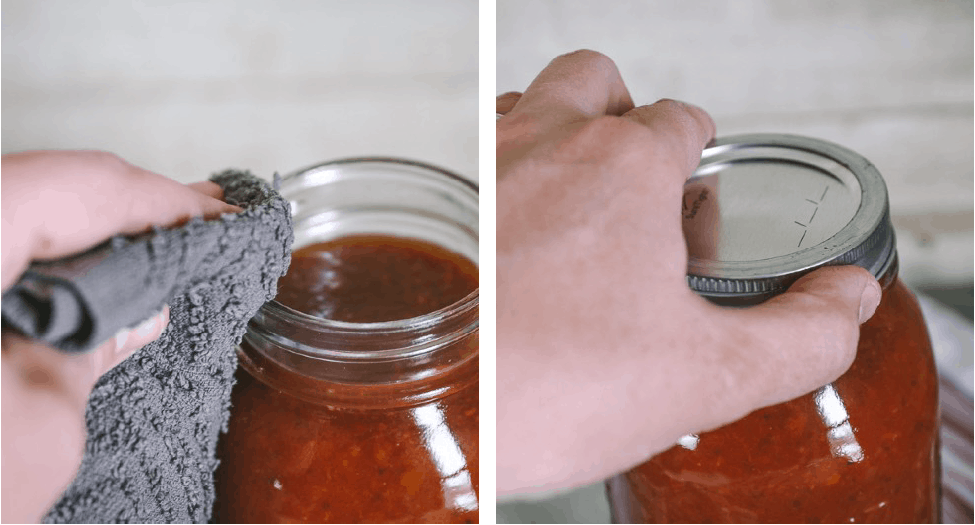
9. Clean the Rims & Affix the Lids
Wipe the rims of the jars with a damp cloth to clear away any food bits, then center the lids on top of the jars. Screw on the rings to fingertip tight only — do not over-tighten them.
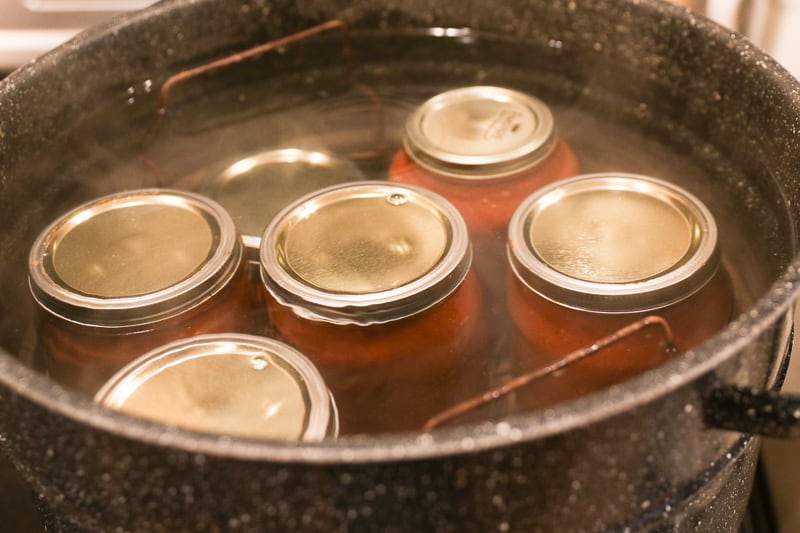
10. Place the Jars in the Canner
Lower the jars** into the canner, making sure that the lids are covered with 1-2 inches of water. (You can add more water to the pot if you come up short.)
**Before I lower the jars into the pot, I make sure the water is not boiling. Even though it’s wise to pre-heat the water in the pot as you’re prepping the food, jars will often break if they are placed in super hot/boiling water. Therefore, I let the water cool down a touch before adding the jars.
11. Bring to a Boil, then Set the Timer
Put the lid on the pot and bring water back to boil. Once the water has reached a full boil, start the timer and process the jars for the time recommended in the recipe you are using. If you live at higher altitudes, you will need to adjust accordingly.
Remember: Don’t start timing until the water has returned to a boil.

12. Finish Up
Once the jars have processed for the amount of time specified by the recipe, turn off the burner and remove the jars from the water bath canner to cool. (The ‘pinging’ sound you hear as each lid seals is the best part!)
13. Let Cool and Admire Your Hard Work
I like to leave the jars alone for several hours at least, then I remove the rings, double-check all the lids for a strong seal (if they are loose at all, transfer the jar to the fridge and eat within 5-7 days), and move the jars to the pantry for long-term storage. I always store my jars WITHOUT the rings– you don’t need them to hold the lids on and leaving them on sometimes invites mold around the edges or false seals.
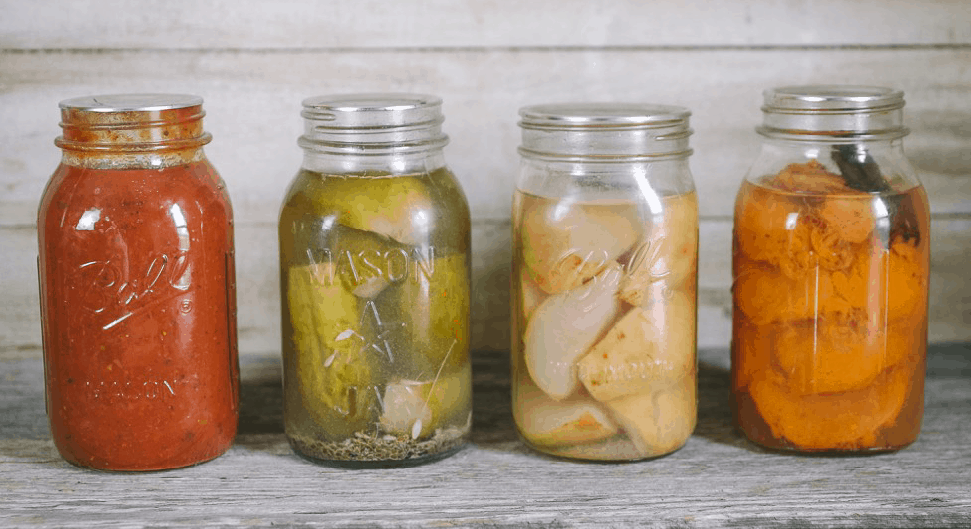
To me, the best part of canning (besides the eating, of course!) is lining up all of your finished jars on the counter and being able to admire them for a day or two before storing them in the pantry. It’s such a satisfying feeling for a food nerd like me…
More Canning Tips:
- My Canning Course will help you feel confident in your canning adventures
- Best Resources for Safe Canning
- Start Canning with Zero Special Equipment
- The Ultimate Guide to Canning Safety
- How to Use a Pressure Canner
I can buy spare lids, but not rings. For water canning, are you recommending taking the rings off? I have never done this before, but have more jars and lids than rings. I also am wondering if I can do this on my gas bbq ? I have a glass top stove, and think it could break the glass.
I always remove the rings for storage. It does eliminate you having to buy extra rings, as you can use the same ones over and over again since they aren’t sitting with the jars in the pantry. I know a lot of folks use the side-burner of their gas grills for canning– but it’s always best to check your manufacturer recommendation. And make sure the grill can support the weight of a pot with water in it.
i followed all your steps exactly and only one of my jars sealed properly. am i missing something?
That is a pretty bad seal rate. Without more details, it’s hard to say what you did wrong. Did you use good-quality jars and new lids? There are a lot of knock-off brands of jars/lids these days and they are known to have poor sealing rates. New lids are necessary for proper sealing as well. Otherwise, try watching some of Jill’s canning videos (like this one: https://youtu.be/Z2SBgJJeKRA) to see the entire process so you can gain confidence. Hope you have better luck with your next canning adventure!
I am looking for your applesauce recipe, and it keeps directing me to this page. Is there a link to that on this page that I’m missing?
Thanks!
Same here, I’m having the same problem!
Thanks for this nice guide!
You mention that the kids don’t need to be boiled, but shouldn’t they be sterilised as well before putting them in the jars?
I’m not sure if this was a typo or you just have supreme wit, but when you are canning your kids remember that you have to catch them and restrict their movement before squeezing them into the jar. You can then remove them when they turn 18. Lol too funny!
I noticed that in one of your photos there is a chalky looking residue on the inside lining of the canner. I found this on my jars after I sterilized them in the canner. Is that ok?
This was such a straightforward, easily explained guide. Thanks so much!
Put a little white vinegar in you water !
This was such a straightforward, easily explained guide. Thanks so much!
I love visiting sites in my free time. I have visited many sites but did not find any site more efficient than yours. Thanks for the nudge!
Great advice, but nothing about water canning foods, such as chili, spaghetti sauce or my favorite, vegetable beef soup. I can’t afford a pressure canner.
Thanks for any tips
There are many foods that cannot be canned with a waterbath canner. This is because of safety reasons. You might want to check out the following posts for more details and how to find safe canning recipes for your waterbath canner: https://www.theprairiehomestead.com/2020/03/canning-safety.html and https://www.theprairiehomestead.com/2020/07/the-best-canning-resources.html