Anyone feeling slightly exhausted as we near the end of harvest season?
*raises hand*
Oh good. I’m glad I’m not the only one.
Our raised bed garden has proven to be a considerable success this year, despite my fears I’d mess up the soil mix and kill everything like I did last year.
However, I somehow forgot a side effect of the {sometimes elusive} successful garden is food. Lots and lots of food. Food that is my responsibility to keep from spoiling… Food that took blood, sweat, and tears to grow, so I don’t dare let it go to waste. And the harvest doesn’t care if you’re smack dab in the middle of traveling to doTERRA’s annual convention, or re-starting homeschool, or working on a massive project (that I’ll tell you more about someday soon)… The harvest is inevitable.
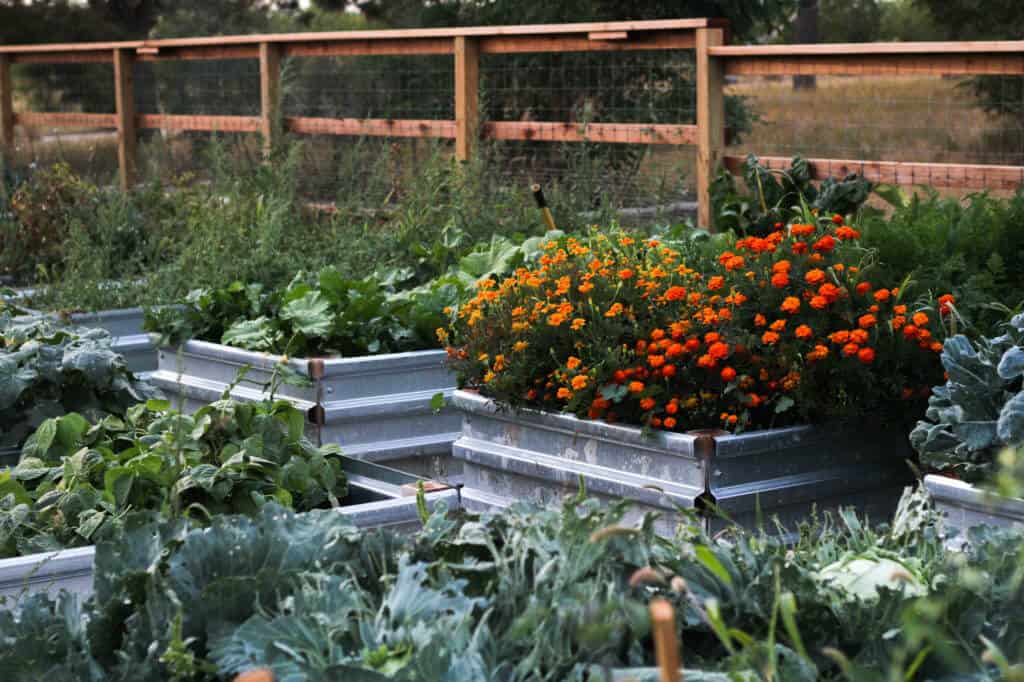
So here I am, digging myself out from under piles of cabbage, and summer squash, and beets, and potatoes, and tomatoes, and onions, and leeks, and cucumbers. Nope, not complaining one bit, but I am tired. In fact, I managed to break a jar and scorch a saucepan of brand new lids in my food-preservation induced mental fog yesterday.
Thankfully, we’re nearing the end of it all with the bulk of this year’s garden bounty tucked safely away in the freezer, pantry, and basement.
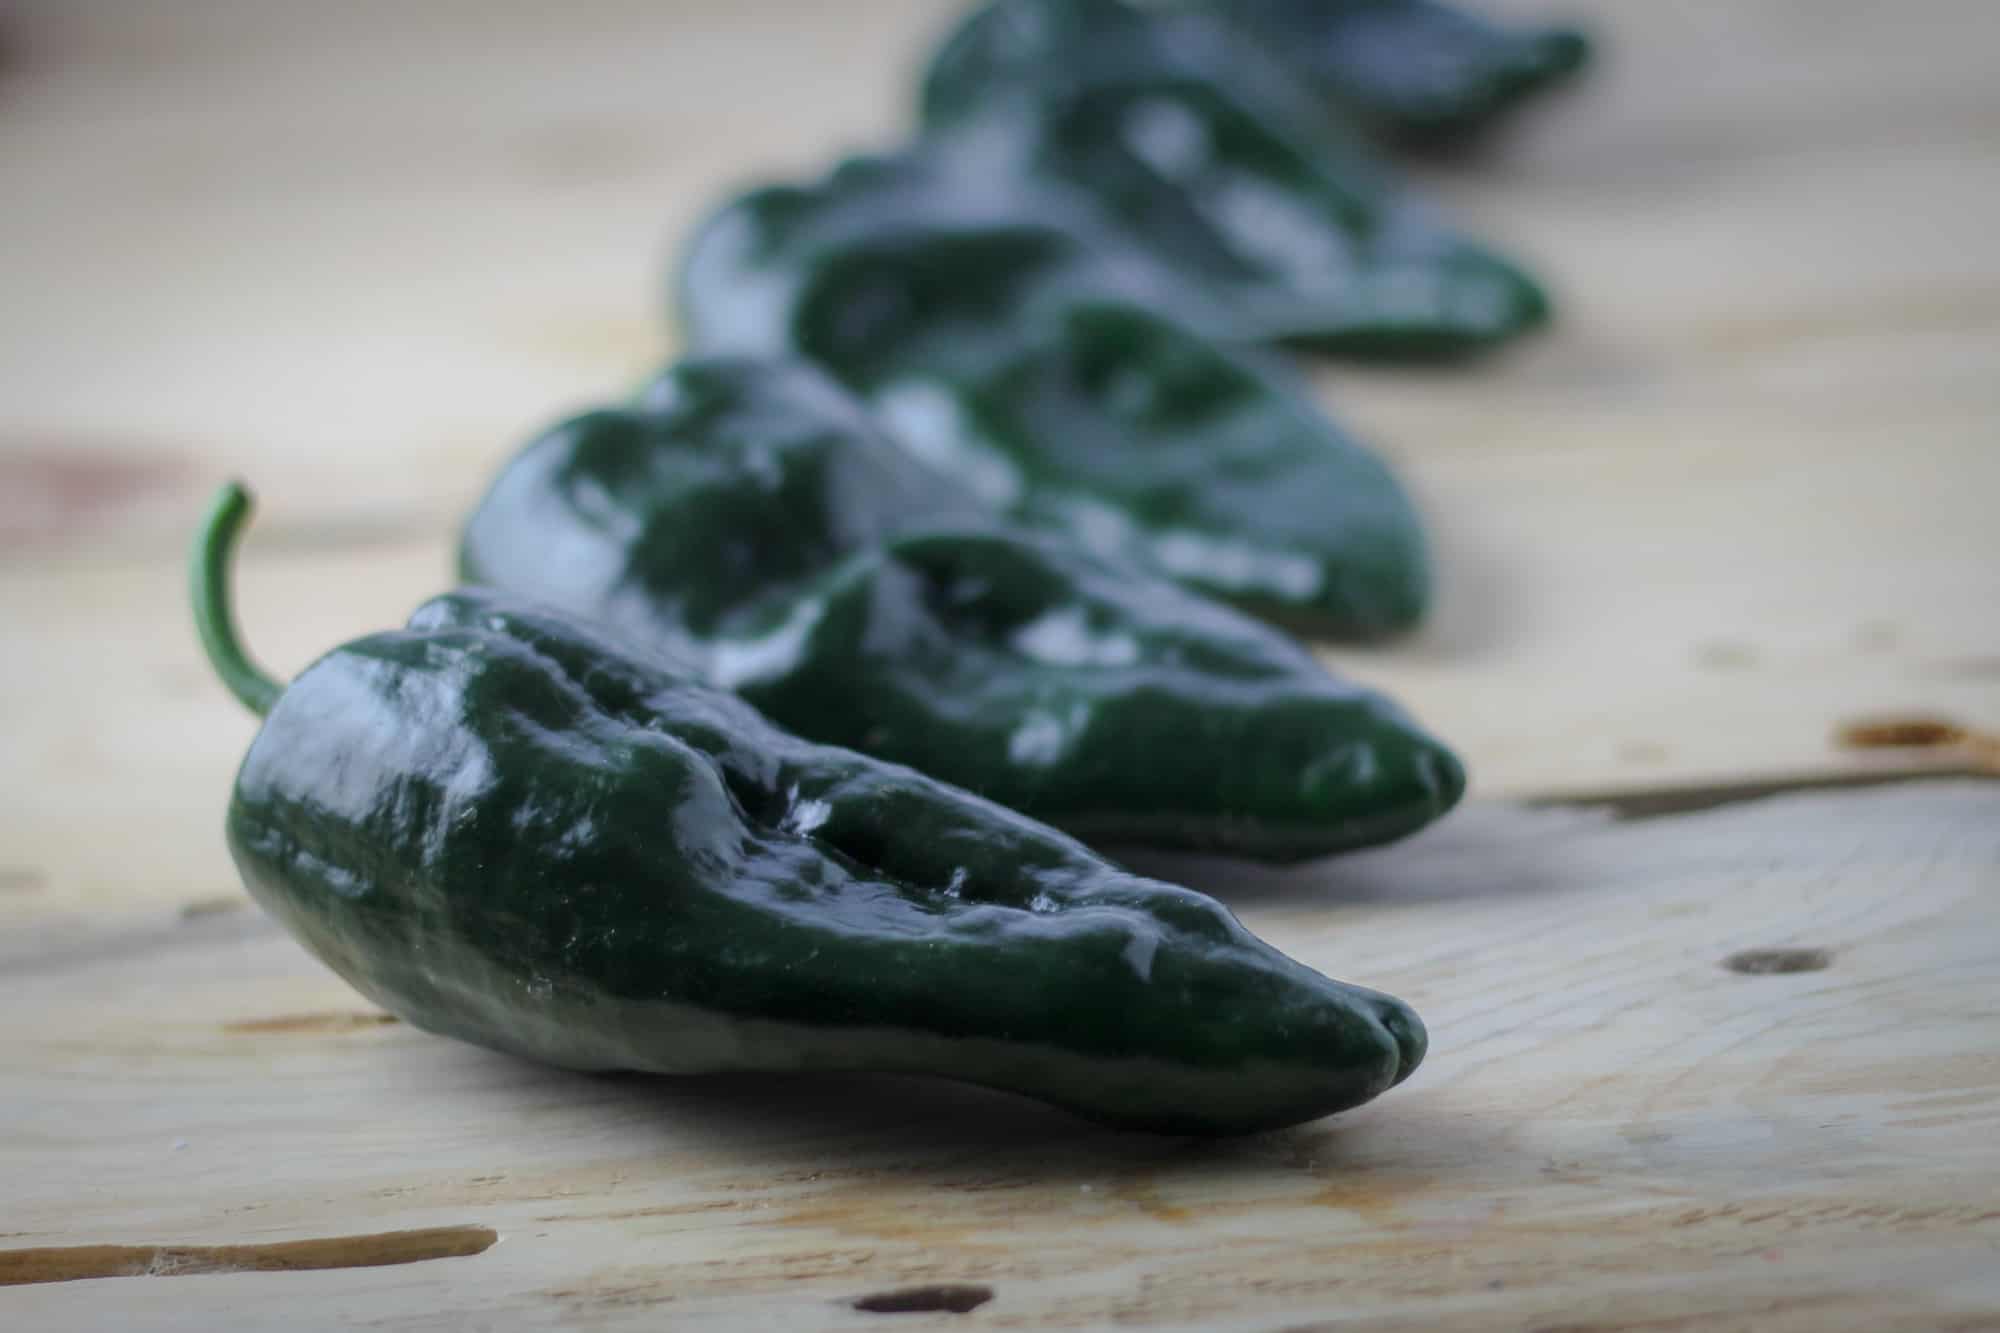
The ginormous bucket of poblano peppers sitting in my laundry room was one of the last things left to tackle, and I was putting it off as I absolutely hate roasting and peeling peppers. (There I said it.) But alas, one can only eat so much Pico de Gallo, and I had already dried and frozen a bunch of peppers, so canning felt like the most logical use for the rest.
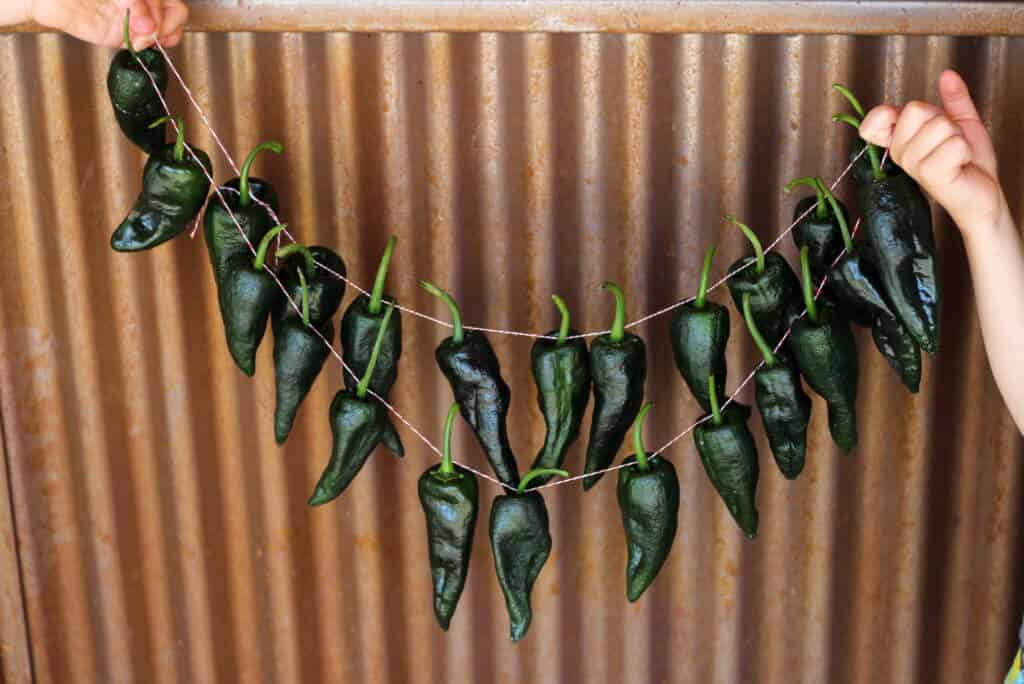
Once you get the little buggers roasted and peeled, canning peppers really isn’t all that hard. Just remember a pressure canner is absolutely required as peppers are a low-acid food. Here’s my pressure canning tutorial if you’re new to that world.
(If you want pickled peppers which have added acid, a water bath canner will work. However, pickled peppers aren’t really my thing. Sorry Peter Piper.)
You may use this technique with both hot peppers and sweet/bell peppers, see the note below for the slight change in technique.
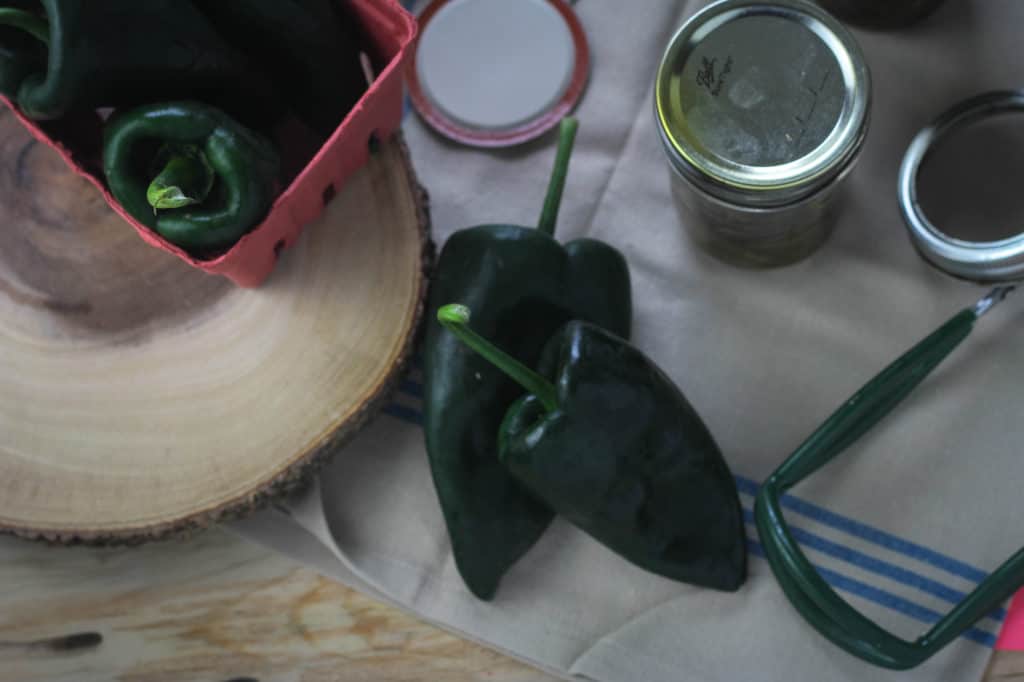
Canning Peppers: A Tutorial
You Will Need:
- A pressure canner (this is the one I have and LOVE- affiliate link)
- Rubber gloves (if handling hot peppers)
- Hot or sweet peppers (one pound of peppers will yield approximately one pint)
- Clean canning jars & lids
- Salt (optional)
Instructions for Canning Hot Peppers:
**WARNING** If you are handling hot or even mild chili peppers, wear rubber gloves! I’ve burned my hands even with the milder peppers like poblanos. It hurts and is easily preventable with gloves.
Select only fresh, firm peppers for canning, as limp ones will yield less than desirable results. Wash the peppers, then place in a single layer on a baking sheet and broil for 5-10 minutes to blister the skins. Flip over once to ensure they char on both sides. (It’s important to blister them as evenly as you can, otherwise it’s very difficult to get the skins to come off.)
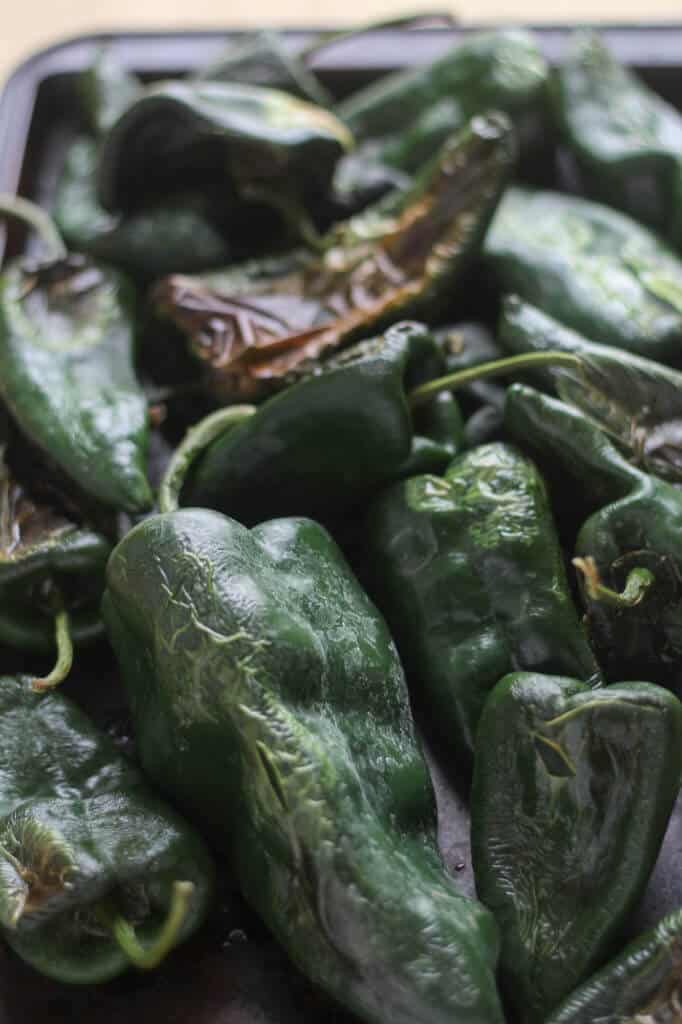
Remove the charred peppers and place into a Ziploc bag and seal tightly. Allow them to sit for 10 minutes, then remove the peppers from the bag and rub off as much of the peel/skin as possible.
Cut the tops off and scrap out the seeds. Cut the peeled peppers in half or quarters, or you can leave the smaller ones whole.
Pack pepper pieces into clean pint or half pint jars. Add 1/2 teaspoon of salt to the pint jars or 1/4 teaspoon of salt to the half-pint jars. Fill with boiling water, leaving 1″ headspace.
Affix lids and rings, then process in a pressure canner for 35 minutes. Use 10 pounds of pressure if you are at 0-1000 feet altitude, and 15 pounds of pressure if you are at 1000-10,000 feet altitude.
(For all the details of how to use a pressure canner, see this post.)
**Try my favorite lids for canning, learn more about FOR JARS lids here: http://theprairiehomestead.com/forjars (use code PURPOSE10 for 10% off)
Instructions for Canning Sweet Peppers:
The skins of bell peppers or sweet peppers are more tender, so they generally do not need to be blistered and peeled (thank goodness).
Simple quarter or roughly chop bell peppers and cover them with water in a pot.
Boil for 3 minutes, then transfer to pint or half-pint jars. Add 1/4 teaspoon of salt to each jar (if desired), then ladle more boiling water to fill the jar, leaving 1″ of headspace.
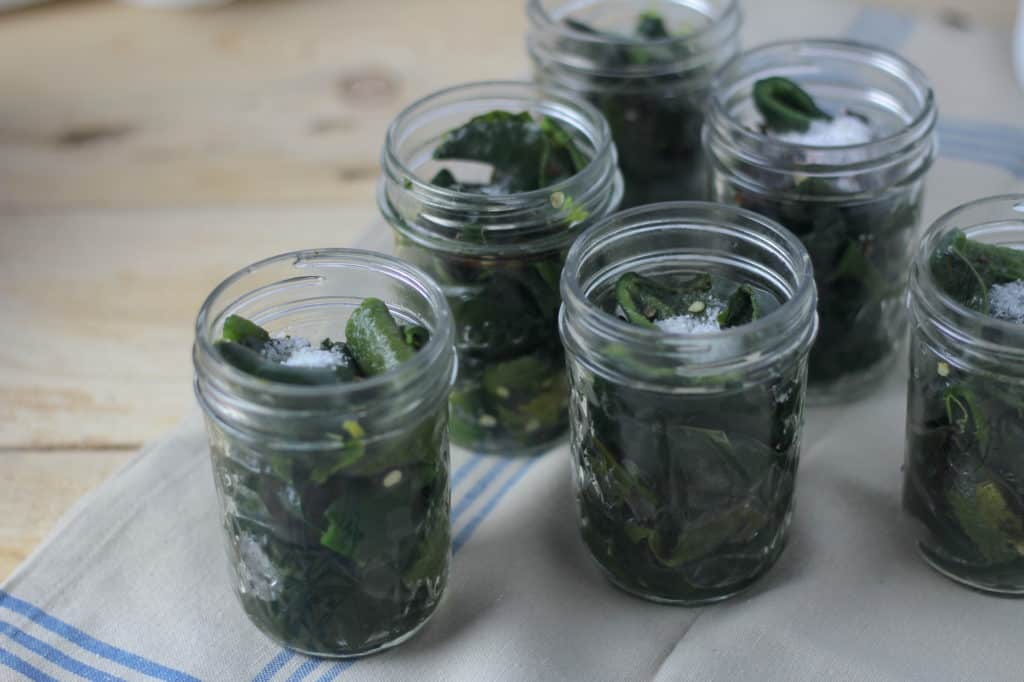
Affix lids and rings, then process in a pressure canner for 35 minutes. Use 10 pounds of pressure if you are at 0-1000 feet altitude, and 15 pounds of pressure if you are at 1000-10,000 feet altitude.
Use your canned peppers in soups, stews, and skillet meals. They will be good for a year in storage, and are still edible after that, although their quality will start to degrade over time.
PrintCanning Peppers: A Tutorial
- Category: Preservation
Ingredients
- A pressure canner
- Rubber gloves (if handling hot peppers)
- Hot or sweet peppers (one pound of peppers will yield approximately one pint)
- Clean canning jars & lids
- Salt (optional)
Instructions
- FOR HOT PEPPERS:
- **WARNING** If you are handling hot or even mild chili peppers, wear rubber gloves! I’ve burned my hands even with the milder peppers like poblanos. It hurts and is easily preventable with gloves.
- Select only fresh, firm peppers for canning, as limp ones will yield less than desirable results. Wash the peppers, then place in a single layer on a baking sheet and broil for 5-10 minutes to blister the skins. Flip over once to ensure they char on both sides. (It’s important to blister them as evenly as you can, otherwise it’s very difficult to get the skins to come off.)
- Remove the charred peppers and place into a Ziploc bag and seal tightly. Allow them to sit for 10 minutes, then remove the peppers from the bag and rub off as much of the peel/skin as possible.
- Cut the tops off and scrape out the seeds. Cut the peeled peppers in half or quarters, or you may can smaller ones whole.
- Pack pepper pieces into clean pint or half pint jars. Add 1/2 teaspoon of salt to the pint jars or 1/4 teaspoon of salt to the half-pint jars. Fill with boiling water, leaving 1″ headspace.
- Affix lids and rings, then process in a pressure canner for 35 minutes. Use 10 pounds of pressure if you are at 0-1000 feet altitude, and 15 pounds of pressure if you are at 1000-10,000 feet altitude.
- FOR SWEET/BELL PEPPERS:
- The skins of bell peppers or sweet peppers are more tender, so they generally do not need to be blistered and peeled (thank goodness).
- Simple quarter or roughly chop bell peppers and cover them with water in a pot.
- Boil for 3 minutes, then transfer to pint or half-pint jars. Add 1/4 teaspoon of salt to each jar (if desired), then ladle more boiling water to fill the jar, leaving 1″ of headspace.
- Affix lids and rings, then process in a pressure canner for 35 minutes. Use 10 pounds of pressure if you are at 0-1000 feet altitude, and 15 pounds of pressure if you are at 1000-10,000 feet altitude.
- Use your canned peppers in soups, stews, and skillet meals. They will be good for a year in storage, and are still edible after that, although their quality will start to degrade over time.
Would this make a suitable replacement for store bought canned green chiles? I’m married to a native Texan which means we eat lots of Tex Mex, and green chiles are one thing I still buy in a can because I’m not sure how to duplicate them at home…
Yes– I used them recently in place of the little 4 oz green chili cans and they worked great!
Is the salt optional on the hot peppers also?. We have to watch our salt intake.
You can cut the salt in half.
Hi! Late to the game here. We’ve canned our chile from New Mexico for at least 10 years now. All in one day we have it roasted for us, then we have a peeling party (destemming, deveining, and deseeding to be included), then we can it. The process after peeling that we use is to put about 2 – 3 cups of chiles in a food processor, add 1 Tbls of garlic salt, then pulse the chiles (I pulse about 15 one-second pulses, sometimes more). After that, we’re ready to start canning! The garlic salt is key. Enjoy!
Can you can them without roasting them?
It seemed like 35 minutes in the canner would make my peppers mushy. So I trialed cooking one piece on the stove for 30, just in boiling water. Total mush. I think I’ll freeze them instead.
This is great! I’ve been wondering what to do with peppers that isn’t pickling or freezing them plus I love any excuse to use the pressure canned.
Thank you for sharing!
Yup– sometimes there just isn’t any more freezer room! 🙂
This is wonderful Jill. Thank you. What is the reason for boiling the sweet peppers?
Also, I remember reading your blog when gardening wasn’t going so well and growing things wasn’t your specialty. What a blessing to see and read about how things have changed. God is so faithful. He does indeed delight in the details of our lives.
Thanks Lin! <3
It’s recommend to put hot food in the jars before you can them for safety reasons. 🙂
I love reading your blog posts but also love looking at your pictures. What kind of camera do you use?
Thanks Al! I took these photos with a Canon Rebel T3i, but recently upgraded to a Canon 7d. I use a 50mm lens.
I don’t have a pressure canner and only use hot water bath. Will this work? I can many different meals including meats.
Jill wrote this in the article: “Just remember a pressure canner is absolutely required as peppers are a low-acid food.”
When u get the chemical action from the pepper ~ burning your skin, it should work to rub on coconut oil or olive oil – let it bond with the pepper chemical and then WIPE BOTH OFF TOGETHER, repeat until burning stops. ( I use this in my essential oils business) anyone needing more info on this technique can find me on facebook at Healthy, Well and Wise group with the lavender picture ID.
Hmmm… I have tried to eliminate the burn with coconut or olive oil and it didn’t really work, but maybe I didn’t let it bond long enough first!
Pure Lavender oil works great for burns.
Have you tried calling cabbage? I can buy commercially canned cabbage but haven’t found instructions for home canning.
Check into “fermenting” cabbage into sauerkraut. It is the best (nothing like store bought), and very easy to make.
Ingredients: Cabbage & salt – that is it. Check it out.
I don’t can it, but I do ferment it. There’s a recipe for that here on the blog 🙂
Jill….you are doing a great job…one suggestion. Put the blistered peppers in a bowl…cover with a plate or even cookie sheet if a big bowl.. Or just a Dutch oven and lid…..no need to use a plastic bag , and have hot food release undesirable substances…
I do this all the time…no problem.
Thanks for the tip Leslie!
Yes, I agree, it works great to sweat the peppers and remove the skins. A bowl with a plate on top works great for rising bread dough, too, although for that you might want to oil the bottom of the plate.?
You are so right about wearing gloves. I would add that if your husband is helping, make him wear gloves too, even if he says it doesn’t bother him. Because if y’all decide to get a lil’ fresh with each other later, that heat can transfer to other places and it’s NOT a pleasant experience. Just sayin’.
Oh, yes, that is true!
Oh dear, HA! 🙂
Hi, I lover your website the emails and all of the advice. I am almost 50 and finally being able to enjoy life like it was when i was a child. I am looking into learning how to can, but love the idea of using a pressure cooker for food as well. I work an hour from home, so the idea of being able to cook a good meal fast is appealing. What is your opinion of a pressure cooker/canner all in one?
Hi Penny,
I haven’t really looked at combo models, but I suppose it could work. I don’t like the thought of cooking food directly in my pressure canner as it is aluminum (and HUGE). I have an electric pressure cooker just for cooking food, and it’s very handy!
The all-in-one pressure cookers do not come to a high enough pressure for canning foods (per my instruction book)
I have canned hot peppers before and they tasted weird after opening a jar later. Do not know if it was the type of pepper or what. Have you had any off flavors after canning hot peppers?
Hmmm… not sure why– it could be the variety. Mine have tasted OK.
Would how you char the peppers affect the safety of this? I use a lot of chiles in cooking and for me roasting my huge batches of peppers over charcoal is much more efficient than roasting them in the oven. Would that be safe for canning? I’ve always frozen chile after roasting but would love to try canning them to free up some freezer space 🙂
No, that shouldn’t matter– as long as you are using a pressure canner, you’ll be fine
Jill … Have you ever tried Cowboy Candy? Great use for all those peppers and it is amazingly good.
5 lbs washed peppers (calls for jalapenos, but, I use a variety and I make a hot batch for hubby and a not-so-hot batch for me.)
2 Cups Apple Cider Vinegar
5 cups sugar
1/2 tsp Tumeric
1/2 tsp Celery seed
3 tsp garlic
1 tsp ground cayenne pepper (I omit this for the sweet pepper batches.)
Wash and cut the peppers how ever you want them.
In a large pot combine all ingredients except peppers.
Bring to a boil. Reduce heat and simmer 5 minutes.
Add peppers and simmer 4 minutes. Use a slotted spoon to transfer peppers into canning jars.
Turn up heat under syrup and bring to rolling full boil. Boil hard for 6 minutes. DO NOT WALK AWAY. This will boil over.
Use a ladle to pour boiling syrup over peppers. Can as usual.
These can be water bathed. 10 minutes for 1/2 pints – 15 minutes for pints. I pressure can everything so I pressure can them for close to this same amount of time. I make HUGE batches and want them to last a longer time.
These are best left to meld for 2 to 4 weeks before eating, if you can wait that long. Once you taste them you won’t be able to leave them alone. 🙂
The peppers are wonderful on Ritz with cream cheese, on burgers, steaks, any place you would have a pickle, in salads, etc etc. The possibilities are endless and you will find a million of your own ideas.
As for the leftover juice … It makes an amazing marinade for meat or chicken. It makes a yummy salad dressing just poured on lettuce, pour a dab in your potato salad … again the possibilities are endless.
I will say two things …. I put foil on my stovetop when I make this … I may or may not have boiled this over before. 😉 AND …. I do NOT store my jars with rings on them just incase there is sugar on the rim. After a few weeks, the rim is impossible to get off.
I am posting this assuming whoever is reading it knows the canning process, but, if anyone has any questions feel free to email or Facebook me.
I’m going to have to try this! Thanks for sharing 🙂
That is roughly my sweet relish recipe except I use cucumbers and add super hot peppers to it to bring the temperature up. The sweet hot flavor is wonderful. It only takes a few ghost peppers to bring the heat up.
This sounds awesome! Thanks for sharing!
I just made cowboy candy last night! Sending it to my mom (in Wyoming!) for Christmas.
I just watched Justin Rhodes vlog on your farm and had to come check out your blog! I love your house and farm! I live up in Gillette, someday I would love to have a little farm. We try grow as much as we can but gardening sure is hard here in Wyoming, I was impressed with your garden. My husband and kids hunt elk, love it!
Howdy neighbor! Nice to meet you!
The year before last I made your recipie for sweet canned jalapenos.
I have lost the recipe and have looked for it. Do you still have it up on your
site? Everyone loved it!
Hello…I’m looking for recipes to can Jalapeno/habanero pepper jam using raspberries/figs or other fruit…love it with cheese and crackers but can’t find a good recipe….my habaneros keep coming and coming and I hate to waste them…Would love some help!!
Jill, I am loving your FB page and all the recipes. Just wondering how to can chopped jalapeños (not pickled)? Sorry if you have posted it and I missed it. Thanks so much!!
Hi, newbie to pressure canning here and my first pressure canner is on it’s way. I have done lots of hot water bath canning, but low acid foods I have had to freeze. Freezing works but even with two refrigerator/freezers, I run out of room, and now it’s March and I have no poblanos and no sweet corn left, ugh. So this year will be a new adventure with pressure canning. Stocks are another thing that take up a lot of freezer space so that will also be on my to do list. I am on the east coast in MD so seafood stock for crab soup, jambalaya, shrimp and grits, clam chowder, etc. are essential but the store bought seafood stocks have just two ingredients – yuk and salt, lol.
I am envious of your beautiful family life on the farm but I just can’t leave the coast, it’s in my blood. So I kinda sorta homestead in my own way with a vegetable garden and catch my own seafood. Thank you for the tutorials, they are very clear and easy.