The way I see it, there are two very important reasons to braid garlic:
- Braiding helps garlic to last longer in storage, and is a more aesthetically pleasing option than throwing your bulbs in a mesh bag.
- You’ll feel super-cool and extra-homesteaderish when you have garlic and onions hanging in your kitchen. Amen?
I might have had a dismal garden harvest overall this year, but my garlic harvest rocked, thankyouverymuch. (Which is a good thing, considering I’ve been waiting almost a whole darn year to enjoy it.)
I got a sneak-peak of my upcoming garlic goodness earlier this summer when I harvested the curly scapes from my plants to make garlic scape pesto, but now it’s time for the real thing. I’m ready for garlic-everything, baby.
But before we braid, we must harvest.
How to Harvest Garlic
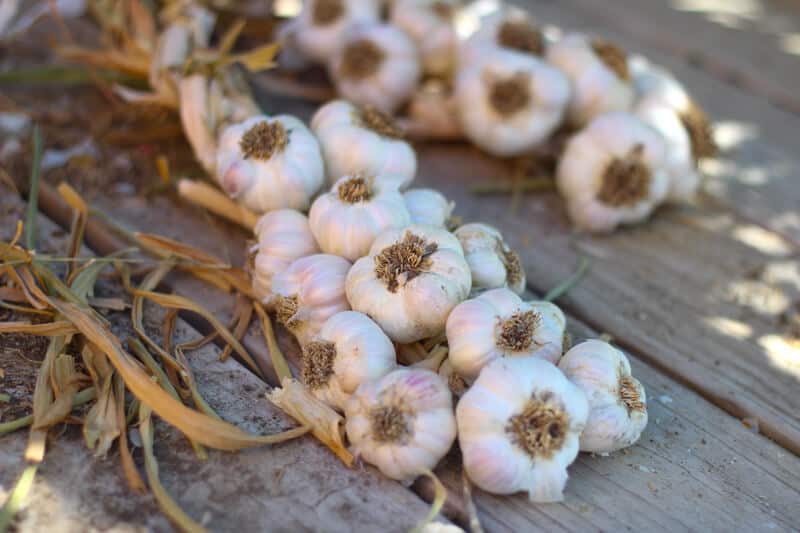
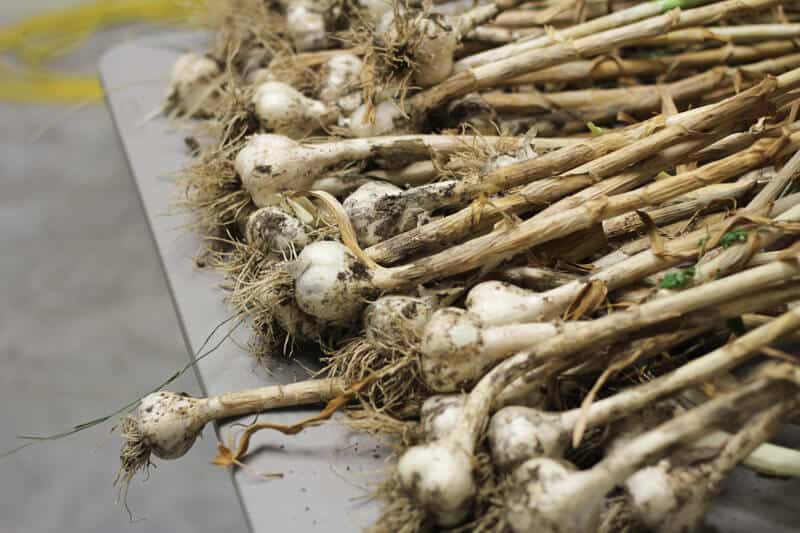
The exact timing of your garlic harvest will depend on when you planted your bulbs. Since I planted mine in the fall (recommended for better yields), I was able to harvest them in August. I knew they were ready when the tops began to yellow and dry from the bottom up. I stopped watering a week prior to harvest. When I dug them, the cloves were well developed and the outer layer of the wrapper was dry and papery. I carefully dug along the sides of my rows with a shovel (a potato fork will do, too) to loosen the soil, and then used my hands to carefully remove the bulbs from the earth.
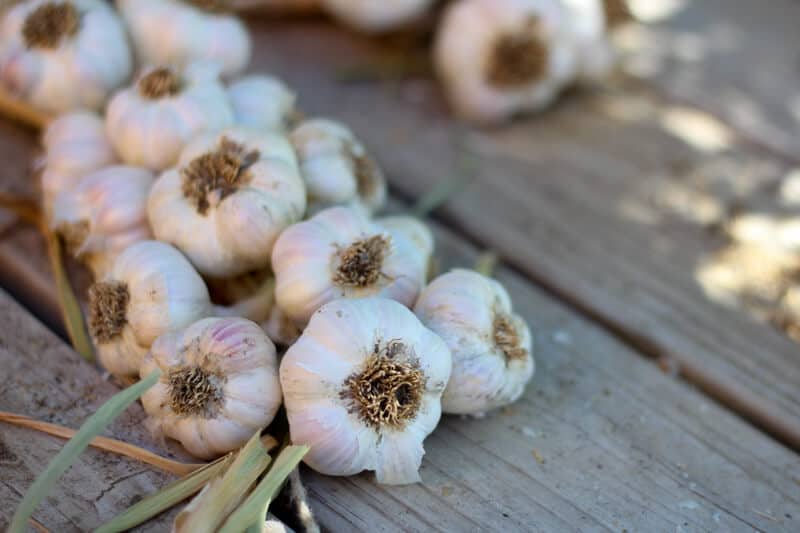
After harvesting, I sorted through the bulbs. Bulbs with missing tops (it happens sometimes…) or missing cloves were set aside for immediate use. If the bulb and top were fully intact, I spread them out on a table in our dark, cool basement and allowed them to air dry for about two weeks. (Actually, it was longer than that because I got side-tracked, but two weeks is ideal.) This drying process is necessary to remove some moisture from the stalks so they do not spoil. However, if they dry too much, they will be too brittle to braid, so it’s a fine line.
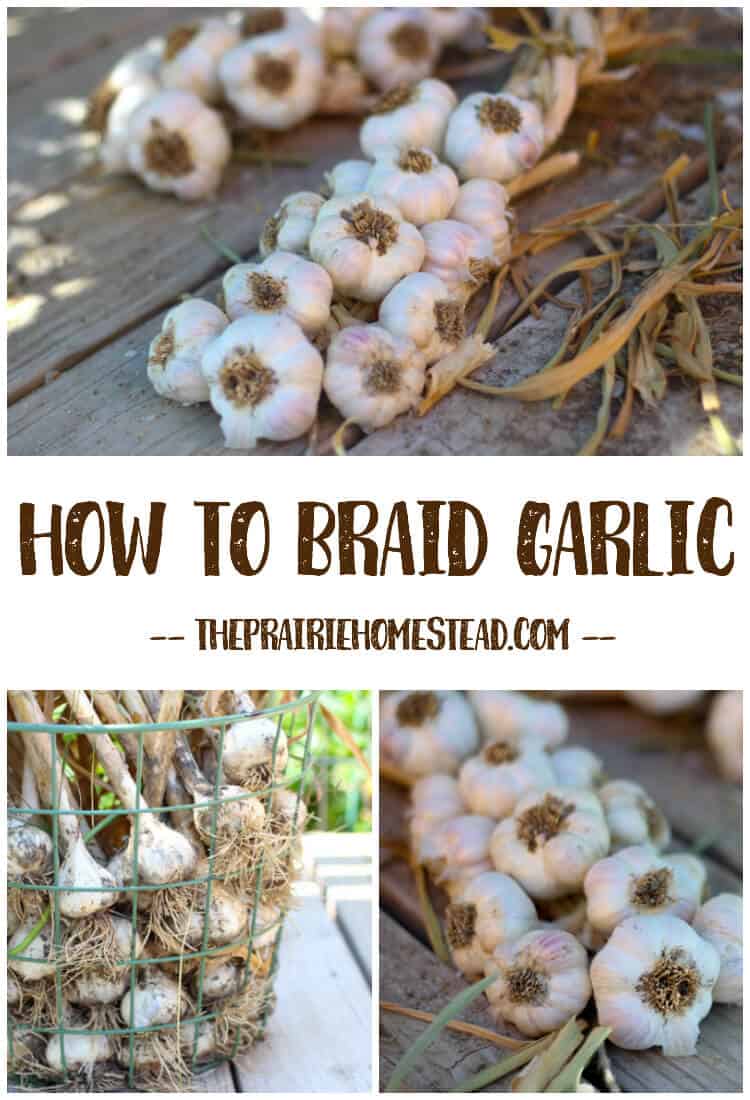
Once your garlic is cured and dried, it’s time to braid. The process is similar to braiding onions, but I though you might enjoy garlic-specific photos, so here ya go:
How to Braid Garlic
You will need:
- Intact heads of softneck garlic (8-10 will work)
- Two small bits of twine or string
A Note About Garlic Varieties:
You will want to use softneck garlic for your braids, as the hard stalks of hardneck garlic are very difficult (aka impossible) to braid.
I planted both varieties this past year– I prefer the clove size of the hardneck garlic (they are much larger), but love that the soft neck garlic is easier to store. So, it’s a toss-up I guess. I did find this tutorial on “fishtailing” hardneck garlic for storage if you’re really set on braiding it. It’s worth a try!
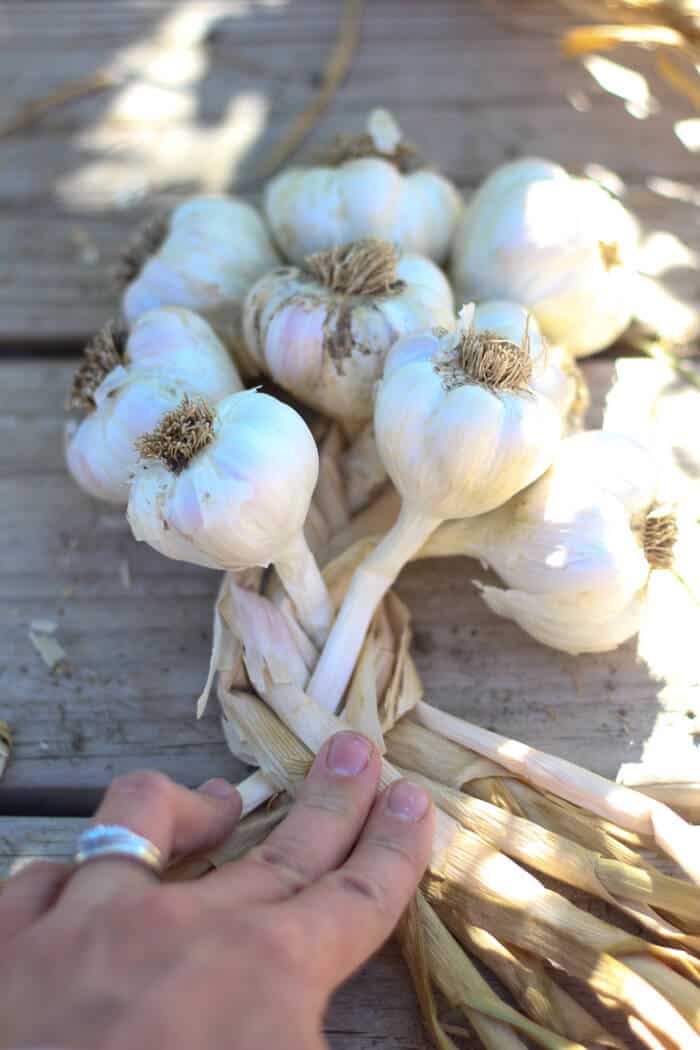
First off, prepare your bulbs for planting by gently rubbing any big chunks of dirt from the outside layer, and trimming the roots short. Not only does this look prettier, it also (mostly) prevents your garlic braids from shedding stuff all over your floor…
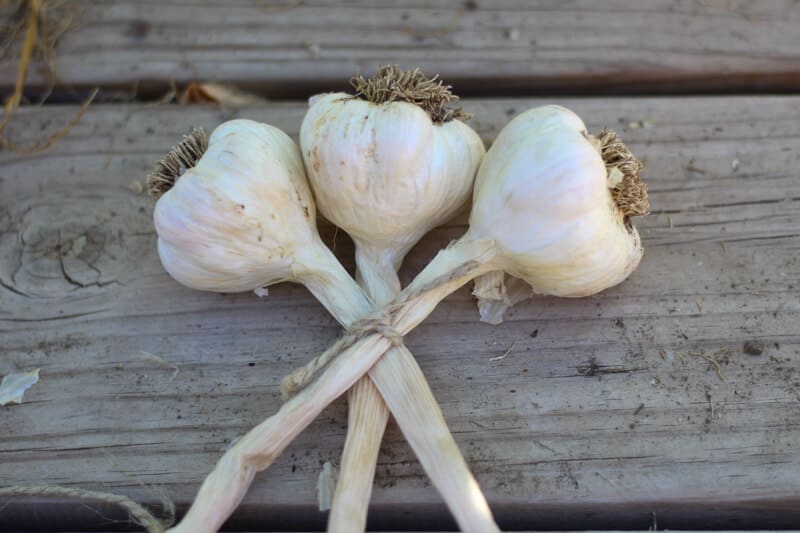
Next, pick three of the larger bulbs, and tie them together like this:
Now comes the fun part. See how you have three sections of stalk (left, middle, right)? It’s just like a normal, basic braid.
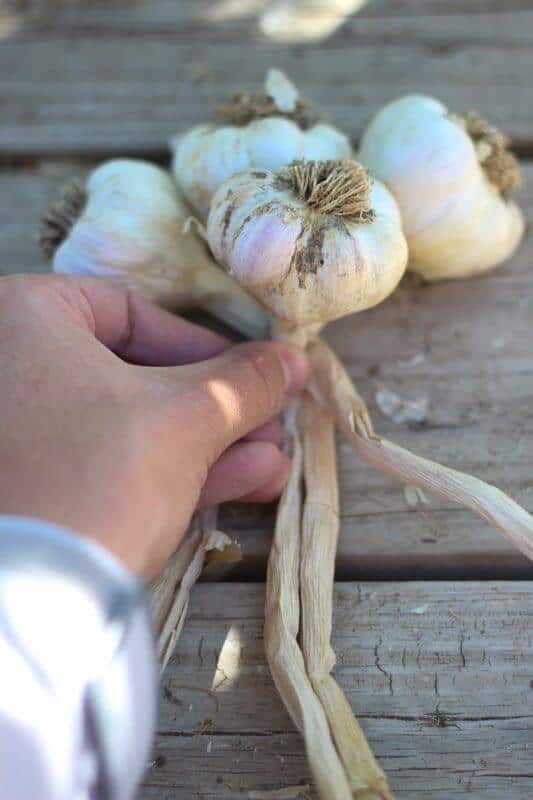
Place a bulb right in the middle of your initial trio. Lay the stalk straight down the middle. Now, cross the right stalk over the top (again, just like normal braiding).
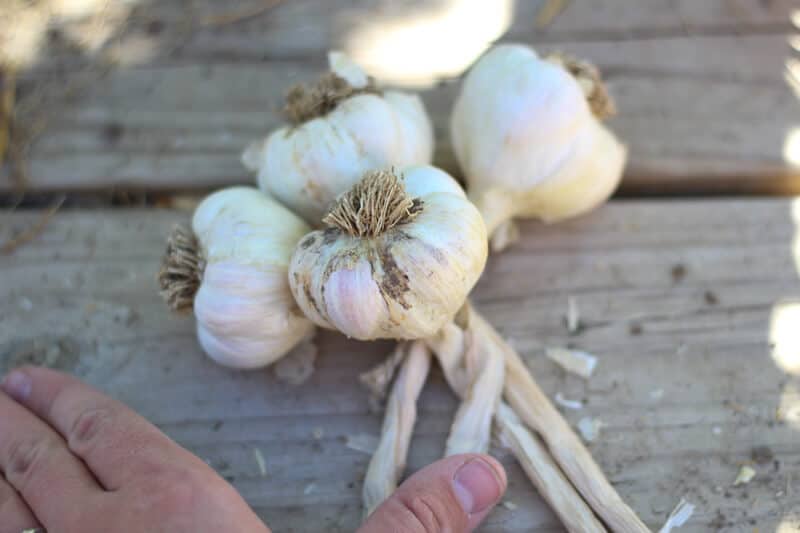
Select another bulb, and lay it on the right side. Lay the stalk so it’s in the middle (the stalk of the newly added bulb will always go in the middle).
Cross the left-side stalks over the middle, just like normal braiding.
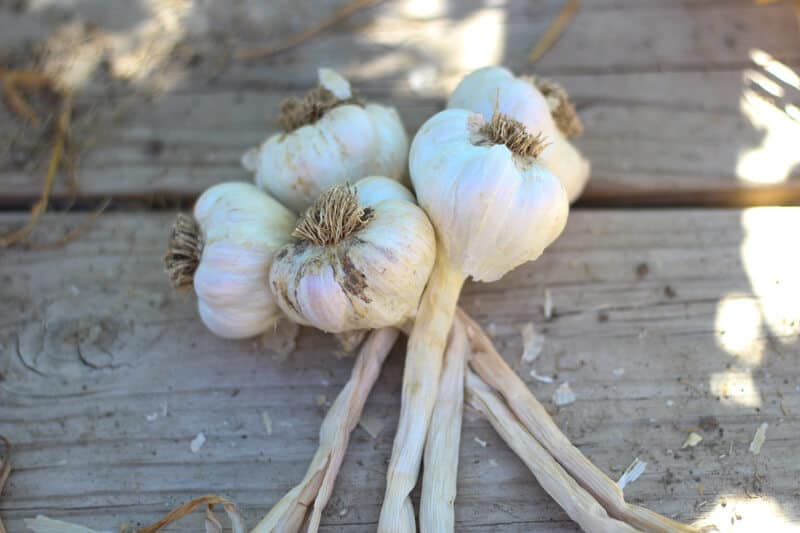
Now add a bulb to the left side of the bunch. Lay the stalk of this new bulb in the middle bunch, and cross the right side over. Once you’ve done that, add another bulb to the middle, and keep going until you’re out of garlic.
Here’s the pattern you’ll follow:
- Start with the trio of bulbs tied together as your base.
- Add bulb to middle.
- Cross right stalks over middle stalks.
- Add bulb to right side (stalk of new bulb goes in middle section).
- Cross left stalks over middle stalks.
- Add bulb to left side (stalk of new bulb goes in middle section.)
- Cross right stalks over middle stalks.
- Add bulb to middle (stalk of new bulb goes in middle section.)
- Cross left stalks over middle stalks.
- Repeat.
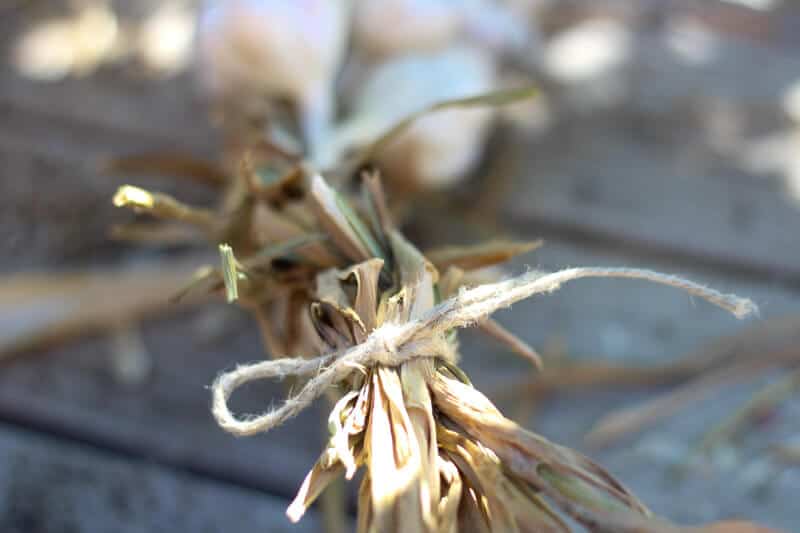
When you’re done adding bulbs to the braid, you’ll have a handful of stalks. Continue to braid these in a simple braid until you reach the end. Tie tightly with another bit of string (I like to make a loop so I can easily hang the braid).
Store the garlic in a cool, dry place (avoid anywhere with lots of humidity, like a damp basement). I know keeping them in my kitchen will possibly cause them to spoil slightly faster (because it’s warmer), but I’m pretty sure I’ll use up the braid before then.
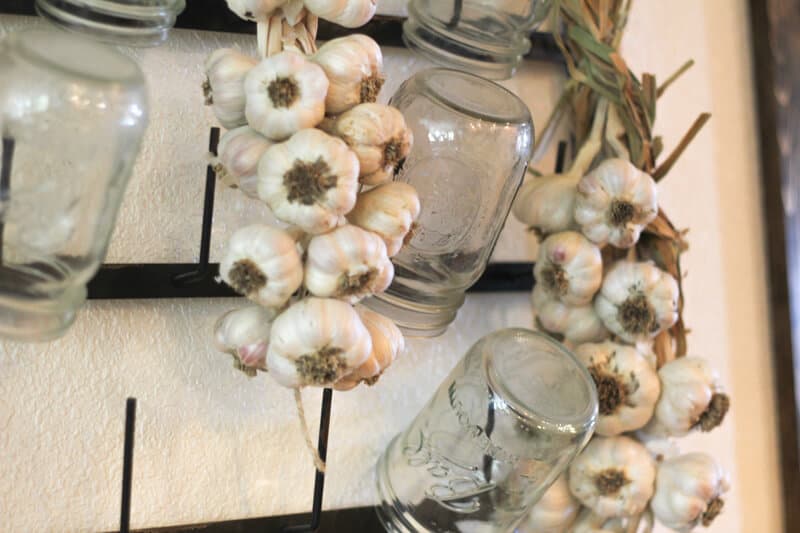
To remove a bulb: cut it off the bottom of the braid.
The good news?
You can mess this up, and usually still end up with a decent looking braid. I say as long as the braid stays together, who cares if you messed up which side you crossed over? I won’t tell, promise.
To Store Non-Braided Garlic:
If you have bulbs with missing tops, or just don’t feel like messing with braiding, you still have storage options.
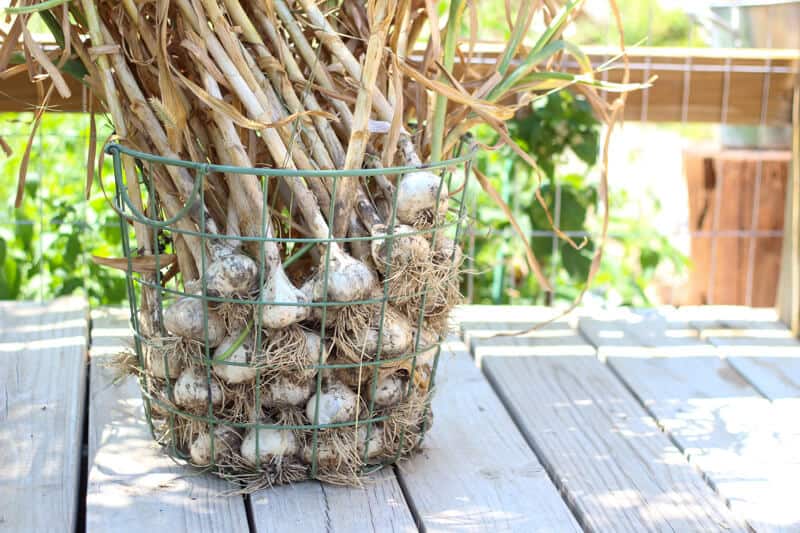
You’ll still definitely want to cure the harvest, but once that is complete, simply clean/trim the bulbs, cut off the stalks, and store the garlic bulbs in a loose container in a cool, dry place. Mesh bags, brown paper bags, baskets, or even old pantyhose will work in a pinch.
And don’t forget to save some of your very best bulbs for seed garlic so you can do this whole crazy thing all over again. 😉


Looks GREAT! Thanks for the tip about hardneck vs softneck garlic. It explains a lot! 🙂
Great how-to! Thanks! I have a couple garlics on my to-buy list, I’ll have to see if they’re both hard necked because I think they are. Do you have any suggestions as to which do best?
What a clear explanation of braiding. Now I understand what to do the next time!!!
THANKS A LOT!
Can you let those braid hang in the kitchen (with the light from the windows and heat and stuff)?
It looks so cool… ;)! Almost too bad to store in a dark and cool place 😉
Dear Prairie Homestead,
I’m just a city girl who likes garlic and gets it from the farmers’ market when it comes into season. I do, indeed, feel cool now that I know how to braid it like a pro. Well, I need a little more practice but it is awesome. THanks so much.
W.Ben is best time to plant garlic for next year? I am in South Mississippi.
Thanks
Pam B
Hi Pam! Jill has a post about planting garlic that will hopefully help you! You can find that post here: https://www.theprairiehomestead.com/2015/09/how-to-plant-garlic.html
GREAT Job Kayla !!!
I love the mason jar rack! My hubby and I don’t use up enough dishes to make the dishwasher feasible so I use it to store my mason jars and combucha jars. It still gets run when I use it to sterilize jars for canning and it’s super handy. Thanks for the excellent tutorial, I can’t wait to give it a try!
I would like to try Elephant Garlic, have you ever planted it?
I braid my hard neck garlic varieties every year. On one of the days the garlic is curing, take your pruning shears and a box cutter outside, lay the garlic on a hard cutting surface (I usually use heavy cardboard on my deck table). Carefully slice through the outer leaves of the stem with the box cutter, along the length of the stem. Carefully peel that layer open, without detaching it from the head of garlic. Clip the inner hard neck stem within 1/2 inch or less above the garlic head. Allow to continue curing and proceed as above with braiding soft neck garlic.
You can see a picture of this years crop at this link. The braid on the left is a soft neck Italian variety, the next braid is a hard neck called Vietnamese Purple, and the two braids on the right are a hard neck, somewhat red skinned variety. the garlic cloves in the mesh bags is the seed garlic I planted in mid November. I always use the best and biggest cloves for ‘seed’. https://www.facebook.com/photo?fbid=10157634061187918&set=a.10157634076102918
I live in a very humid area and when garlic is harvested is the worst for humidity and heat (and hurricanes). It’s also impossible to have a basement here because you dig 2 feet and hit water; we’re below sea level. What do you think would be the best alternative for curing? I would be planting softneck.
Hi! I’m confused about the softneck vs hardneck?
It says you harvested the scapes prior, but then it says softneck needed in the list of supplies. But softneck varieties don’t produce scapes.
Just curious if you braided the variety that you harvested the scapes from? I have a hardneck garlic harvest I’d like to braid, but everywhere says softneck is best for braiding, so I’m just curious if it can be done with hardneck varieties anyways? Thanks!
For hardneck garlic (the ones that produce scapes), folks usually clip them and keep only the bulbs. Store the bulbs in a basket that gets some air through it.
Hey! Thank you so much for this guide! I have been working on a farm and was able to take home some of our garlic harvest to make braided garlic gifts for friends. It took me a few read throughs to get the pattern, but the braids turned out beautiful and I’m excited to ship them out to my friends!
Thanks! 😀