
OK, OK… You don’t have to rub it in…
I know many of you started your cute little seedlings weeks ago, and some of you are even harvesting crisp lettuce and greens… But don’t worry, I won’t hold it against you. 😉
Here in the frozen tundra (aka Wyoming) we are still shoveling snow and chopping ice. In fact, we had a lovely snow storm on Monday that closed down all the roads. So it’ll be a while before I get to dig around in my garden patch…
However, it’s just about time to get some seeds growing in our sunny windows. So I’ll take whatever dirt under my fingernails I can get!
There are a million-and-one different ways to start seeds–everything from fancy, seed-starting systems, to random repurposed objects.
However, I’ve returned to these simple newspaper pots year after year. I like that are big enough for larger seedlings to have room to grow, plus it doesn’t get much more frugal than this!
DIY Paper Seedling Pots
You will need:
- Newspaper (one full “fold-out” sheet will make 2 pots)
- A drinking glass (or any other cylindrical object that you can wrap the paper around- – it needs to have straight sides)
- Masking tape (2 pieces per pot)
- Potting soil
Instructions:
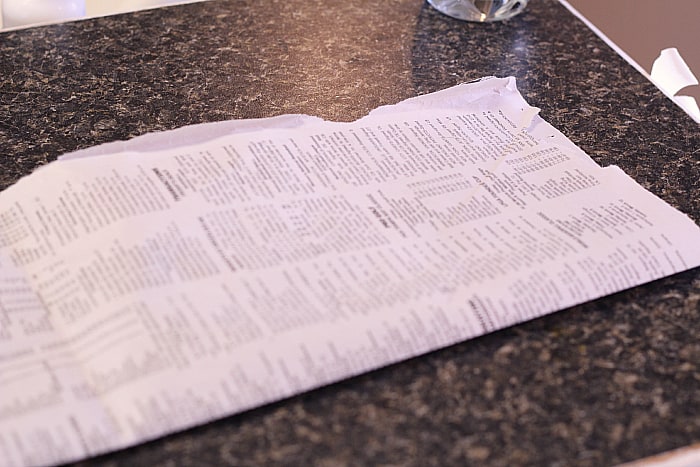
If you are starting with a full sheet of newspaper, tear it in half along the fold.

Now fold it in half lengthwise, like this—>
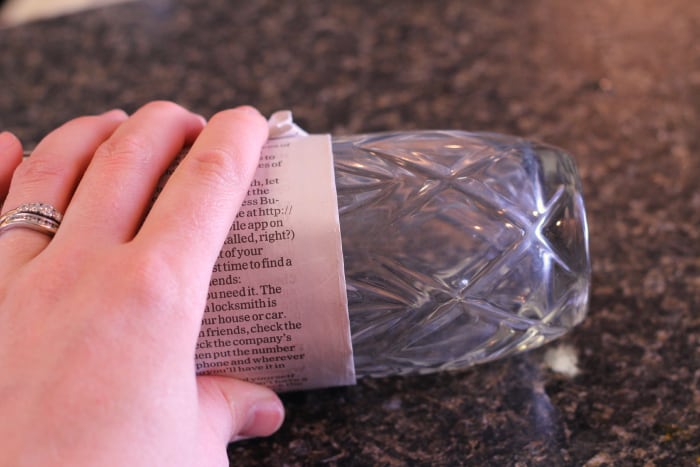
Grab your cylindrical object (aka straight-sided drinking glass) and place it halfway on the paper. Unlike what you see in this picture, you’ll want the bottom half of the glass inside the newspaper roll, and the top facing out. (So exactly opposite of what you see here…)
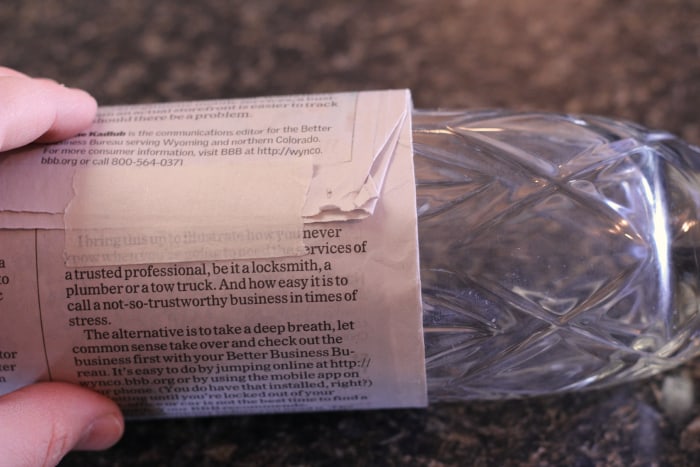
Roll the paper all the way up, and secure with a strip of tape. There will be several inches of paper hanging off the end of the glass (on the side where you see my hand.) That’s what you want.
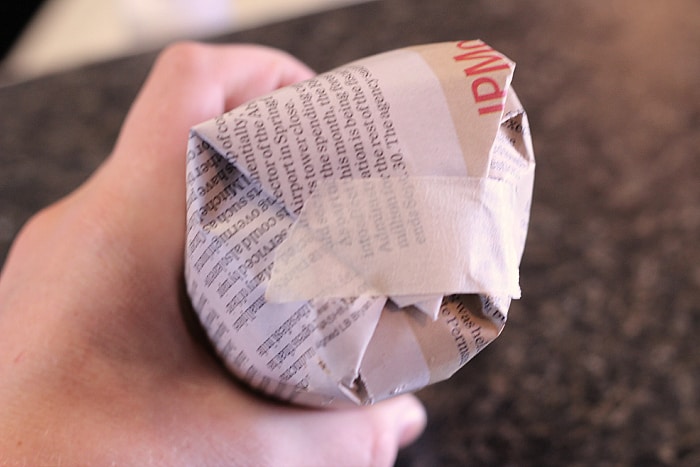
Fold the paper over the bottom of the glass like you are wrapping a gift, and secure it with another bit of tape.
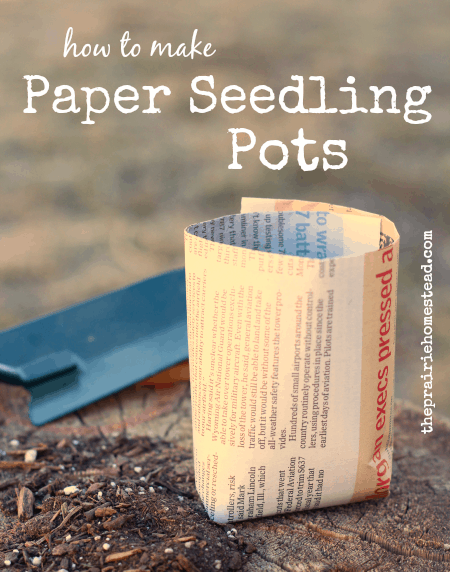
Place your finished pots in a tray (or other holder) and fill with potting soil. I like to use the foil lasagna pans or trays that come with the clear plastic lids. I keep the lids on while the seedlings are tiny, which keeps them warm and prevents them from drying out as quickly. It’s an improvised mini-greenhouse.
When you are ready to transplant your seedlings, you can place the paper pot directly into the ground, or gently tear the bottom third off to expose the roots. I’ve done it both ways.
And there you have it! A cozy home for your newborn seedlings–for just pennies. 🙂
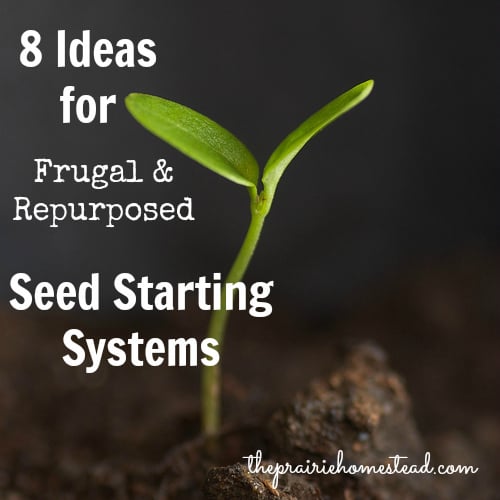 Looking for more simple seed starting systems? This post has tons of tips!
These are a great idea for those cheap people out there like us. I’ve used these and they work pretty well. I’ve been making these for a couple seasons now so I’ve had the chance to try a few different types.
These however, have to be my favorite.
http://www.youtube.com/watch?v=7dlGQP81yfo
Great idea! Heres the same concept using toilet paper rolls if you use all available newspaper to start fires in your Woodstove….:)!
http://plantcaretoday.com/how-to-make-biodegradable-mini-planters-from-toilet-paper-rolls.html
I did this last year after reading about it somewhere and it worked great! I am actually going to be spending the day making them for our seeds.
Hi Elena,
So you didn’t have any problems with them falling apart before it was time to transplant outside? Good to know!
No, I didn’t have that problem. When I planted them in the garden, I removed the tape on the bottom and tore the paper so the roots could easily grow into the soil.
Been doing this for a couple years. I don’t use any tape. I kind of tamp them down on the bottom and then squeeze a little ridge around the outside bottom edge. I also fold over the top edge of the pot to secure it. But then mine are smaller, and I’m thinking I need to transplant up to bigger containers as the plants are doing so well under my shop lights which we just got for this season.
How do you keep them from disintegrating before you transplant them outside?
Mine have always stayed together quite well!
These newspaper pots have been part of my gardening for years but I do a couple of wrinkles on the basic. I use white glue, like Elmer’s, and an old arts brush that’s maybe a 1/4″ wide. As I wrap the paper around my pipe, I make a swipe of glue along the end at the start before I wrap the paper over. I use another swipe of glue on the end and little dabs on the folds as I complete the bottem. Fairly simple and very cheap.
Hi Jill,
This is a really innovative idea that I can’t wait to try out, but like Judi, I’m curious about how well they’ll hold up in the meantime. I’d they’ll last, I like that they’ll add more nutrients to the soil when planted.
I’ve never had any problems with them falling apart before I plant. 🙂
I’ve used newspaper pots for a few years now. I just use a glue stock to seal the outer edge and tuck in the bottom enough to hold it together. They do hold up really well and make it easy to transplant more delicate seedlings. It’s a fun project for kids and you can
make them in practically any size you want.
Great idea. I live in NY it’s still to cold to plants until after 5/30. I have used eggs shells. Crack them in half carefully. Save the egg cartons these will be your trays. And there you have it. Put in the dirt and seeds. Watch them grow. Make sure you water. Then plant the egg shells with the seedlings right into your dirt!!!
no tape method. Mash them down after folded to get a flat bottom.
http://lifehacker.com/329141/fold-a-drinking-cup-from-a-sheet-of-paper
Brilliant idea, I have been doing this for years especially for my sweet peas which like a long root run. I use a plastic bottle former and cut the newspaper to 6 inches wide, 5 inches for the pot and one inch to fold at the bottom. Tape it up an away you go. I made about 60 yesterday sitting nice and warm at my desk here in the south east UK where the temperature is just hovering about freezing. The sweet pea roots will grow through the paper and can be planted when the frost has all gone without disturbing the root system.
That is awesome Mike!
Needed a project for 20 girl scouts something inexpensive and this was a great idea. Also we are doing this around mothers day awesome idea thank you so much.
Hi there, always i used to check webpage posts here early
in the morning, for the reason that i like to gain knowledge of more and more.
On the Pictures above it’s a case of ‘DON’T DO AS I DO, Do as I say, LOL, I had heard of this type pots, but never knew much about making them, Thanks for this post, I might just try a few this year, I say try, because I have about 100 T,P Rolls Pots, ready to go.