I’ll be honest…
I’m slightly grumpy at the thought of gardening season starting up again this year.
Normally I can hardly wait for the ground to thaw so I can get outside, but last year was brutal… Let me tell ya.
But, I’m a glutton for punishment, so you can be sure I’ll still be outside come April working in the dirt and getting my garden spots ready. I’m definitely going to pray for a better result than last year though. 😉
Some of you that live in warmer climates have probably already started some of your seeds. However, us Wyoming folks usually don’t get to plant our gardens until the last part of May (and even then there still might be snow!), so I have a little bit of time before I need to get my tomato seedlings going in my improvised greenhouse.
There are many ways to start seeds– and of course, home and garden stores sell all sorts of little containers, pots, and kits that you can use. (My go-to garden source True Leaf Market has a great selection of gardening supplies, seed starting pots, and seeds.)
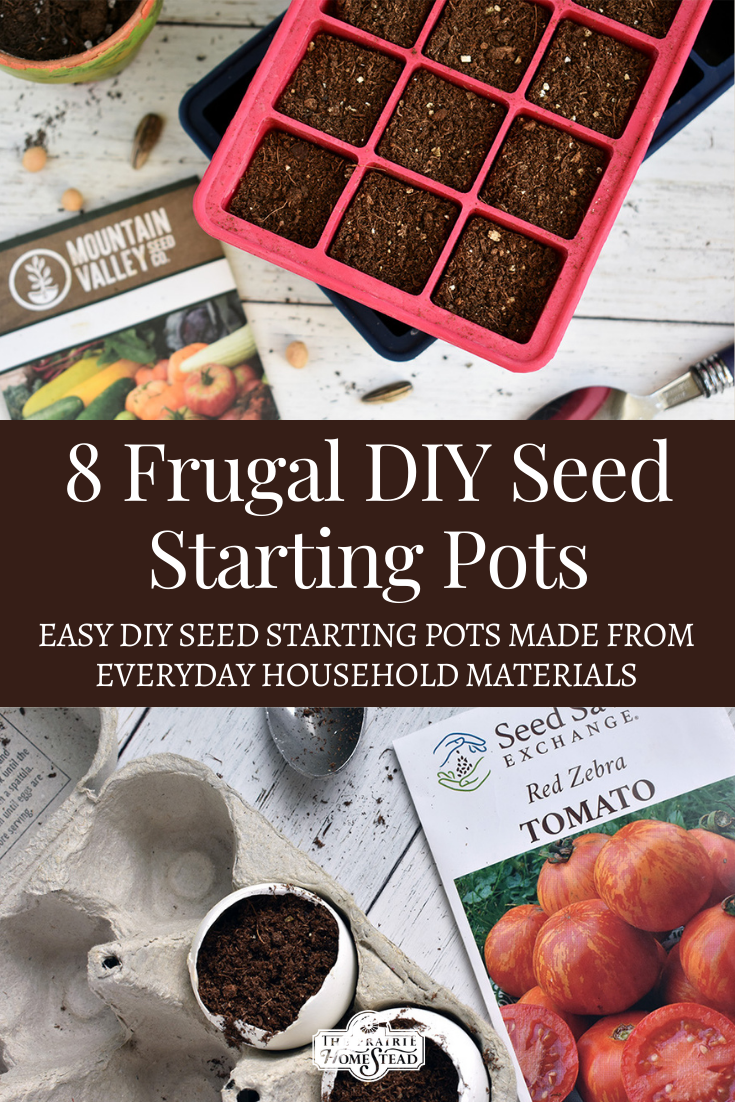
Store-bought seed starting pots work fine, but since I usually err on the side of frugal, I like to find other options whenever possible. Here are a few of my favorite DIY seed starting pot ideas– both ones that I’ve personally tried, and ones that I would like to implement in the future.
8 DIY Seed Starting Pots
1. Homemade Paper Pots
This is one of my favorite methods. Homemade newspaper pots are simple to make, and you can make pots of any size. I also love them since you can place the pot directly into the soil. (Please tell me I’m not the only one who has a tendency to mangle delicate little seedlings when I’m trying to transplant…) You can check out my DIY Paper Seedling Pot tutorial here.
2. Toilet Paper Tubes
These are easy enough to come by, and I like that they are biodegradable and can be put directly into the ground. You Grow Girl has a helpful tutorial— she makes slits in the bottom and folds them over to form a small cup.
3. Recycled Seed Starting Potting Packs/Trays
If you’ve purchased those little plastic packs of flowers or vegetable starts in the past, don’t toss the containers. These can easily be re-filled with soil and used again and again.
If you are reusing old seed trays that have had old soil sitting for a while, noticed molding, poor soil conditions, or have lost seedlings in the past you may need to disinfect them. This is not something that I do on a regular basis, but for the best seedling outcome, it may be necessary. Don’t worry, I have a full tutorial on How to Disinfect Seed Trays.
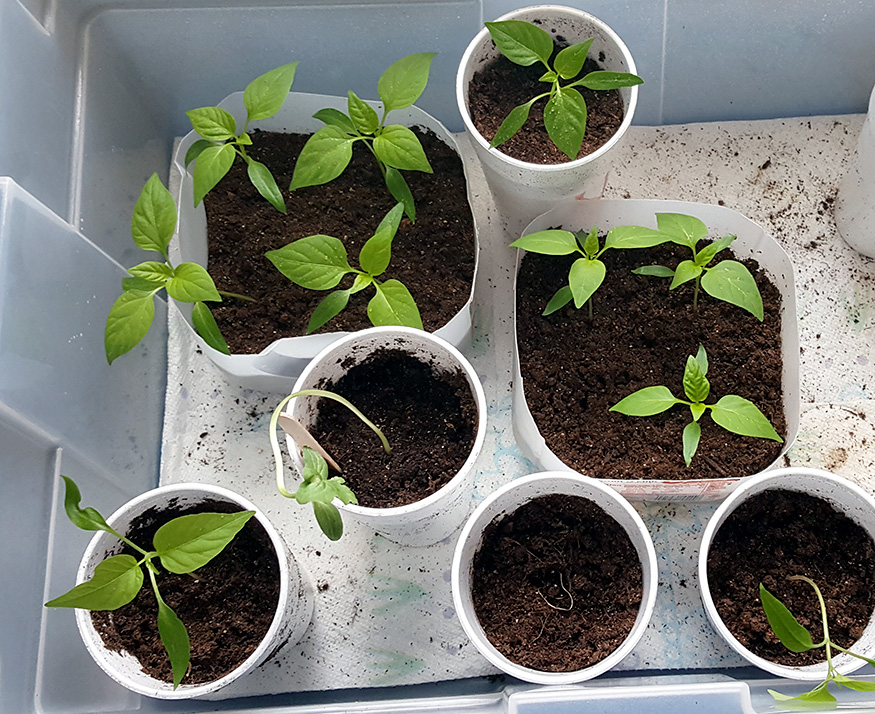
4. Random Containers and Pans
I’ve experimented with quite the hodge-podge of containers in the past. Really, any sort of small container or pan will work–You may or may not need to pokes holes in the bottom to allow for drainage. (Look for flexible containers that will allow you to squeeze them– this will save you much headache during planting time. If you use rigid containers, it can be quite difficult to remove the root mass without damage…)
A few DIY Seed Starting Pots from Random Containers:
- Small Yogurt Cups
- Sour Cream/Cottage Cheese Containers
- Milk cartons (cut the top off)
- Foil Roasting Trays or Lasagna Pans (Sometimes they come with a clear plastic lid that fits over the top. This can help to create a mini-greenhouse effect and keep your little babies from drying out.)
- Cardboard Boxes
- Those random plastic storage containers that have lost their lids…
5. Egg Cartons
Egg cartons are a favorite seed-starting item for many folks. Pack each cup full of soil, and simply cut each section apart when you are ready to plant. These are also biodegradable and can be placed directly into the ground.
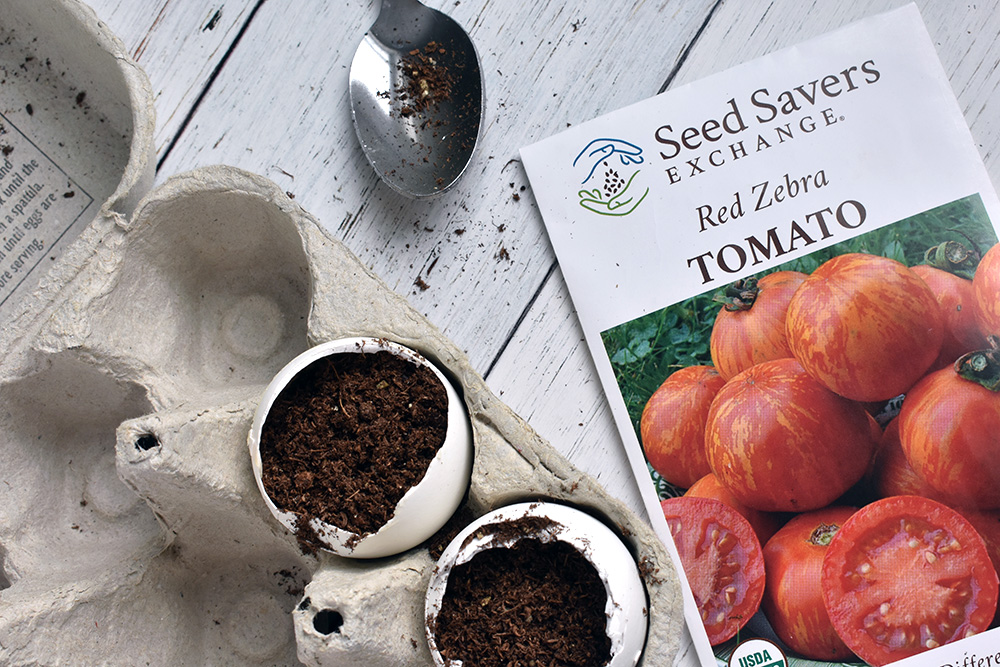
6. Eggshell Seed Starting Pots
Ah… eggshells. So much potential in such a little item. I’ve already put together a post of 30+ ways to use eggshells for other things, but they work well for containing your tiny seedlings too. My only worry would be that they are a little on the small side– you probably won’t want to plant larger veggies in them (aka tomatoes). But perhaps some of the smaller varieties? Apartment Therapy has a helpful tutorial here.
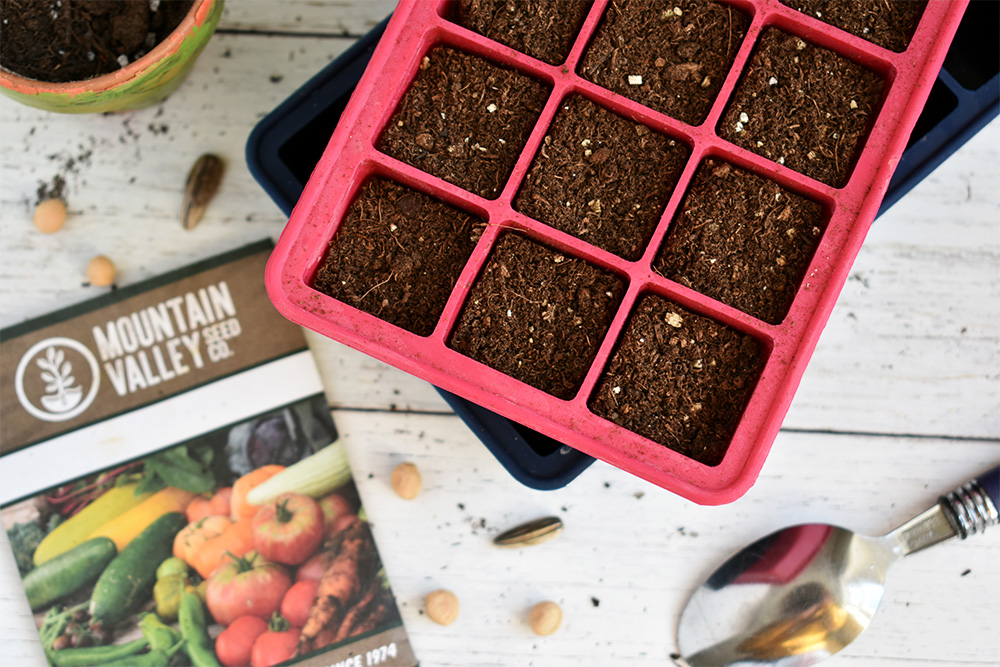
7. Ice Cube Trays
I’m always finding piles of old plastic ice cube trays at yard sales and thrift stores. These would make ideal little compartments for smaller seeds.
8. DIY Soil Blocks
Create your own compacted soil blocks with this simple homemade soil block maker.
9. Avocado Skins or Citrus Halves
This idea is not only functional but also pretty! Use hollowed-out citrus peels as pots, or salvage leftover avocado shells from your compost pile and put them to work.
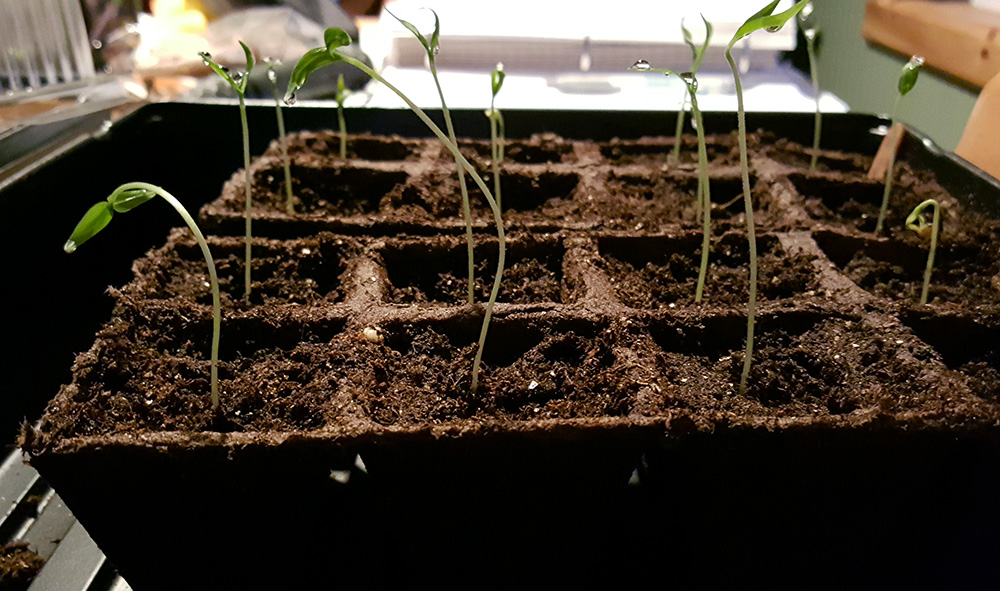
What is Your Favorite DIY Seed Starting Pot Idea?
These seed starting pot ideas are not overly complicated, and most materials can be found in your home. Seed starting doesn’t have to be expensive or complicated. If you have your pots picked out, take a look at this Seed Starting Guide to learn more about what seeds to start now.
Have you tried any of these ideas in the past or do you have a favorite?
Other Helpful Garden Posts:
- How to Test Seeds for Viability
- Reasons to Plant a Victory Garden
- How to Use Deep Mulch in Your Garden
- How to Plant Garlic
- DIY Potting Soil Recipe
Such great ideas! I’m going to be getting our seedlings started soon and am a little overwhelmed at my options, but I really like the toilet paper tube idea.
Yes– the toilet paper tubes are good. 🙂
I also like to keep coffee containers to use as planters. Because most are sturdy and they have a lid that will seal I have found that you can use these to collect your scraps to put in your compost pile, or to collect scraps for your chickens.
There were a lot of good ideas there…I have done the paper pots and eggshells as well as several reclaimed small containers but will be sure and try out the avocado skins and citrus halves. What I really need is a good economical seed starting mixture. I haven’t had good luck with native soil or straight compost. Do you have one you have used before or am I going to be doomed to the garden store every spring?
So far, I’ve been stuck going to the garden store… 🙁 I know some folks make their own potting soil, but it sounds like they just buy the same ingredients that commerical potting mix has in it and merely mix them together themselves.
maybe you could mix compost and the soil together
I’ve been making the newspaper pots, for several weeks now. I have a whole box full. I’m just waiting for the right time to start planting here in Southeast Idaho. We are still three feet deep in snow….I need some spring. I actually thought that if I built the newspaper pots, spring would hurry and come…Still waiting…
Hehe– I’ve tried that same strategy of hurrying spring along too– doesn’t usually work for me either! 😉
Late spring I pray I’m wrong but not usually
Newspaper pots are my favorite too, Jill, especially since they don’t involve handling the plant’s root system.
I’ve heard of the eggshell “pots,” which are adorable, but I don’t think I’ve come across the citrus peel idea before. That’s very clever!
I thought so too– I haven’t seen anyone do that before. 🙂
I’ve never used the eggshell idea, but every time I see it I wonder if the eggshell breaks down in time for root growth. Anyone have thoughts on that?
Thanks so much,
Tina Elliott
http://www.billyjoesfoodfarm.com
http://www.facebook.com/BillyJoesFoodFarm
You could always crack the egg shells while you put them in the ground. Then the roots could for sure easily push through.
Actually, the eggshells do break down… and it’s an excellent source of nutrients for the seedling as it composts down. There have been recommendations of planting an egg underneath transplants, as a soil amendment, with success.
Yes– I think I’ve also heard that putting eggshells around tomato plants really helps them as well?
broken egg shells around the plants stops those snails and slugs too.
I always add eggshell and banana peels to the bottom of my transplant hole for tomatoes and roses. It seems to help with blossom end rot on the tomatoes, as I haven’t had that problem since I started doing this. My roses seem healthier and bloom longer too than in the past. Thanks for all the good tips on your site.
I’ve had great success mixing eggshells with the soil when I plant my tomatoes. I’ve very rarely had blossom end rot since I started this. Let me give one caution with eggs in the planting hole – I’ve had a (presumably) raccoon pull whole plants right back out of the garden to get at the egg. Fortunately it didn’t damage the plants and I was able to replant.
Yes– I am totally planning on doing the eggshell idea this year!
I just got my husband a Keurig machine for Christmas and was wondering how to reuse all those pods we were going through. Then I had a lightbulb moment…use them for planting my seedlings. The top and insides are easy to get out (coffee grounds and paper filter parts go right into the compost…and there’s already a drain hole in the bottom. Just put them on an old cookie sheet or other tray and you’re all set.
That is a fantastic idea! I’m going to start saving our K-cups for this!!! Thanks 🙂
I’ve been doing this for years (still using the same cups too, as I’ve switched to compostable no plastic non K-cups). It works great!
I’ve already started making the toilet paper tubes! Also paper towel tubes, you can get a few more out of these!! We just moved to northwest Pennsylvania and I am really looking forward to gardening here. I’ve been told though not to plant until after Memorial Day because we could get snow and frost up to that point
Thanks for the great ideas!
Jill, a little off the subject, but, check out straw bale gardening. It helps get your garden going a bit earlier. This will be my third year and I am hooked.
I will Barbara–thank you!
Plastic apple containers from Costco. And egg cartons. And berry/grape/whatever plastic clamshell containers. All the plastic containers are great for multiple uses… And for Christmas ornaments. 🙂
I work for Lowes and we often have left over pots that people bring back for us to recycle that are available to take for free. Ask in the garden center.
oooh, great idea!
I do really well starting the seedlings. Pretty little plants, parsley that looks like parsley, dill that looks great. . . It is the transplant to bigger pots that gets me. Then the hardening off. Then I end up at the box store or feed store buying flats of veggies and herbs anyway. Any great tips for hardening off those tender plants? I can’t tell you the number of plants I have turned into ghosts of their former selves after I tended to them for 8 weeks. Sad, but it doesn’t keep me from trying again.
Place an oscillating fan on low near your seedlings to help them get stronger before you plant them outside. This simulates wind and will “signal” your plants to toughen up in a gentle way. Give them a couple hours of outdoor time if your daytime temp stays warm enough for that long, for the week or two before you plan to actually plant them.
I have mine started but can’t afford to buy growing lights for all my stuff. I put all my starts in the bathroom which has great light and is the warmest room in the house. Only problem I have is I can’t get the plants right by the light so the plants are reaching for the light and aren’t going to be that strong. I wish there was a fix for it. Anyone have any ideas??
Use tinfoil as a reflector to light the other side of the seedling. Or even white paper will reflect some light.
People at work keep brining in doughnuts in large plastic containers. I have collected a few as seed starter mini greenhouses. Right now I have 2 full of newspaper pots. They fit about 25 pots each.
I agree with the frugal comment, and came up with a variation that I’ve had good luck with— I take a plastic milk jug (or water bottle or soda bottle, whatever has a taper and a mouth), cut it about in half, and invert the top into the bottom. The lower half serves as a water reservoir to make the container self – watering, and the soil in the mouth of the container acts as a wick to draw up the moisture. The seedlings don’t get waterlogged, the soil hasn’t become root-bound as I’ve used it, the nutrients that might have been lost to run-off get captured in the reservoir and fed back to the plant slowly, it’s one less container in the recycle bin, and hey— I already bought the milk and the container it came in, why not get my money’s worth out of the purchase?
I’ve had better growth using that method, but it might also be because it’s a buffering system for forgetting to water.