![]()
Homesteading | Self Sufficient Living | Living off the Land
Hello Friends!
Over the past 12 years I've helped thousands of families learn how to grow their own food, ditch the grocery store, and live the Old-Fashioned on Purpose lifestyle.
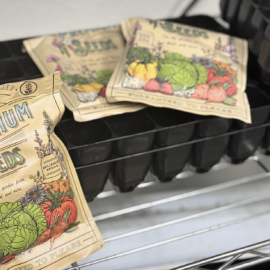
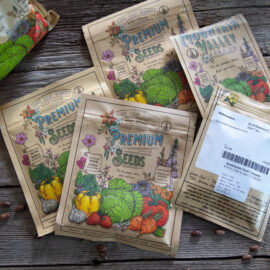
I have lots to share, but the best place to start is with my Savvy Seed Tracker. It'll help you streamline your garden and grow MORE with LESS stress this year.
I Want It!
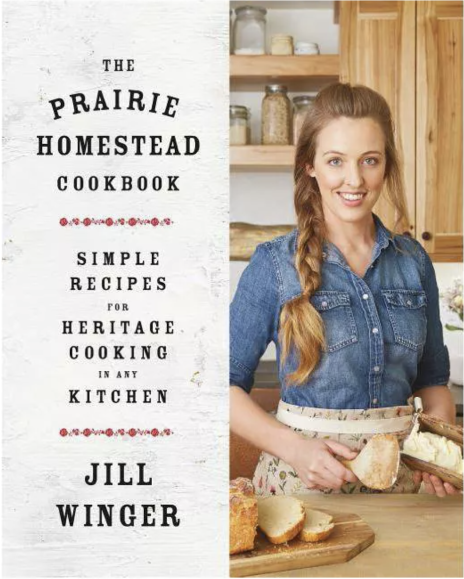
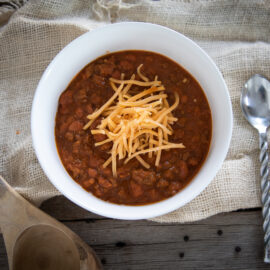
100+ wholesome, heritage recipes made with fresh ingredients to bring the flavors and spirit of homestead cooking to any kitchen table.
Learn More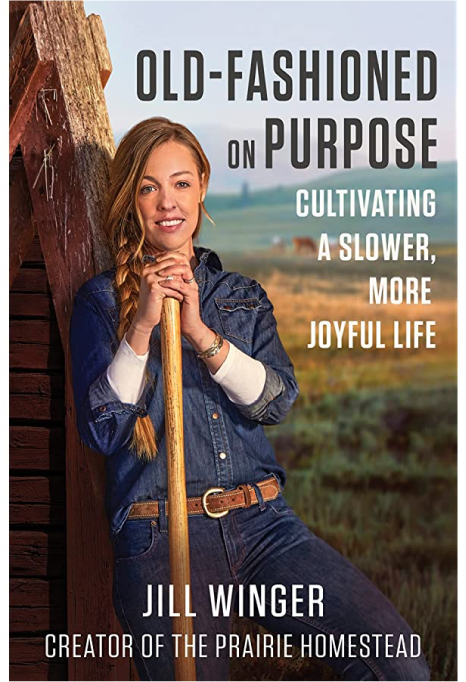
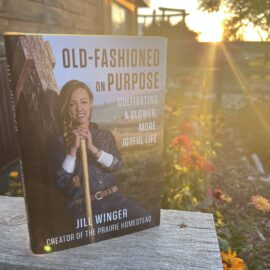
What are we leaving behind in our race towards progress? The past holds the key to finding ourselves. Living an old-fashioned on purpose life is an awakening, a remembering, a returning to what matters… And it’s available to everyone.
Learn MoreRuminations and reflections on an old-fashioned on purpose life.
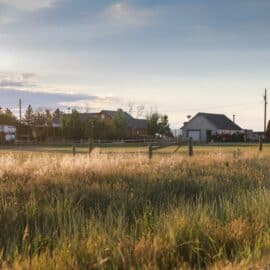
Whether you're building your homestead on the prairie or in the suburbs, these tutorials will start you off right!
Master the art of growing your own veggies, eggs, milk, or meat with these simple tutorials.
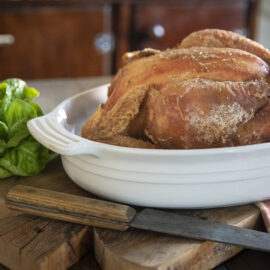
Bring the best of wholesome, farmstyle cooking to your kitchen, no matter where you live!
Create your own income streams and build the ultimate self-funding homestead.