If you would have told my 18 year-old self who HATED cooking that she’d someday write a best-selling cookbook, she would have called you crazy.
Little did I know that I’d fall in love with cooking on a windy Wyoming homestead miles from civilization.
It’s funny how life surprises us sometimes, isn’t it?
The Prairie Homestead Cookbook celebrated its 5th birthday this week.
It’s been a best-seller, named an Amazon Editor’s Pick, and even won a book award.
But more importantly, it’s made its way into countless kitchens across the globe and accomplished the mission I set for it at the very beginning: to teach people how simple from-scratch food can really be.
I’m often asked which recipe in the book is my favorite… And I always hem and haw in response.
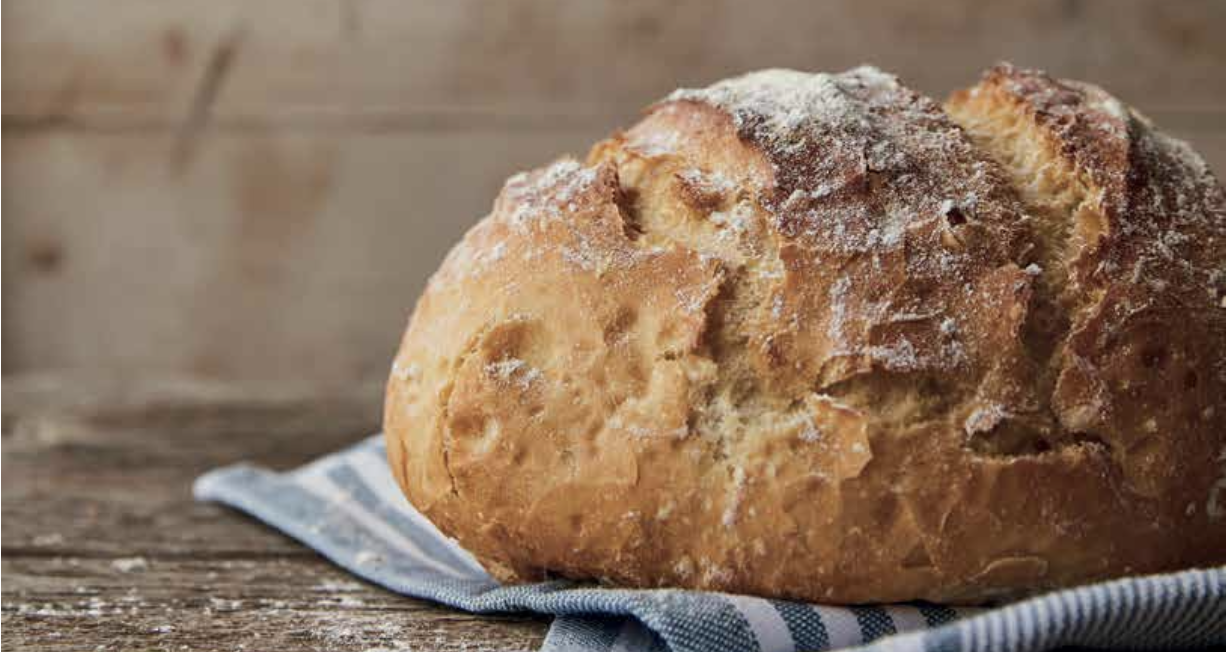
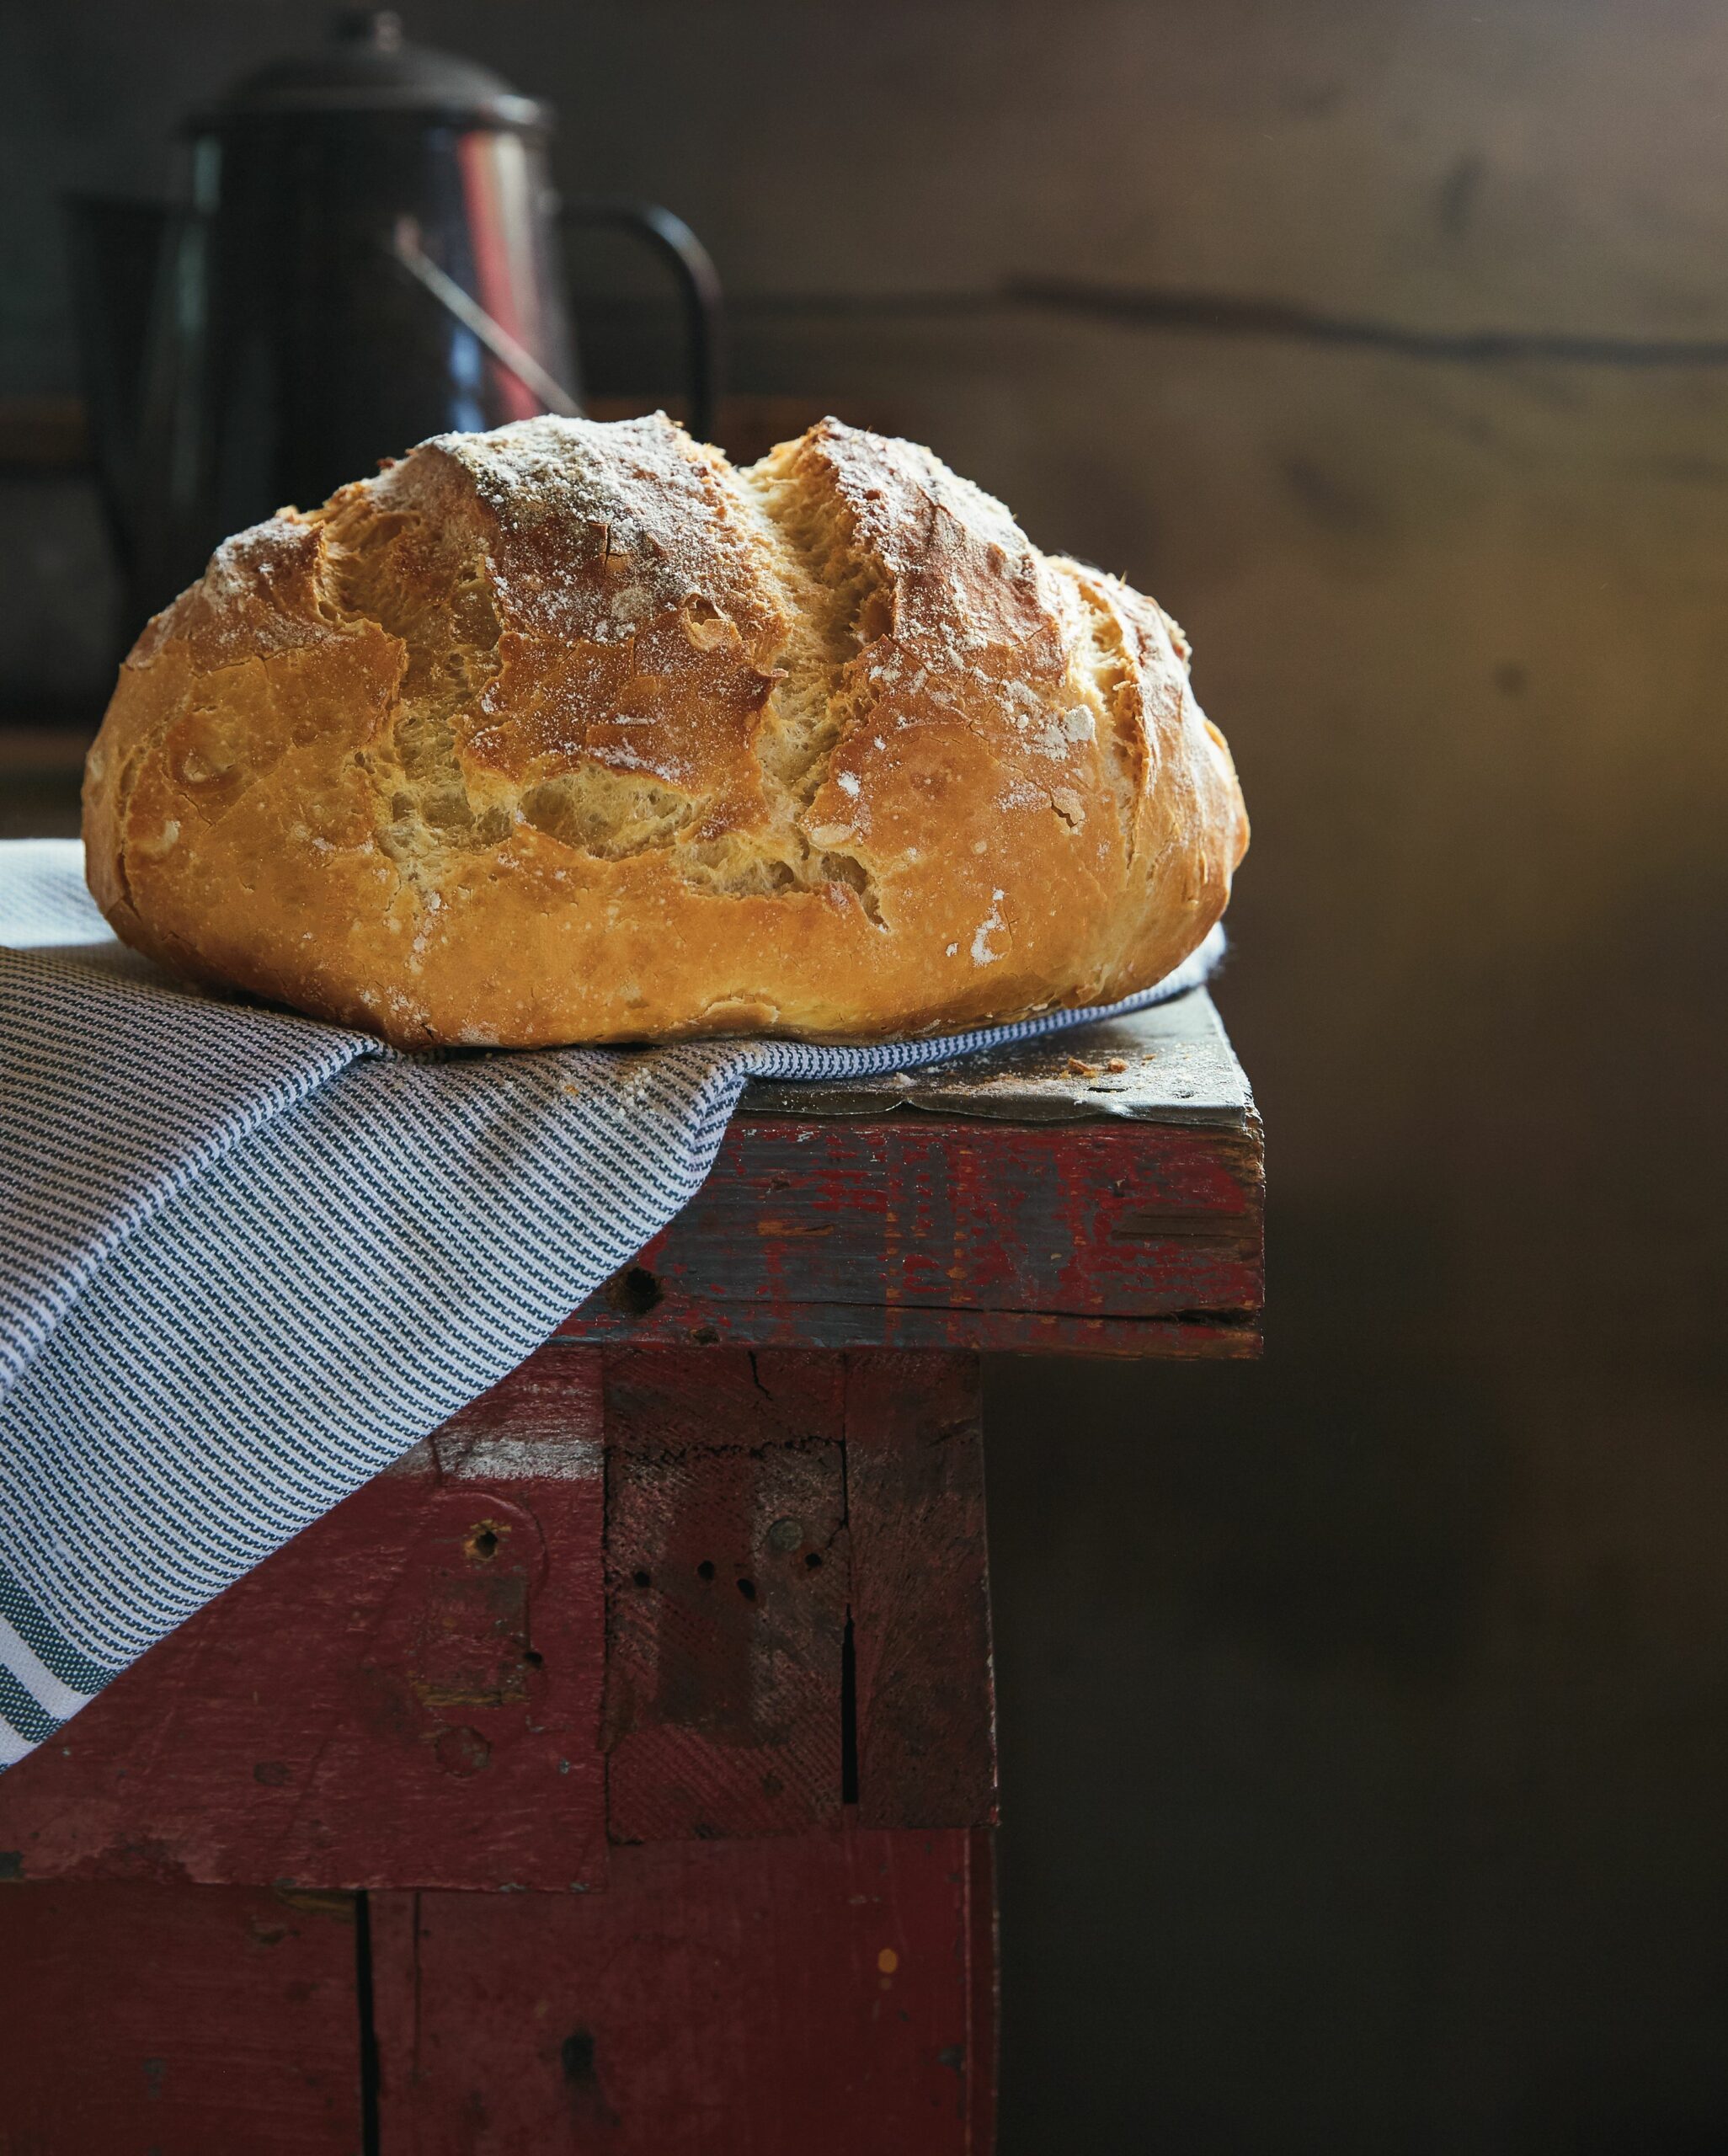
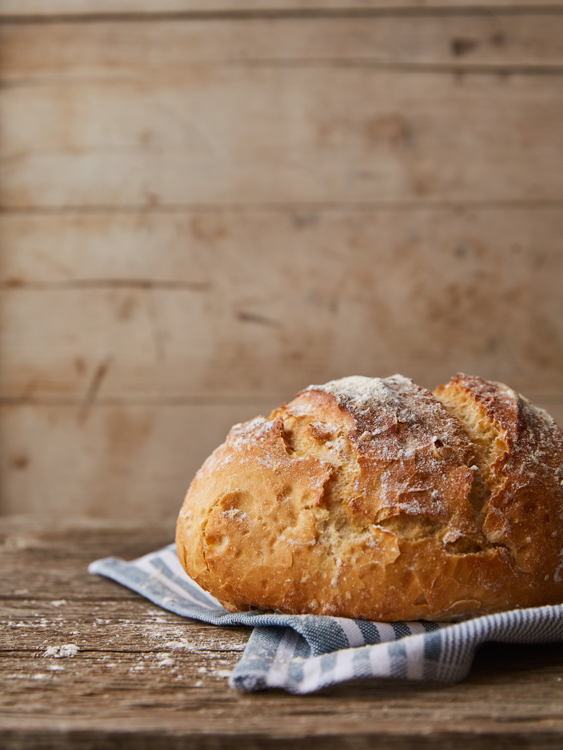
Honestly, it really depends on my mood… but if I had to choose a favorite, it’d probably be the Crusty Dutch Oven Bread.
It’s chewy and crusty and always a crowd-pleaser.
And in honor of this milestone cookbook birthday, I’m sharing this Crusty Dutch Oven bread recipe with you today.
Crusty Dutch Oven Bread Recipe
Ingredients:
- 1 teaspoon active dry yeast
- 3 cups warm water (95–110°F)
- 1 tablespoon fine sea salt
- 6 cups all-purpose flour
Instructions:
In a large bowl (I use a food-safe plastic tub with a lid since I usually make one loaf at a time and refrigerate the rest of the dough for later), dissolve the yeast and salt in the warm water.
Stir in the flour to form a loose, sticky dough. Cover the bowl and let rise on the counter for 3 to 5 hours, until at least doubled in size. Because of the lengthier rising period, I don’t worry about putting this dough in a warm place like I do with other yeast breads.
At least 45 minutes before you plan to bake, place a 5-quart Dutch oven with the lid on into the oven and preheat the oven to 475°F.
Divide the dough in half and gently shape each piece into a ball. (Avoid punching or kneading it—we want to keep as many air pockets in the dough as possible.) Slash the top of the dough balls several times with a serrated knife. Set the dough balls on separate pieces of parchment and let sit at room temperature for 40 minutes while the oven heats.
When you are ready to bake, very carefully remove the Dutch oven lid and lower the parchment and one loaf inside. Replace the lid and bake for 30 minutes. Remove the lid and bake for an additional 15 minutes. You are looking for the crust on this bread to be deeply browned, much more so than a typical loaf. The first time I made it, I was certain I had burned it to smithereens, but it ended up being perfect.
Remove the finished loaf from the Dutch oven and cool on a wire rack. It’s best if you can wait at least 30 minutes before slicing, although I haven’t had much success keeping my family away from these loaves, so I wish you luck.
Return the Dutch oven to the oven for 10 minutes to reheat, then bake the second round of dough. Or, if you’d rather bake the other loaf later, store the dough in the refrigerator for up to 1 week. Before baking, allow the cold dough to sit on parchment for 2 hours after shaping, but otherwise, the baking process will be the same as for the first loaf.
Notes:
- If you don’t want to make two loaves at once, store the leftover dough in an airtight container in the refrigerator for up to one week. Bonus: The dough improves in flavor as it ages.
- If you don’t have a Dutch oven, you can still make this bread with a baking stone, although the crust won’t be quite as crispy. Place a baking stone on the middle rack of the oven and preheat to 450°F. Place a small oven-safe baking dish on a lower rack of the oven. Once the oven and stone have heated for at least 45 minutes, transfer the dough to the hot stone. Pour 1 cup hot water into the dish and quickly shut the oven door. Bake for 40 minutes, or until the crust is a deep brown.
- Want to watch me make this bread? Check out my video here: https://youtu.be/6BDFqnbZ2Bk
Crusty Dutch Oven Bread Recipe
If I had to choose a favorite recipe, it’d probably be the Crusty Dutch Oven Bread. It’s chewy and crusty and always a crowd-pleaser.
Ingredients
- 1 teaspoon active dry yeast
- 3 cups warm water (95–110°F)
- 1 tablespoon fine sea salt
- 6 cups all-purpose flour
Instructions
- In a large bowl (I use a food-safe plastic tub with a lid since I usually make one loaf at a time and refrigerate the rest of the dough for later), dissolve the yeast and salt in the warm water.
- Stir in the flour to form a loose, sticky dough. Cover the bowl and let rise on the counter for 3 to 5 hours, until at least doubled in size. Because of the lengthier rising period, I don’t worry about putting this dough in a warm place like I do with other yeast breads.
- At least 45 minutes before you plan to bake, place a 5-quart Dutch oven with the lid on into the oven and preheat the oven to 475°F.
- Divide the dough in half and gently shape each piece into a ball. (Avoid punching or kneading it—we want to keep as many air pockets in the dough as possible.) Slash the top of the dough balls several times with a serrated knife. Set the dough balls on separate pieces of parchment and let sit at room temperature for 40 minutes while the oven heats.
- When you are ready to bake, very carefully remove the Dutch oven lid and lower the parchment and one loaf inside. Replace the lid and bake for 30 minutes. Remove the lid and bake for an additional 15 minutes. You are looking for the crust on this bread to be deeply browned, much more so than a typical loaf. The first time I made it, I was certain I had burned it to smithereens, but it ended up being perfect.
- Remove the finished loaf from the Dutch oven and cool on a wire rack. It’s best if you can wait at least 30 minutes before slicing, although I haven’t had much success keeping my family away from these loaves, so I wish you luck.
- Return the Dutch oven to the oven for 10 minutes to reheat, then bake the second round of dough. Or, if you’d rather bake the other loaf later, store the dough in the refrigerator for up to 1 week. Before baking, allow the cold dough to sit on parchment for 2 hours after shaping, but otherwise, the baking process will be the same as for the first loaf.
Notes
- If you don’t want to make two loaves at once, store the leftover dough in an airtight container in the refrigerator for up to one week. Bonus: The dough improves in flavor as it ages.
- If you don’t have a Dutch oven, you can still make this bread with a baking stone, although the crust won’t be quite as crispy. Place a baking stone on the middle rack of the oven and preheat to 450°F. Place a small oven-safe baking dish on a lower rack of the oven. Once the oven and stone have heated for at least 45 minutes, transfer the dough to the hot stone. Pour 1 cup hot water into the dish and quickly shut the oven door. Bake for 40 minutes, or until the crust is a deep brown.
- Want to watch me make this bread? Check out my video here: https://youtu.be/6BDFqnbZ2Bk
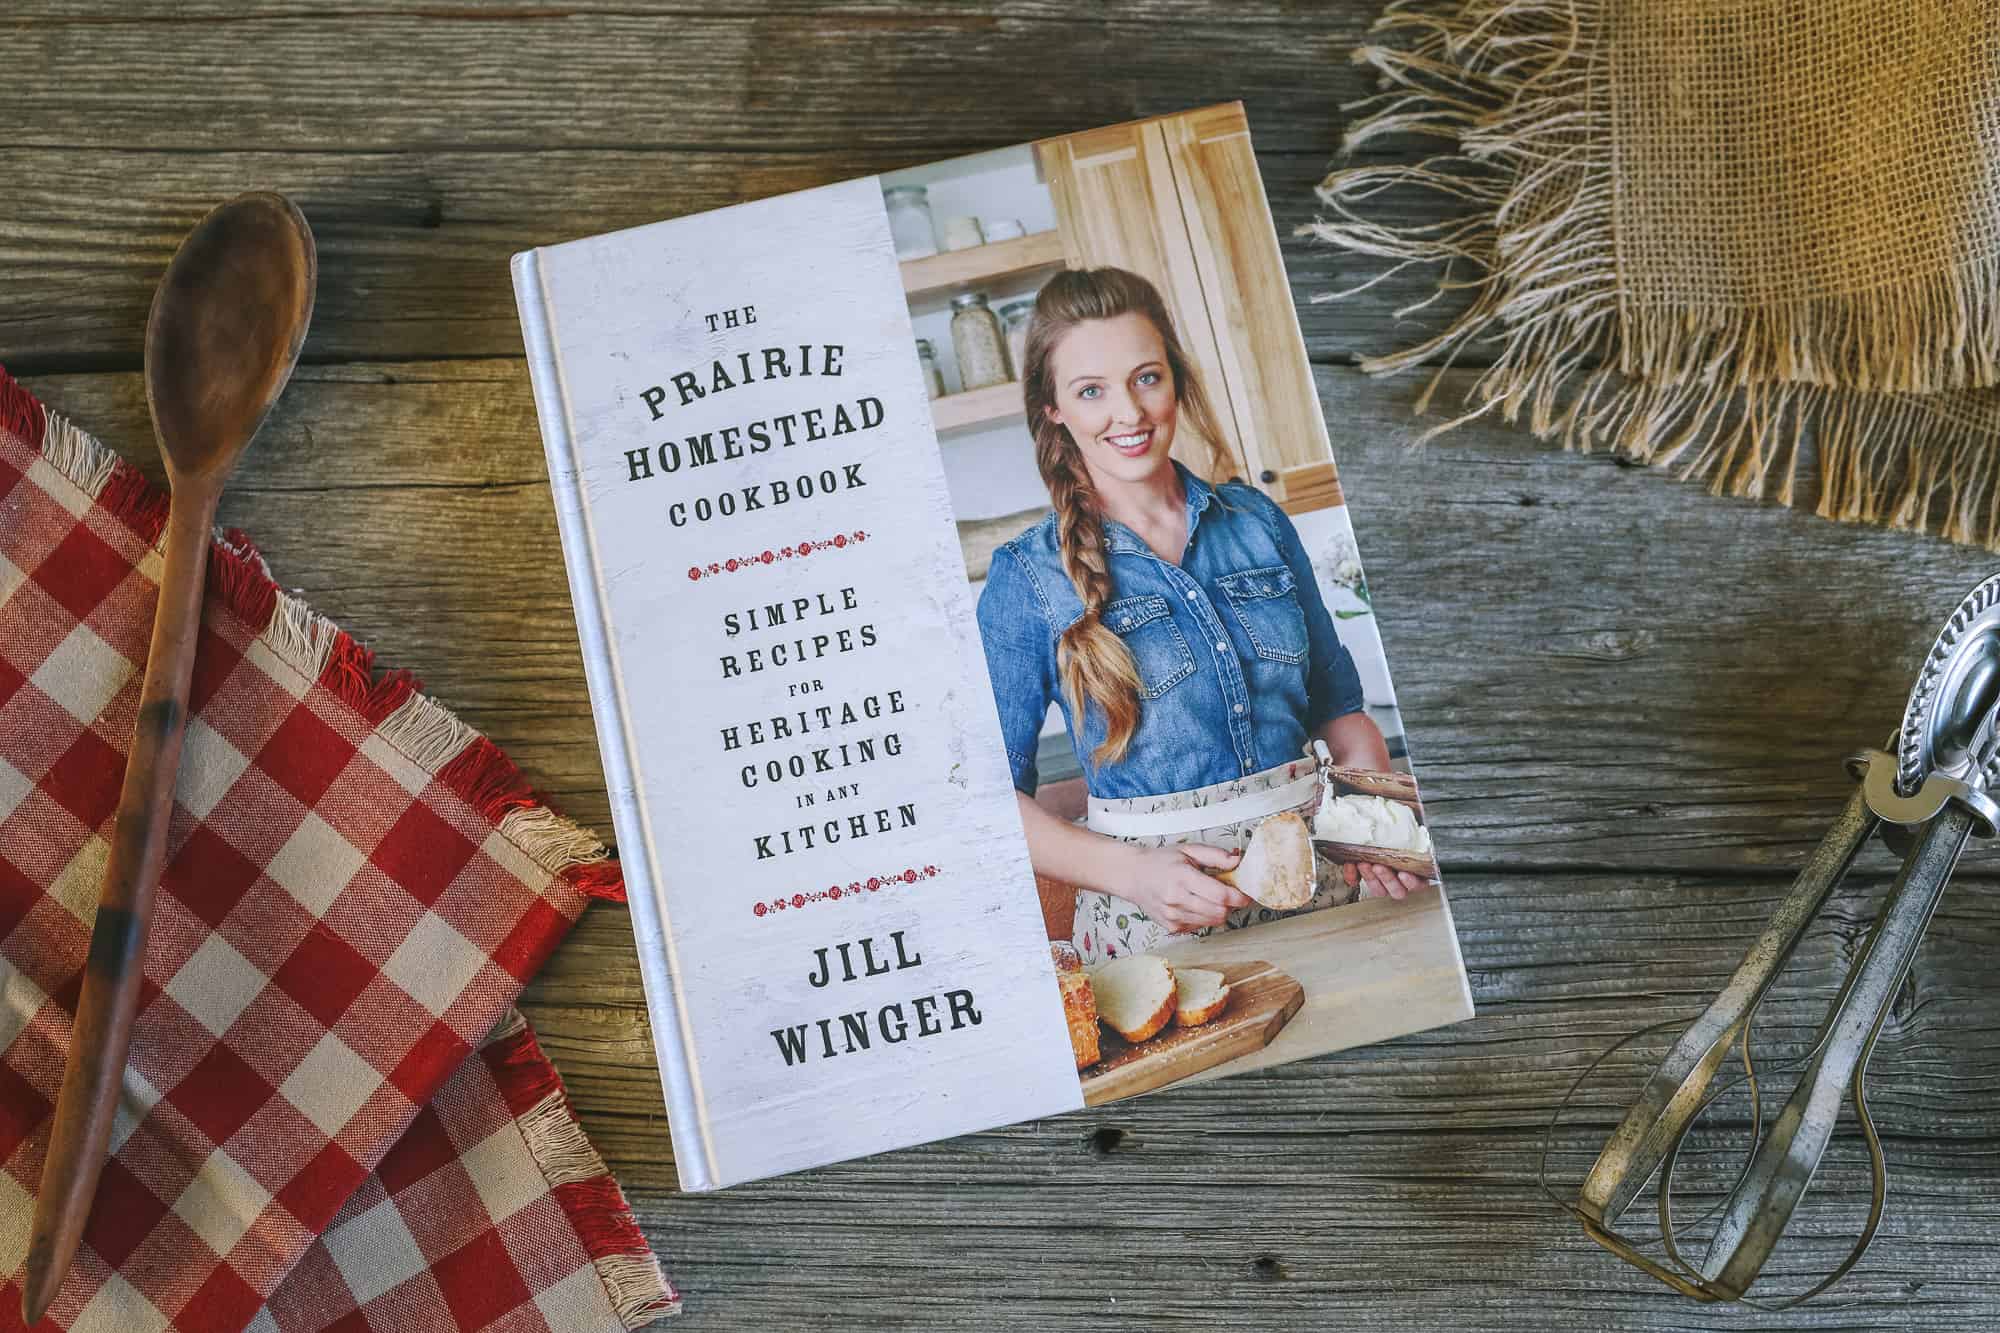
Get The Prairie Homestead Cookbook
I know many of you already have a dog-eared, food-stained copy of The Prairie Homestead Cookbook. But just in case you don’t, get a copy of your own here:
Get The Prairie Homestead Cookbook
If you would like to watch me make this bread, check out the video (above). The only difference is that the video has me using slightly less yeast in the recipe. Otherwise they are the same, and you can watch me make it as you make your own (it will be like we’re baking together!).
More Baking Recipes from Me:
- Easy Sourdough Bread Recipe
- Easy Versatile Bread Dough Recipe (for soft bread, cinnamon rolls, pizza, and more!)
- French Bread Recipe
- Homemade Hamburger Buns Recipe



I was bored one fall day a few years ago and decided to try making bread from scratch in one of my Dutch ovens. So, I built a fire in the backyard and made my first-ever loaf of rye bread! It turned out really good. It was a good feeling to try out something for the first time & have it turn out so well. Your post reminded me of that day. 🙂
This sounds wonderful… I haven’t watched the video yet, but I am curious: one teaspoon of yeast for 2 loaves of bread? Even the little packets that you buy have 2 teaspoons-most single loaves call for ONE of those packets? Just double checking on the measurement. Thanks!
That’s correct!
hello, i just tried this recipe and i don’t think i am going to try other recipes for a long while. i love the simplicity of it and short prep time – i think i stirred (yes, stirred) the mix for only a couple of minutes, then forgot about it for the next 5 hours. the crust’s crunch is ASMR worthy, the insidd is nice and bouncy and the taste… i need to go get a slice now.
thank you for this recipe!
I have an 8 QT stock pot with lid and I have used that to make bread and I think it works just as well as a dutch oven.