
You know your soil is bad when even the weeds don’t want to grow in it.
Welcome to my new front yard.
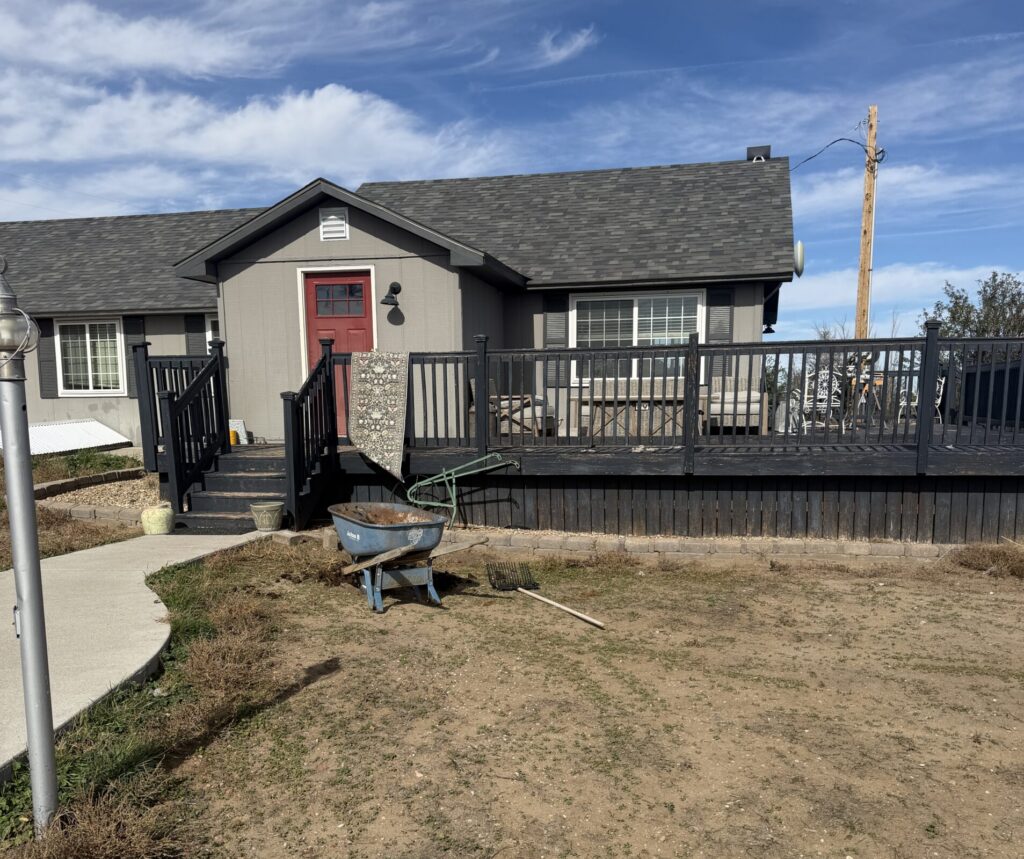
If I was going for Dust Bowl vibes, I’d be nailing it.
It’s dusty. It’s sandy. It’s barren. And when the wind blows (which it always does), half the dirt ends up inside my house.
But I’ve got a plan, and it involves a mountain of cardboard and wood chips.
I’ve gardened for nearly two decades, and while I’ve been aware of (and intrigued by) sheet mulching for years, I’ve never actually tried it myself.
Until now.
And I’m stupidly excited about it.
An important caveat: I’m experimenting as I go. This isn’t a story backed by years of sheet-mulching expertise or glorious before-and-after photos. (Because everything in my life is the “before” right now…)
But as I’ve done for the past 16 years on this platform, I’m bringing you along for the ride. Foibles, potential mistakes, and all.
First, Why Is My Yard So Terrible?
When I moved to this homestead earlier this year, I knew the yard needed some love. The previous homeowner had tried to establish grass. He’d even brought in old manure and corral cleanings from a neighboring ranch to improve the soil, but nothing took.
I knew something was seriously wrong within weeks of moving in. I tried planting a handful of perennials, thinking I could at least get a head start on my landscaping plans, but nothing grew. The plants either barely clung to life or flat-out died.
I was already suspicious of persistent herbicide contamination in my new garden beds, but a soil test revealed a different problem in the native soil around the house:
Almost zero available nitrogen. Like, nada.
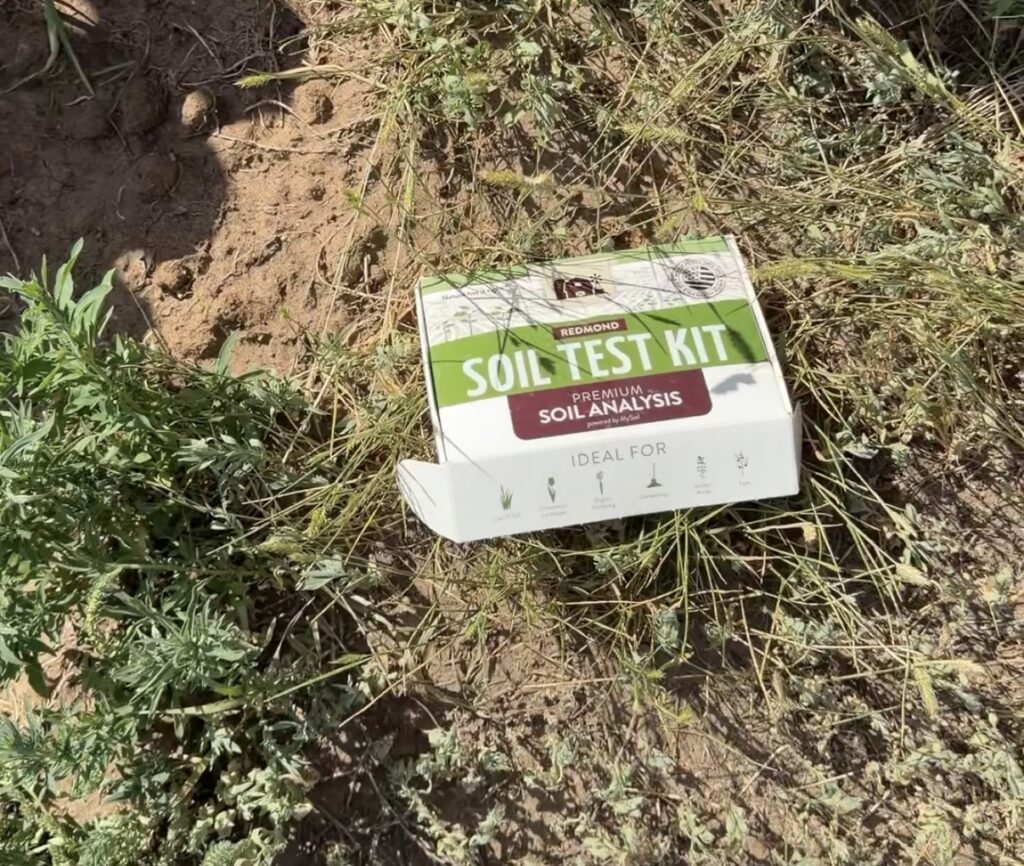
Yes, even though the top layer was old manure.
I was baffled. Shouldn’t all that manure have made the soil better?
As it turns out, it’s not that simple.
I recently had Dr. Caitlin Youngquist, a Wyoming-based soil scientist, on my podcast AND out to the homestead to help me make sense of my gardening struggles (listen to the podcast episode here).
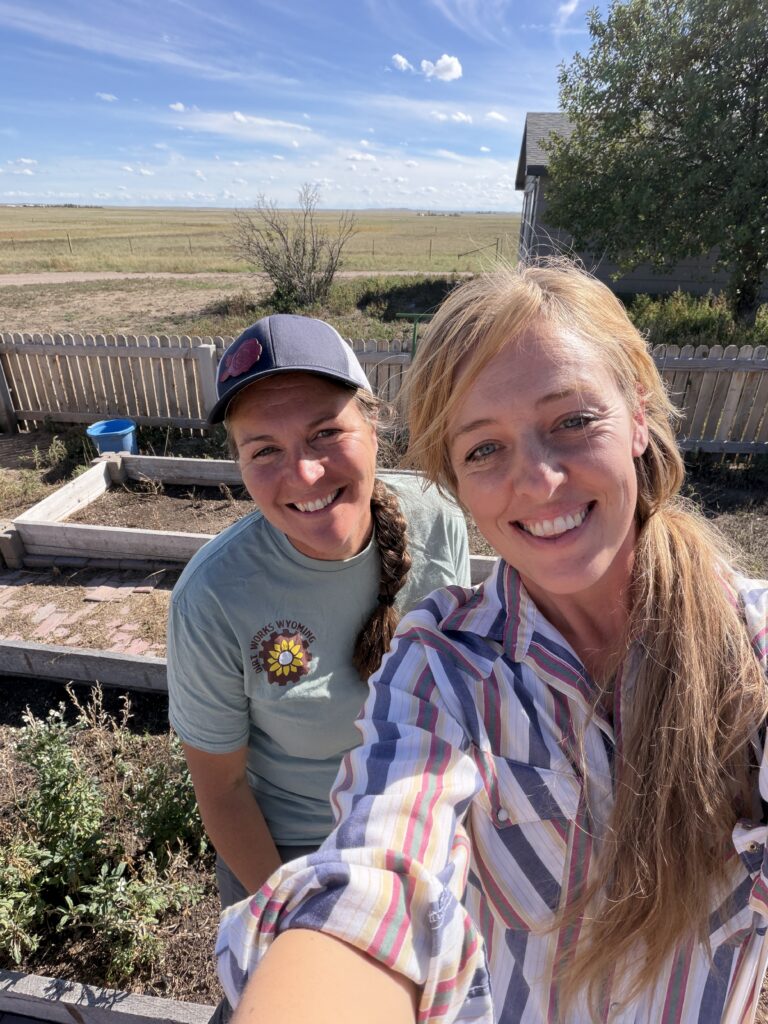
And one of the biggest revelations from our conversation was just how different this soil is from the heavy clay I spent years working with at my previous homestead.
This ground is much sandier. And while sand has its advantages, it doesn’t hang onto nutrients or moisture the way clay does.
Nitrogen, especially in its nitrate form, can wash through sandy soil relatively quickly. So even though the previous homeowner added organic materials, that doesn’t guarantee the soil has the nutrients plants need right now.
Plus, not all manure and compost are created equal. Their nutrient content varies depending on the original materials, and old manure can lose much of its available nitrogen over time.
Of course, low available nitrogen isn’t necessarily the only reason nothing is growing. We’re also in a drought, and there may be other soil issues at play.
Regardless, something had to change.
Also, I Hate Lawns
Maybe hate is a strong word, but I’ve never understood the obsession with spending an enormous amount of time, money, and water to grow a perfectly uniform carpet of grass… Especially in a place like Wyoming.
You have to irrigate it. Fertilize it. Mow it. Edge it. Fight the weeds. And then you do it all over again next week.
Ain’t nobody (aka me) got time for that.
While I might try a little patch of buffalo grass near my patio for the kids to play in, I refuse to maintain acres of decorative lawn simply because that’s what a yard is “supposed” to look like.
I’ve actually wanted to experiment more extensively with native landscaping for years, and it’s finally my time. I dabbled with a few native and regionally adapted plants at my old homestead like buffaloberry, currants, echinacea, and honeysuckle. They were a pleasure to grow.
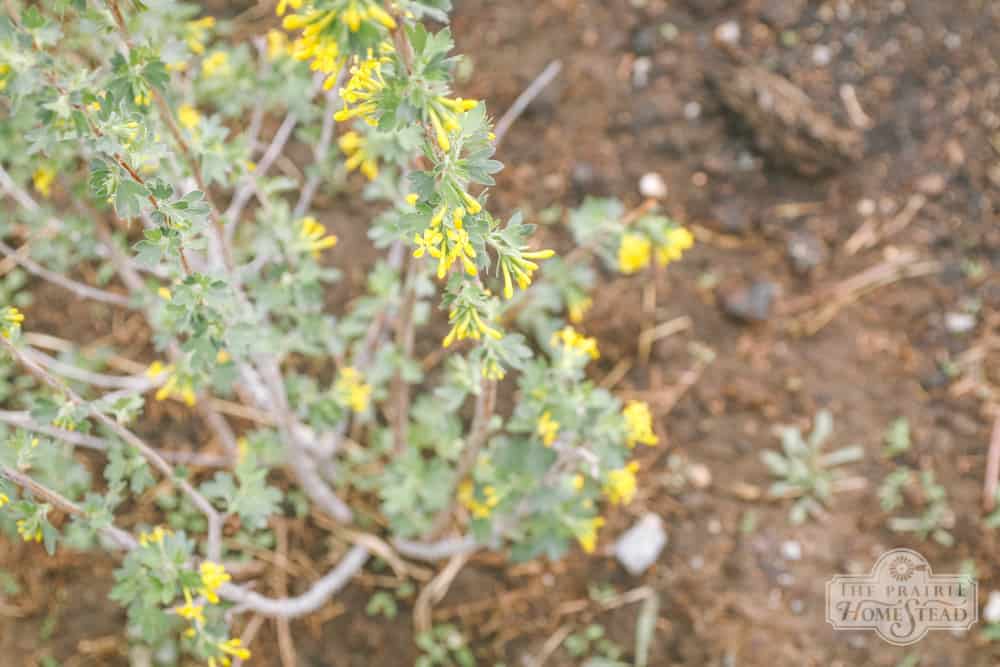
After years of begging things to grow on this harsh prairie when they clearly don’t want to be here, I’m taking a different approach. And a traditional lawn isn’t part of the plan.
I’m picturing a loose, slightly wild collection of native shrubs, hardy perennials, flowers, and mulch-covered pathways.
Kinda feral and kinda untamed. Like me. 🙂
The only problem with my grand landscaping vision is that even plants that want to grow here need a decent place to get established… And my current Dust Bowl situation ain’t it.
Enter Sheet Mulching
When Dr. Caitlin visited, we walked around the front yard and talked about ways to improve the soil without bringing in heavy equipment or spending a fortune.
Her suggestion? Sheet mulching.
You might have also heard it called lasagna gardening, but sheet mulching is just a method of layering organic materials over existing ground instead of tilling or digging everything up. You can use it to convert lawns into gardens, suppress weeds, and improve the conditions of the soil underneath.
The basic idea of sheet mulching is simple:
You place overlapping layers of biodegradable materials on the ground, cover them with mulch, and allow the materials to gradually decompose.
Over time, these materials can contribute organic matter, help conserve moisture, protect the soil surface, and create a better environment for soil life.
And it’s preventing me from having to till up my entire yard and have it blow away, which is a huge bonus for me…
There are a million ways to sheet mulch, but for my project, I’m using the three basic layers Caitlin suggested:
- Compost or manure
- Cardboard
- Wood chips
I’m not saying sheet mulching is a guaranteed solution for every soil problem, but it feels like a reasonable experiment for my barren yard.
Plus… I HAVE NOTHING TO LOSE!
How I’m Sheet Mulching My Yard
Since I’m working with a fairly large area and my budget is tight right now, my goal is to use as many free materials as possible. I’m also tackling this in sections rather than trying to complete the entire yard in one massive weekend, because I don’t have a lot of weekend time at the moment, either.
Here’s what I’m doing:
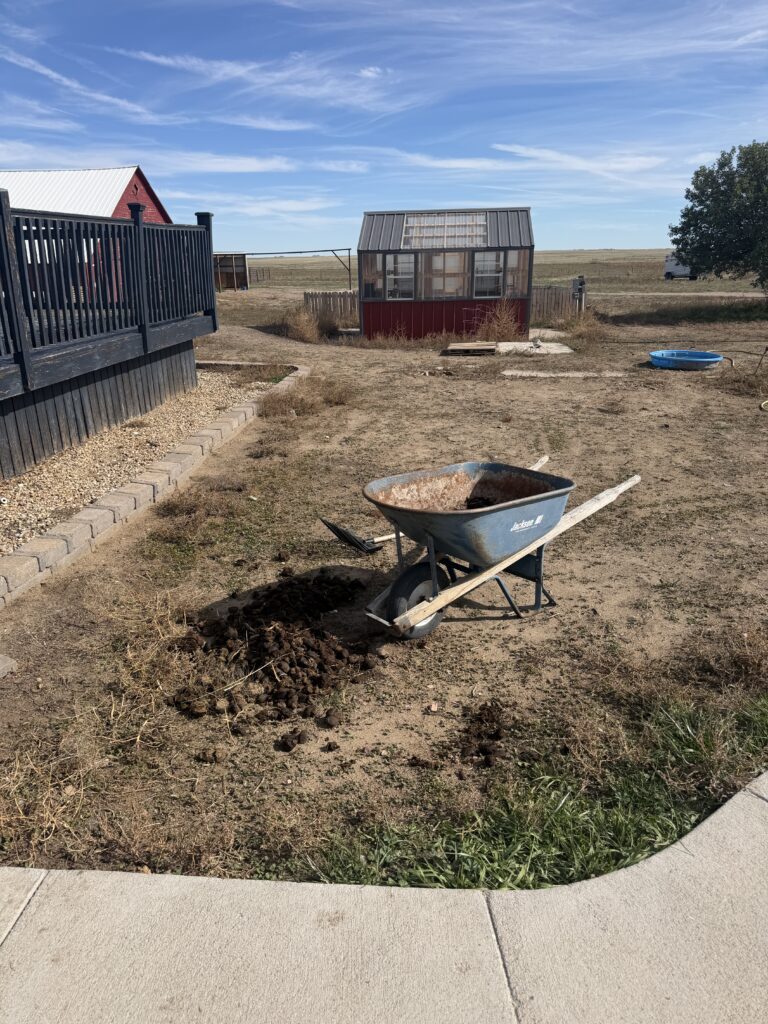
Layer 1: Compost or Manure
Usually, you start a sheet-mulching project by mowing down the lawn or weeds in the area you want to cover. But I have the special privilege of working with soil so barren that I don’t even have to mow or knock down the weeds first.
Lucky, lucky me.
Compost would normally be my first choice for the bottom layer. I found a local supplier with reasonably priced bulk compost, and that may still be part of the plan. But purchasing enough to cover the entire area adds up quickly.
Thankfully, I have horses, which means I have a never-ending supply of manure. So I’m using some of my horse manure as the bottom layer.
I know there are different schools of thought on this, but I’m comfortable experimenting with it here since I’m starting in the fall, and the area will sit through winter before I begin planting in the spring. That gives the manure some time to break down, although I’m well aware that our cold, dry winter isn’t going to magically turn fresh manure into finished compost.
I’m also using this in an ornamental landscape rather than a more sensitive vegetable garden, which gives me a little wiggle room.
There are a couple of important caveats, though.
First, manure can contain significant amounts of salts and phosphorus, which I definitely don’t need to add willy-nilly to soil that’s already a little high in phosphorus and potassium.
Second, I’ve had enough experience with persistent herbicides to know that you should never assume manure is uncontaminated just because it looks perfectly normal.
I believe my manure is relatively low-risk based on its source, but I still need to be cautious. Time alone doesn’t necessarily eliminate persistent herbicide residues, and ornamental plants can be sensitive to them, too. (Although generally not as sensitive as vegetables like tomatoes or beans.)
I’m treating the manure as an inexpensive source of organic matter, not a miracle fertilizer. And I’m keeping the application light rather than piling it on across the entire yard.
Layer 2: Cardboard
Thanks to the Soda Fountain, I have access to a steady supply of cardboard boxes. Repurposed trash for the win!
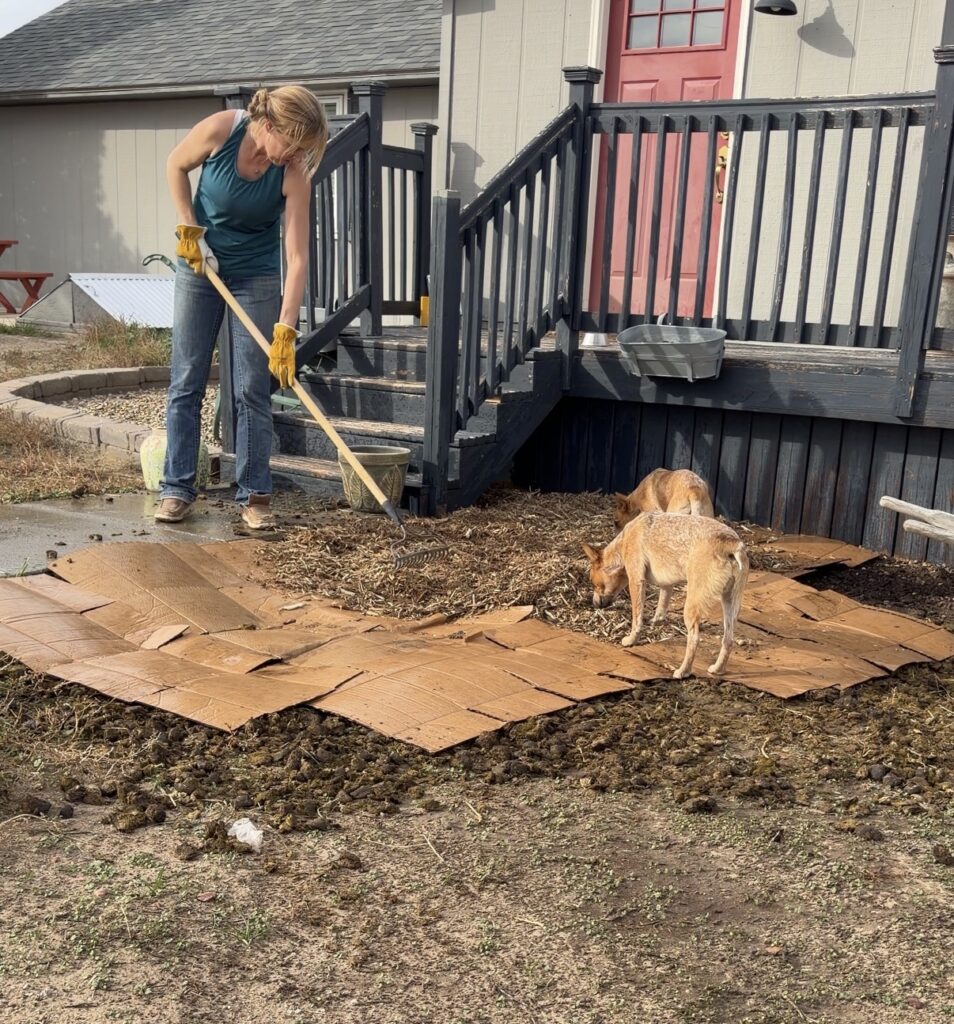
I’m saving plain cardboard, removing packing tape and plastic labels, and laying it across the ground with overlapping edges.
The idea is to block sunlight from reaching existing weeds and prevent many new weeds from getting established.
I’m using a single overlapping layer rather than stacking the cardboard too thickly and wetting it thoroughly as I go to help it settle against the ground and encourage decomposition.
In a dry climate like mine, I’ll need to pay attention to whether water is actually reaching the soil underneath, especially once I start planting.
Layer 3: Wood Chips
Finally, I’m topping the whole thing with a generous layer of wood chips, roughly 5-6 inches deep.
I’ve been collecting chips from a local tree guy and may supplement with more from our local compost facility to keep costs down as much as possible.
The wood chips will help protect the soil surface, reduce evaporation, and slowly contribute organic matter as they decompose. (They’re also much prettier than bare cardboard.)
And yes, I know what you’re thinking: Won’t they blow away?
I’ve thought of that, but wood chips are relatively heavy compared to lighter materials like straw, especially once they’ve settled.
And in the past, I’ve been able to use similar mulches with minimal blow-away. I’m hoping the weight of the chips and the fact that they’re sitting directly on the ground will help them stay put.
Of course, this is Wyoming, so we shall see.
Also, this is important: I’m leaving the wood chips on top of the soil, not mixing them into it. Mixing a bunch of high-carbon material into my already nitrogen-deficient soil could temporarily make the nitrogen situation even worse as microbes use available nitrogen to break down the wood. I’ve written more about my experiences with different mulches in The Best Mulch for Your Vegetable Garden.
And while wood chips aren’t my first choice for a vegetable garden (yes, I’m familiar with the Back to Eden method, I just don’t think it’d work for me in my climate), I love them for landscape beds and pathways.
What Happens After Winter?
My plan is to let everything sit through fall, winter, and early spring. I don’t expect the cardboard to completely vanish or the wood chips to transform into rich compost by spring, especially considering our cold temperatures and limited moisture.
But I’m hoping the layers will begin protecting the soil and creating a better foundation for next year’s planting.
When spring arrives, I’ll start adding shrubs and perennials gradually. I want to be intentional about choosing species adapted to our climate, rather than buying anything pretty that happens to catch my eye at the nursery.
I’ll pull back the mulch, cut openings in the cardboard, and plant into the soil beneath. I’ve also been intrigued by Caitlin’s suggestion of using sheep’s wool as a soil amendment.
Apparently, wool can slowly release nitrogen and help retain moisture. And considering the sandy soil I’m working with, both of those benefits sound pretty appealing. I plan to experiment with wool and compost around some of my new plantings, depending on what each plant needs.
But I’m also trying to remember another lesson from Caitlin’s visit: More amendments aren’t automatically better.
Thankfully, some native plants actually prefer relatively lean soil.
I don’t want to create little pockets of artificial fertility that encourage plants to stay within their cozy planting holes. I want them to establish healthy root systems in the surrounding soil. And even the toughest native plants will need some help with watering while they get established.
My goal isn’t to create a landscape that never needs attention. It’s to create one that doesn’t need constant intervention just to stay alive.
Is Sheet Mulching Worth It?
I have no idea yet… Ask me again next summer. Or maybe the one after that.
But here’s what I like about this experiment so far:
- It doesn’t require expensive equipment.
- It doesn’t involve tearing up my entire yard.
- It makes use of free materials I already have access to.
- And it gives me a way to start improving the landscape now, even though I won’t be planting most of it until spring.
Rebuilding soil at this new property is going to require a much different approach than what worked at our previous homestead.
For years, I was focused on loosening and improving heavy clay, which was annoying to work with, but actually did a pretty good job of holding onto nutrients. Now I’m working with sand, low available nitrogen, and a landscape that struggles to hold moisture.
Different soil. Different challenges. Different solutions.
I’m under no illusion that a few layers of cardboard and wood chips will magically transform this Dust Bowl into paradise, but it’s a start.
And if nothing else, I’d much rather spend my time planting hardy shrubs and perennials than watering, mowing, and fussing over grass I never wanted in the first place.
I’ll keep documenting the experiment as I go, including what works, what doesn’t, and what I’d do differently. You know me—I’m sure to have some epic mistakes along the way…
I’ve come to accept that.
But if all goes well, maybe next year I’ll finally have a front yard that stays in the front yard.
More Details on My Current Garden and Yard Woes:
- The Worst Garden of My Entire Life
- Can I Save My Horrible Garden Soil? My Conversation with a Soil Scientist
- Starting Seeds & Starting Over
- Data Centers & Dead Soil: What Are We Willing to Sacrifice for Progress?
Your Garden's Best Kept Secret!
Boost your garden soil’s health and fertility with my Cover Crop Guide! It’s included as a part of my FREE digital homestead library.
Enter your best email for instant access! >>


Leave a Comment