Sometimes I’m afraid being in this online homesteading world for the past 6 years has left me with some slightly skewed perceptions.
Because I get to have so much contact with so many folks who so closely mirror my own ideals and goals, sometimes it’s easy to think that *everyone* is on the same page when it comes to natural foods and homesteading stuff.
Therefore, every so often, Prairie Husband bursts my bubble. Our conversation usually goes something like this…
Me: Raw milk (or whatever) is pretty mainstream these days, ya know. Pretty much everyone I talk to is either drinking it, or wants to drink it.
Prairie Husband: Define “everyone you know…”
Me: All my blogging friends, the majority of my blog readers, you know, everyone!
Prairie Husband: You do realize that isn’t necessarily an accurate depiction of the rest of the world, right?
OK, yeah, whatever. I guess he has a point.
All that to say, sometimes I forget there are many of you who might not quite yet be sold out to this whole homesteading gig. Or maybe you’re mentally there, but have just barely started the planning processes and you really, really just want some of the basics laid out for you.
Which is why you can expect to see some good, old-fashioned homestead back-to-basics topics coming the blog over the next few months. If you’re just getting started, or want to get started, these will be posts to help you think through the process and create a solid, actionable plan. So get ready!
Today? It’s all about chicken coops, baby. Allow me to set the stage:
You’re finally considering chickens. You’re ready to add a small flock to your homestead (or your backyard) and you want to do it right. But where do you start? What’s the first step? And what the heck are you going to do about a chicken coop?
Today we’re tackling the chicken coop question, so consider this your great-big-everything-you-ever-needed-to-know-about-chicken-coops resource.
Where do I Start?
You have three main options when it comes to chicken coop creation:
Option One: Remodel an Existing Building
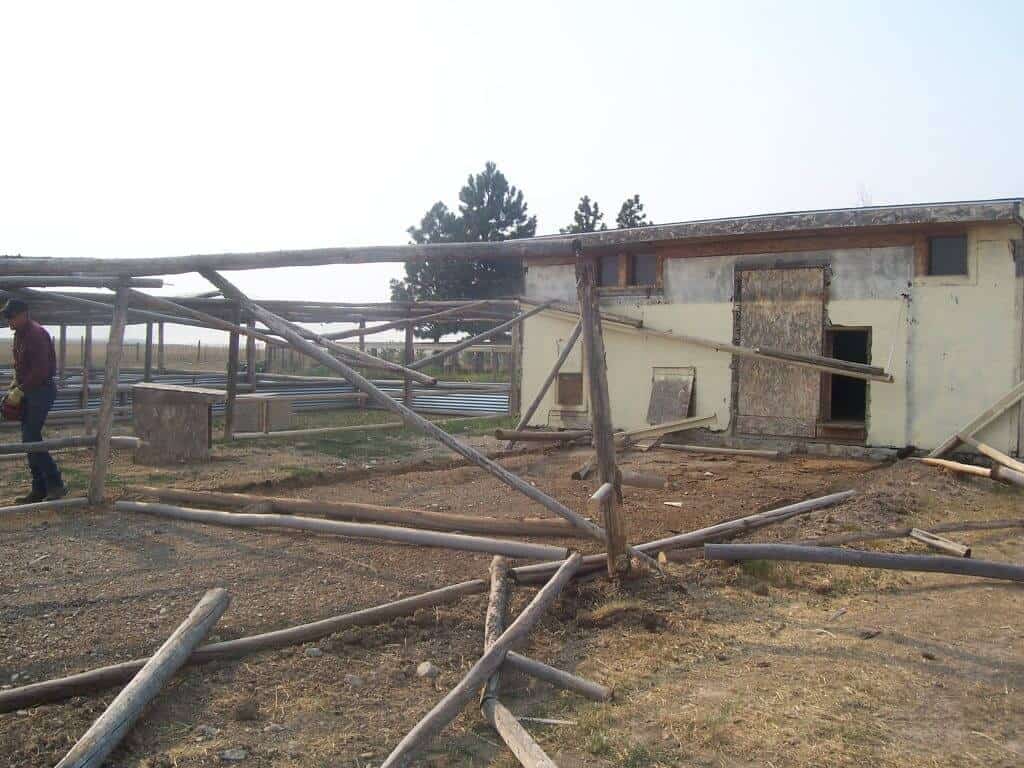
This is probably my favorite option, providing it’s a possibility for you. This is what we did. There was a old sheep shed on our property when we bought it (it covered in disintegrating plywood and painted the most nasty shade of yellow, I might add). We converted that shed to a coop, and it has served us well for many years. If you have a small outbuilding, garden shed, or corner of an existing barn, any of these can semi-easily be converted into a coop.
Option Two: Building a Chicken Coop from Scratch
Chicken coop plans abound online, and if you are sorta-handy with tools and have no existing buildings to work with, this might be an attractive option. A coop doesn’t have to be a mansion, as long as it is sturdy and stable (and has some of the key features we’ll talk about below).
Here are some coop plans & ideas you might find helpful:
- 34 Free Coop Plans That are Easy to Build
- Chicken Coop Plans from Backyard Chickens
- Free Coop Plan from Home Depot
- How to Build a Chicken Run
Option Three: Buy a Pre-Made Coop
This is probably my least-favorite option, as many of the pre-made coops I’ve seen are kinda flimsy (at least for our crazy winds here in Wyoming) and aren’t exactly cheap. However, if you are in a hurry and need a coop NOW, it’s worth a look. Many local farm or garden stores are carrying small chicken coop kits now, or you can even order them online or from Amazon. Here are a few I found while surfing around online:
(These are Amazon Affiliate links)
What are the Most Important Parts of a Chicken Coop?
The good news? Chicken coops are pretty flexible,and there’s a lot of room for adjustments and artistic license. However, there are a few non-negotiables you’ll definitely want to take into consideration:
Roosts:
WHY: By nature, chickens want to be up off the ground at night while they sleep. You will need some sort of roosting area in your coop to fulfill this need.
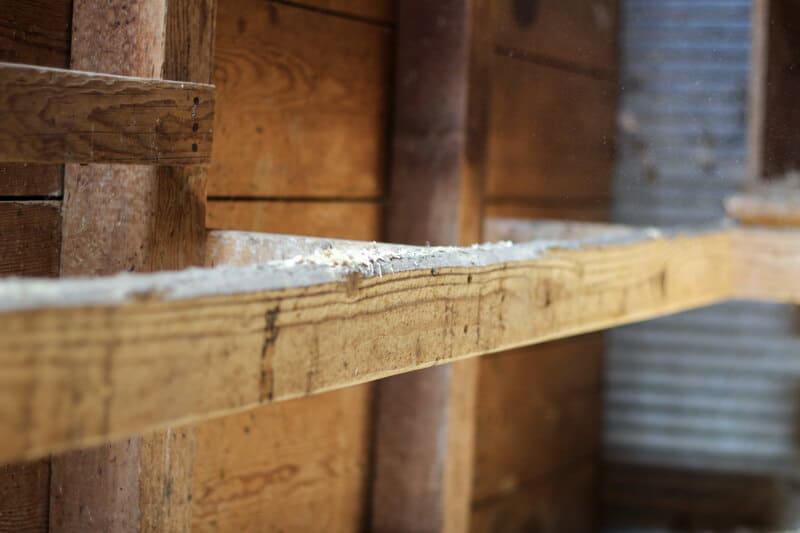
REQUIREMENTS: Our roosts are very simple– we drilled 2x4s around the perimeter of the coop and called it good. You can also do a variety of tiered roosts if you have a lot of birds– the style doesn’t matter, as long as they have a way to get off the ground. Shoot for about 12″ of roost space per bird– although they often crowd in much tighter than that. Also, you’ll accumulate a lot of chicken poop under your roosting areas, so consider a removable board under this area to make cleaning easier.
MATERIAL IDEAS: Boards or sturdy sticks, drilled or placed around the interior coop.

Nesting Boxes:
WHY: Laying hens will seek out a private space to lay their eggs. Nesting boxes keep eggs off the ground and prevent them (sometimes) from getting broken or eaten by other animals. Also– it’s much easier to collect eggs from a nesting box, versus having to hunt all over the yard for the hidden nest.
REQUIREMENTS: There are a million-and-one ways to create a nesting box. Shoot for a box that is around 12″ high by 12″ wide. “They say” you need approximately one box per four hens (we have four boxes). However I’ve found no matter how many chickens we’ve had, they almost always only use 1-2 boxes and just take turns. Place the boxes several feet off the ground.
MATERIAL IDEAS: Build nesting boxes out of scrap wood (this is what we did) or use things like milk crates, wooden crates, old bins, or 5-gallon buckets (with their bottom screwed into the wall) to create repurposed nesting boxes.
A Run or Yard of Some Sort:
WHY: Chickens are designed to forage, hunt, and scratch. Keeping them constantly confined indoors in a very small space will create unhappy chickens, and ain’t nobody wants unhappy chickens.
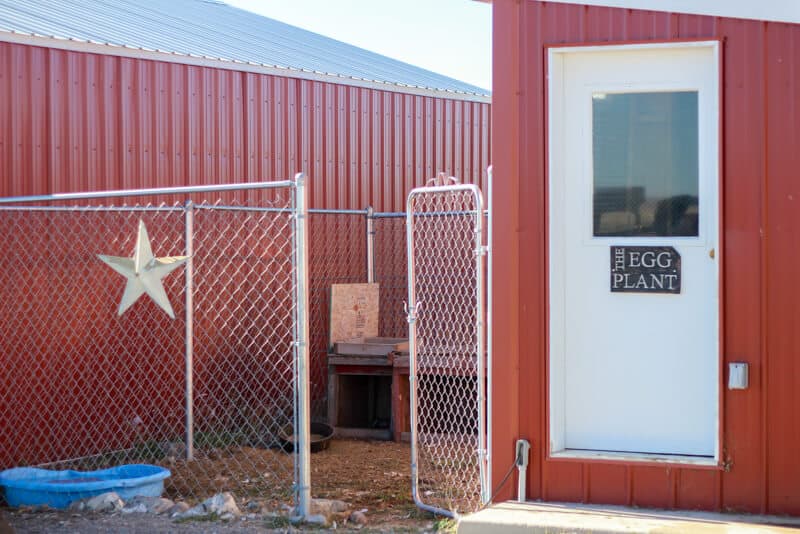
REQUIREMENTS: You don’t need to have 50 acres to let them roam, but make sure they have at least a small enclosure that allows them to get fresh air and scratch in the dirt a bit. If you live in the country with minimal predators, you may be able to simply open the door of the chicken coop so the flock can have free range of your barnyard. However, if you live in town or have predators, this won’t work. In those cases, I recommend building a small enclosed run or pen that is attached to your coop. Many chicken runs have coverings on top to prevent birds from flying over the top, and also to keep predators and birds of prey out of the run. We don’t have a top on ours, so we must be careful to lock our chickens inside at night. (Hawks and owls aren’t an issue for us.)
MATERIAL IDEAS: Depending on your climate and what type of predators you’re dealing with, your chicken run materials might be as simple as chicken wire or as heavy-duty as chain-link fence. We personally built our run out of chain-link. It’s super ugly, but we needed something that could withstand hardcore snow drifts and determined dogs/predators. If you live in a heavy-predator area, you may need to consider burying your fencing into the ground to prevent animals from digging underneath it. Here’s a post with detailed plans for building a chicken run of your own.
Ventilation:
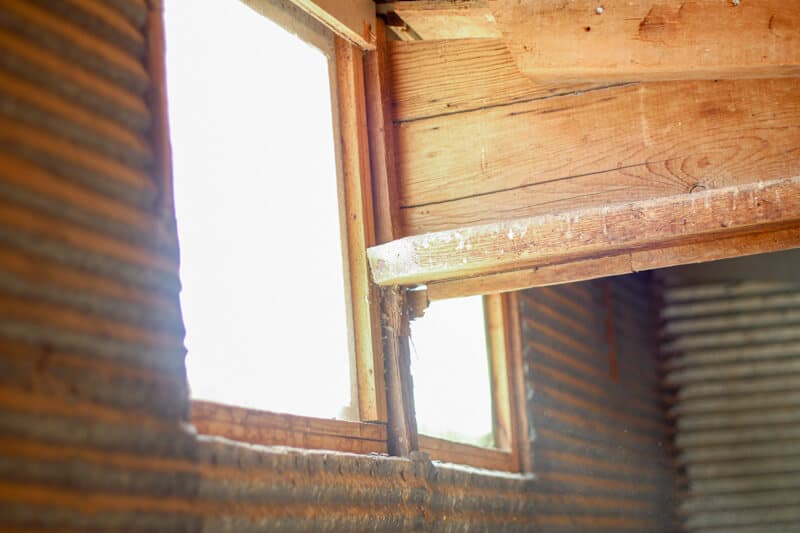
WHY: This isn’t something most people think of right off the bat, but it’s extremely important, nonetheless. Poorly ventilated coops equal sick birds, as ammonia and dust particles can build up in a stuffy coop. In very cold, damp climates, a build-up of humid air in the coop can increase your flock’s chance of getting frostbite. Even though it gets COLD here in Wyoming, I almost always leave my chicken coop open, and our flock does just fine. (I generally only close the doors when it gets below zero or there is a lot of blowing snow.) If you live in a very warm climate, you may even consider having a coop design that allows you to remove an entire section of wall to allow cool air to flow through the coop during the hottest months.
REQUIREMENTS: Ventilation can come from windows, actual vents, or holes drilled near the top of the coop. Remember drafts (cold air blowing directly on the birds) are different than ventilation, though. Very drafty coops can cause problems, so try to keep your vents up high whenever possible. This is another reason roosts are important– they keep your birds off the floor and away from the coldest air.
MATERIAL IDEAS: Install vents or drill holes high in the walls of your coop and cover them with hardware cloth. I found this tutorial very helpful.
Bedding/Flooring:
WHY: A clean coop = healthy chickens. It doesn’t need to be hospital-grade sterile by any means, but you do need to avoid a build-up of chicken manure and ammonia. The flooring and bedding you choose will play a big role here. Not to mention, chicken manure is actually one of the perks of owning chickens, as it makes great fertilizer for gardens and beds.
REQUIREMENTS: If I had my choice, I would have a dirt floor in my coop. But alas, our shed has a wood floor, so that’s that. Why would I prefer dirt? I could use the deep-litter method and also not have to worry about rotting floor boards.
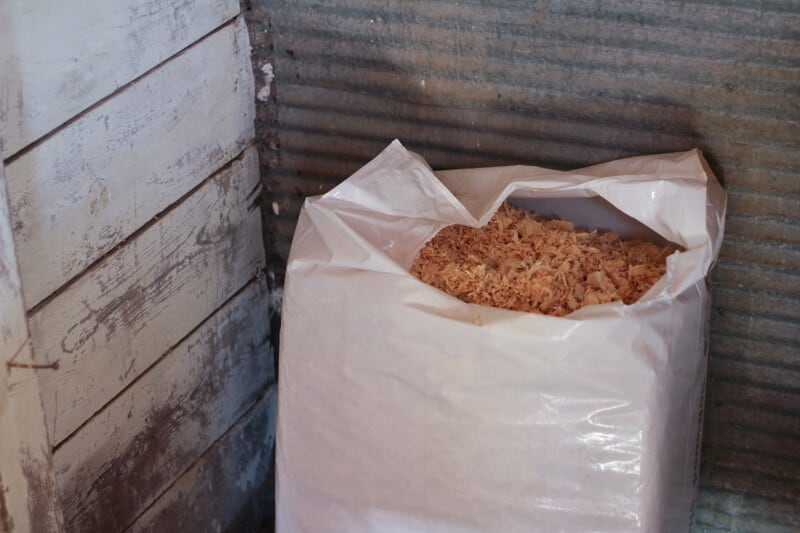
MATERIAL IDEAS: If you have a dirt floor, then I recommend checking out the deep-litter method. This method can reduce the amount of cleaning you have to do, and gives your chickens a chance to help you with composting. However, if you have a wood floor like me and deep litter isn’t an option, you’ll need to cover it with some sort of bedding. We personally use cheap pine shavings from the feed store, but you can also use straw. Plan on cleaning/replacing at least a portion of the bedding every couple weeks. (If you leave it too long, you’ll increase your chances of a rotting floor…)
Feeding/Watering:
WHY: Because chickens need to eat and drink.
REQUIREMENTS: The biggest consideration with your feeders and waterers is waste reduction and preventing spills. Feeding your flock can be as simple as putting out a pans filled with feed and water, or as fancy as building elaborate feeders. The sky’s the limit when it comes to feeder styles.
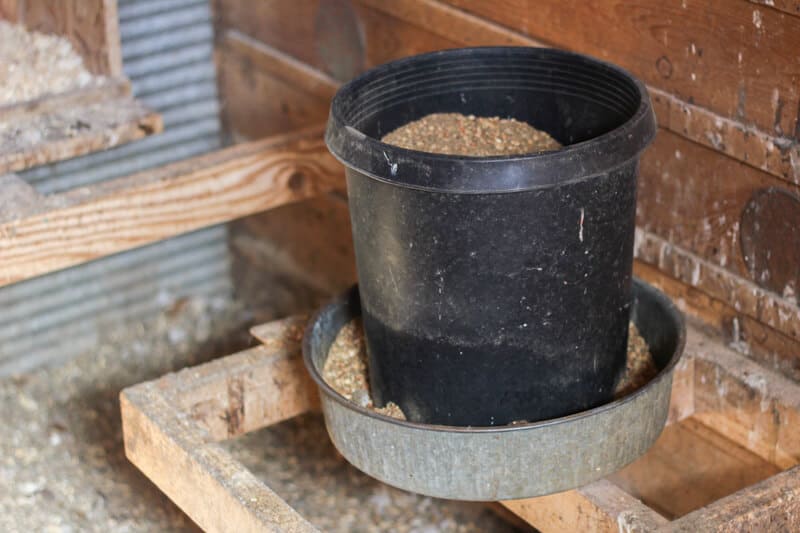
MATERIAL IDEAS: Although PVC chicken-feeders seem to be the darling of Pinterest, we’ve personally found we prefer a simpler set-up. We took an old plastic bucket that previously contained a large shrub. (If I had to guess, I’d say it’s a 3-gallon bucket). It already had drainage holes in the bottom, but we drilled them out with a hole saw to make them a bit bigger. We attached this bucket to a shallow metal pan and then mounted it on top of 2x4s to keep it off the ground. (See above.) It holds a generous amount of feed and prevents waste.
For our waterer, we use a galvanized waterer we got at the feed store and hang it from the ceiling via a chain. In the winter, we switch over to a heated dog bowl so we don’t have to deal with breaking ice constantly. Which leads us to our next consideration:
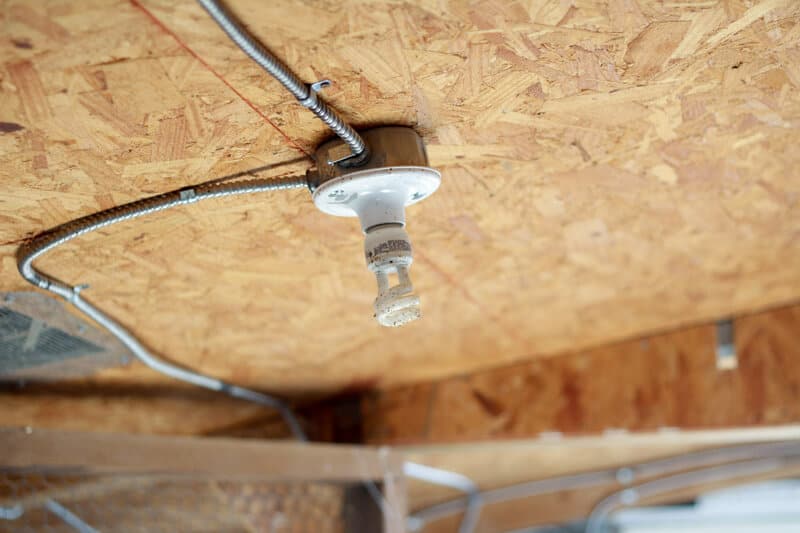
Electricity:
WHY: No, electricity in your coop isn’t an absolute requirement but it’s incredibly nice to have if you:
- Have very cold winters and want to have a heated water bucket
- Often do chicken chores in the dark
- Want to add supplemental light to your coop to extend the laying season
- Want to add heat lamps to your coop
REQUIREMENTS: We have several simple lightbulbs inside our coop, along with a number of strategically-placed outlets for heat lamps and water bowls.
MATERIAL IDEAS: Unless you’re pretty handy yourself, I recommend working with a licensed electrician to make sure your chicken coop wiring is safe and installed correctly.
A Few Other Things to Think About:
Chicken Tractors
Chicken tractors (mobile chicken coops) are all the rage these days, and can be a brilliant option allowing your chickens to safety free-range while fertilizing as they go. We personally haven’t done this yet (because we just turn them out in the yard, and also because we frequently have hurricane-force winds), but I’ve always loved the idea. Here are some chicken tractor plans to check out.
 Rodents
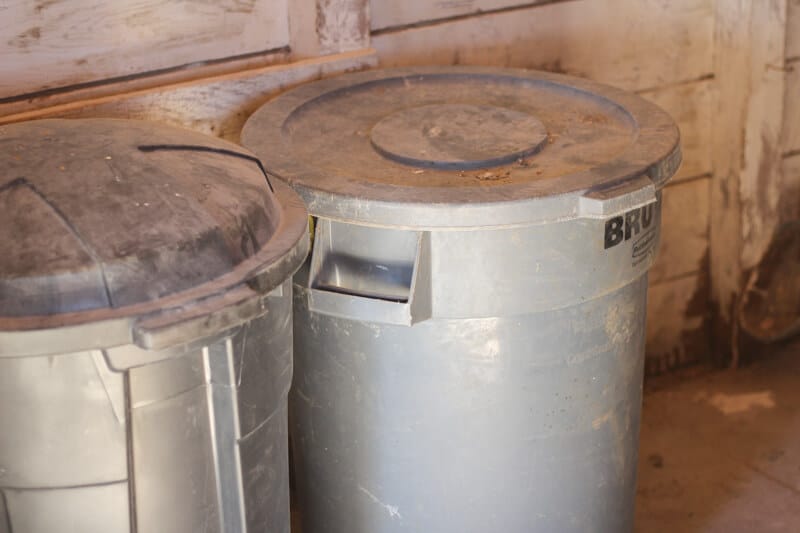
Like it or not, mice are a part of country living. If a mouse had to make a list of perfect mouse-habitats, I’m pretty sure a chicken coop would make the top-ten list. With all the grain laying around, and lots of places to hide, it’s pretty much mouse-heaven. An average mouse population won’t cause you too many problems (and heck, your hens will enjoy the occasional mouse-snack!). However, if you struggle with lots of rodents, you may need to consider only feeding small amounts of feed at a time (not free-choice) and definitely keep your extra feed tightly contained in air-tight containers (we use large trash cans with lids).
Multiple Species
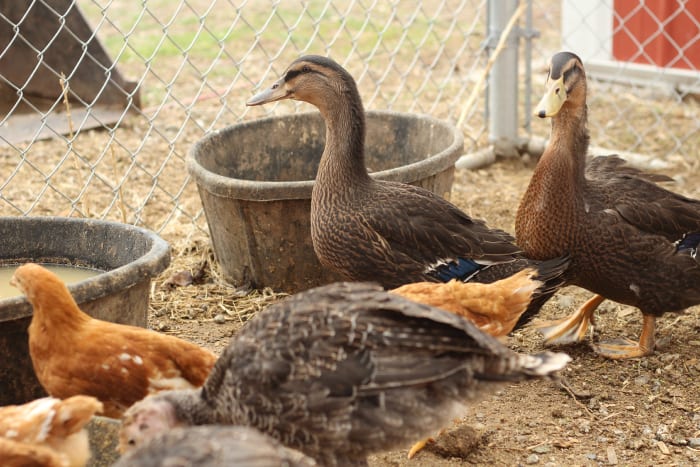
I know people will say you aren’t supposed to house different species of poultry together, but we always have. We’ve kept turkeys, geese, and ducks in with our chickens, and have rarely had problems. That being said, we’ve found it’s extremely handy to have a divider in your coop, or at least two separated areas, for various reasons. You might need to feed different types of feed to different birds, you might have birds that aren’t getting along with the rest of the flock, or you might have a new batch of chicks. Regardless of the reason, consider creating way to separate birds in your coop, if need be. We have two “rooms” in our coop with a gate in the middle, and we use both spaces frequently.
Designer Chicken Coops
I totally have a thing for those quaint, almost romantic little cottage chicken coops you see on Pinterest– you know, the ones with delightfully chipped paint, honeysuckles growing up the side, little benches out front, and quaint woven wood fences.
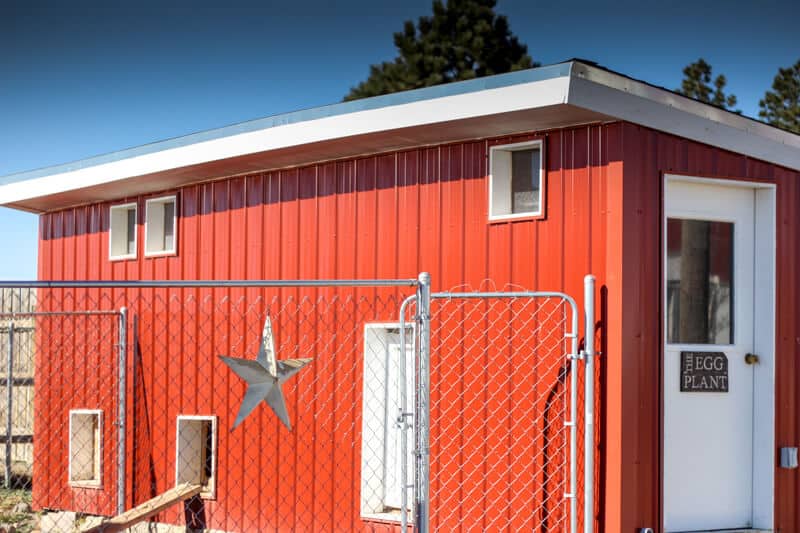
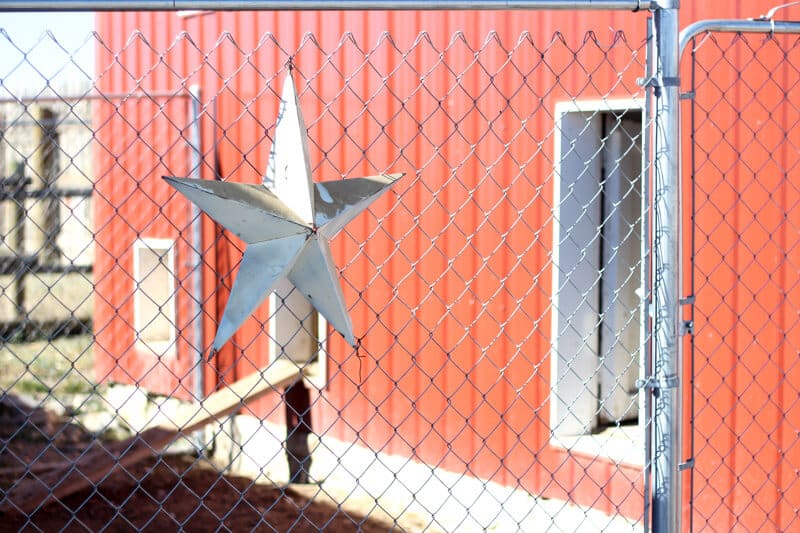
Our chain link fence and red metal siding doesn’t exactly scream “quaint cottage”… But unfortunately we have to build with tough materials out here on the prairie, and a strictly-utilitarian coop is my reality due to our heavy snows, extreme winds, and determined predators. So, I’ll just keep pinning the cute coops on Pinterest, and appreciate my sturdy metal siding when the wind howls.




Lots of good information here for newbies. I now have a country property with a coop and a large run, but I don’t know what to do next.
Great info! Articles of these type were my saving grace when I first started with chickens! Love that you’re getting back into these kinds of posts.
Also–totally digging the new layout for your site!!
Just a note: owls are notorious for open top coop predation, and a skunk is slender enough to fit through a chain link fence. Here in Oklahoma with a plethora of predators, we also have to place either chicken wire or sheet metal 18 in deep all the way around the pen to prevent animals (especially possums and raccoons) from digging their way in. Chickens are very difficult to sustain here but worth every bit of it.
We have found the very best wire for chickens is hardware cloth. The squares are tiny enough to keep baby chicks in and everything else out. Also, it is stiff and keeps it shape well under stress such as dogs scratching at it, or goats leaning into it. No predators on our farm because of this! Poultry wire over the top for owls, hawk, and climb overs of any kind.
We started with chicken keeping for the first time this year. We built a small coop out of pallets and scrap with some purchased wood. We tried free ranging but our property is a hub of predators so after losing 3 hens we decided to build a large run. Rather than trenching down 18″ to sink the chicken wire, we attached a ‘skirt’ of chicken wire from the bottom 18″ out along the ground, pegged down at the edges. Eventually the grass and soil will come up through the chicken wire and it won’t be visible but any small predators that decide to dig down will be deterred (I hope!). We have covered the chicken run in heavy poly for the winter which creates a nice comfortable greenhouse out of the run. It will keep out the snow and wind (we get wicked Nor’easters here in PEI) and give them a little bit of room to get out of the coop and spread their wings a bit. On sunny days the sun will warm the run through the clear plastic, and a small compost corner framed in with short pallets gives them a place to forage and scratch through the kitchen scraps while the compost action will also add a bit of heat. Bonus is some nice compost for the garden come spring. This will be our first winter with the chickens so fingers crossed we did all the right things to make them comfortable and survive the harsh season.
could you provide a picture of your handmade coop? I am currently looking for ideas for spring. Thank you. I live in Idaho
I don’t see an option for uploading pics in post replies, Dianna. Feel free to email me cbzoeller@gmail.com and I’ll send you pics and details how we did it.
Jill,
I was in on the post about “Should I Burn It?” – the Hubby built Chicken Coop..
Would you PLEASE help a “wanta-be” Homesteader AND SHARE YOUR absolute IDEAL “detail” Chicken Coop design with measurements included!
If you do not want to post it publically, would you please email me your ideas.
My husband warns me I can do ANY THING I want – ONCE!
After that, I have to live with it…
We live in Central Texas and have over 250 acres with a large number of predators; mountain lions, bobcats, coytees, foxes, wolves, skunks, squirrels, opossums, raccoons, hawks and vultures…
We do have a 12X15 wooden shed with a loft we could repurpose but, it would have to be moved and the wooden skids it was built on years ago have rotted out so, cost of moving it would be pricey… So, better to build new!
Finally, HOW FAR FROM THE HOUSE DO YOU RECOMMEMD BUILDING THE COOP to deal with flies and odors?
Also, already own a 5055 JD Tractor so, if you recommend the tractor coop HOW do you recommend moving the “run” to keep such a large number of predators out?
Lots of questions to get answers for…
No set budget but, can go up to 5 figures if needed…
Thank you in advance for your support in sharing your expierences!!!
I highly recommend abundantpermaculture.com. Or better yet, check out their videos on YouTube under Justin Rhodes. He has lots of practical solutions, especially for chicken tractors. He also uses his chickens to do much of his garden preparation. Jill knows him.
P.S. He also has free plans and check lists. And classes and resources for anything you need to make a wonderful homestead. Good luck !
Try looking at carolinacoops.com they have great coops you can order one from them or just get some great ideas
I notice the ceiling light bulb in the photo is a compact florescent bulb. Any thoughts on compact florescent versus incandescent bulbs regarding which is healthier for the chickens for supplemental lighting?
As I understand fluorescent light is really hard on chickens, as they see ultraviolet light and fl. Light vibrates and really makes it hard for chickens to see. I do have one in my coop that I’m thinking about replacing.
Thank you for this post! We just started with chickens 6 months ago, and the former owners gave us their 3 hens, small coop, and tractor. Everything was smooth sailing until one of the chickens starting molting. This has caused some chicken drama (pecking), so we’ve had to separate one from the rest. Has this happened in your flock? Will we eventually be able to add her back with the other two without them attacking her?
It depends– they may sort it out eventually, or may not. You might try reintroducing her and seeing what happens.
It could be that the isolated chicken is actually sick. Hens will pick on a sick hen. Check her for scaly mites or lice. Also, could be a sign of needing more protein. Try a suet with added fat and protein to supplement your flock. Sunflower seeds also have lots of good protein and fat. Also, dry cat food is a good protein source. Has to be cat food though, as dog food has unwanted fillers.
My mother used Vaseline and mercurochrome ( I killed that ) but not iodine the other one mixed together and smear it on the bare picked spots and after one or two mouthfuls they stopped picking . Worked for her try it.
mice!! They have bedded down in the roof of the coop. What natural replants can I use? I am hearing peppermint. (?)
Yes– mice generally don’t like peppermint. You can spray it on their pathways or where they are entering an area.
Did you insulate your coop at all for the winter? I just built mine and need to decide if I should insulate it.
Jill, How much space should we allow inside the coop for each bird? We live in AK and they are closed in for several months. Thanks.
Do you have a suggestion on how to keep water clean in a dog bowl.
Good Coop info!
We have had dirt floor, wood floor and wire mesh floor coops. The wire mesh works the best, about 3 feet off the ground. The chicken waste falls through the mesh onto the concrete basin below (fashion the dirt into the right contour, then dump a couple bags of quickcrete on it, hose and smooth). The manure that doesn’t fall through the mess can be made to fall by simply pulling a wide sweeping broom across the mess. We put a drain in the low end of the concrete basin and it runs into our septic system. Hose it down every day or two, or let it dry and collect it for spreading on gardens.
One thing I found really helpful with my coop was round perches. I inherited a Jersey Giant from my neighbor who had been roosting on a 2×4 that was way too small for his feet. He weighs so much that the corners were digging into him and he could barely walk. Everyone said I should put him down. Instead I got a much larger, round perch for him and covered it with one of those pool noodles. I call it his orthopedic perch. Within a week his feet were healed of those sores from the corners of the 2×4. Within a month and a half his thumb/toe which was totally atrophied from years on a too small perch was back to normal. Now he is running after the young roosters again and much happier.
2 x 4’s wide side up make good perches for heavier birds , the edges can quickly be rounded slightly by running a power sander down the length. These perches work well in colder climates also as they allow birds to protect their feet from extreme cold and possible frostbite.
I just love your website! So many helpful ideas!! I recently aquired laying hens again (without having the coop ready NOT a good idea btw. We have had chickens before and keeping the waterer clean was a job in itself. I’m using a 5 gallon bucket with holes drilled towards the bottom and it sets in a pan serving as a self waterer til its empty. If I left it on the ground it got incredibly nasty. I had a tire and wheel and an idea! I put the tire & wheel in the coop and set a scrap pc of plyboard on top of it, now they get clean water until empty. Just an idea I thought I would pass along.
We just switched to covering our coop floor and run with sand. Yep, that’s right: sand. My coop floor is wood, so we drilled some holes in it and covered with hardware cloth. Then put the sand in. To clean, we simply rake the chicken poo and add it to the compost bin. We add maybe a half yard of new sand every 6 weeks or so. No odor, hens love scratching around on it. Win-win!
So down to earth, common sense. Easy. Keep that up??
Help! I started my chicken flock in March of this year. Purchased 6 and 3 are Rhode Island reds. All we’re suppose to be laying hens but I ended up with 4 roosters and 2 hens. I recently removed 2 roosters from the coop. Still waiting for eggs to be layed. When should I expect to see eggs?
Hi there! Young pullets tend to start laying around 6 months of age. So for you, that should mean they start laying really soon! Sorry to hear about your rooster-to-hen ratio! I hope the hens you have start laying really well for you.
how do you tell roosters from hens when they are little?? if I buy how will I know?
Sexing them at a very young age is challenging and takes time and practice to get it right. You’ll do best if you look up some youtube videos for tips, because it will give you visual assistance. Otherwises, when they are about 3 months old, you can usually figure it out by looking at their saddle feathers. Roosters will have long and pointy saddle feathers and a hen’s will be rounded.