Someday I will have perfectly manicured gardens; complete with decorative flowers (edible, of course), a quaint stone walkway, and a bird bath with crystal-clear water.
Today is not that day.
Although my garden and I have been getting along much better since I implemented the deep mulch method, I’m still all about just getting it done around here.
A lot of that probably has to do with the fact we are in the midst of a massive remodel project, which caused us to rip off half of our house. That’ll kinda get in the way of your manicured dreams, ya know?
Anyway, in the midst of our chaos this year, I have been feeling the urge for at least a tiny bit of tidiness, and I’ve been waiting all year to put in a kitchen herb garden in the pots near our deck.
It makes me all warm and fuzzy to walk out on my deck barefoot to harvest vibrantly fresh herbs as I cook meals. It’s truly the epitome of farm-to-table, and the flavors of just-picked herbs are second to none.
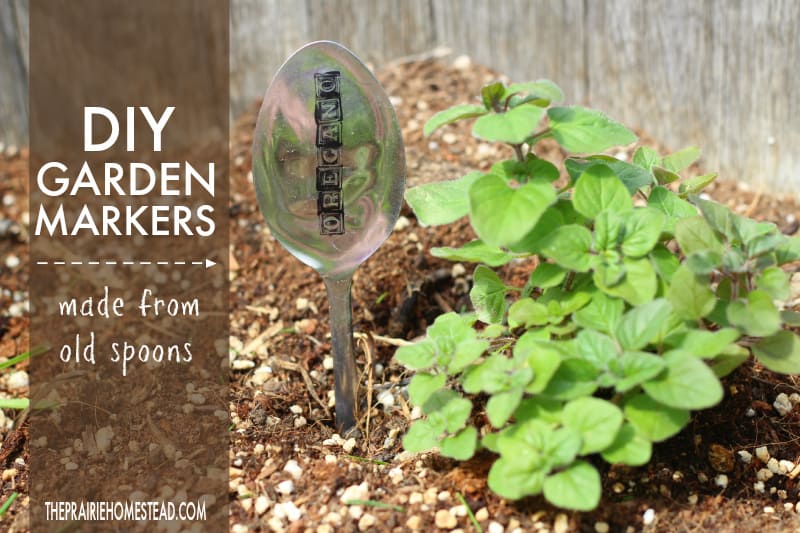
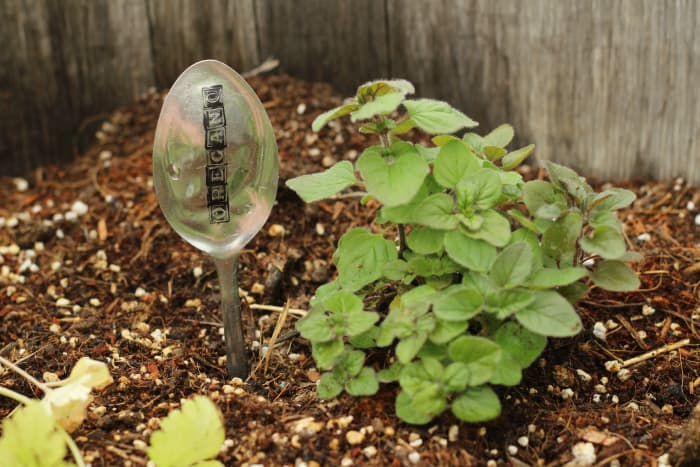
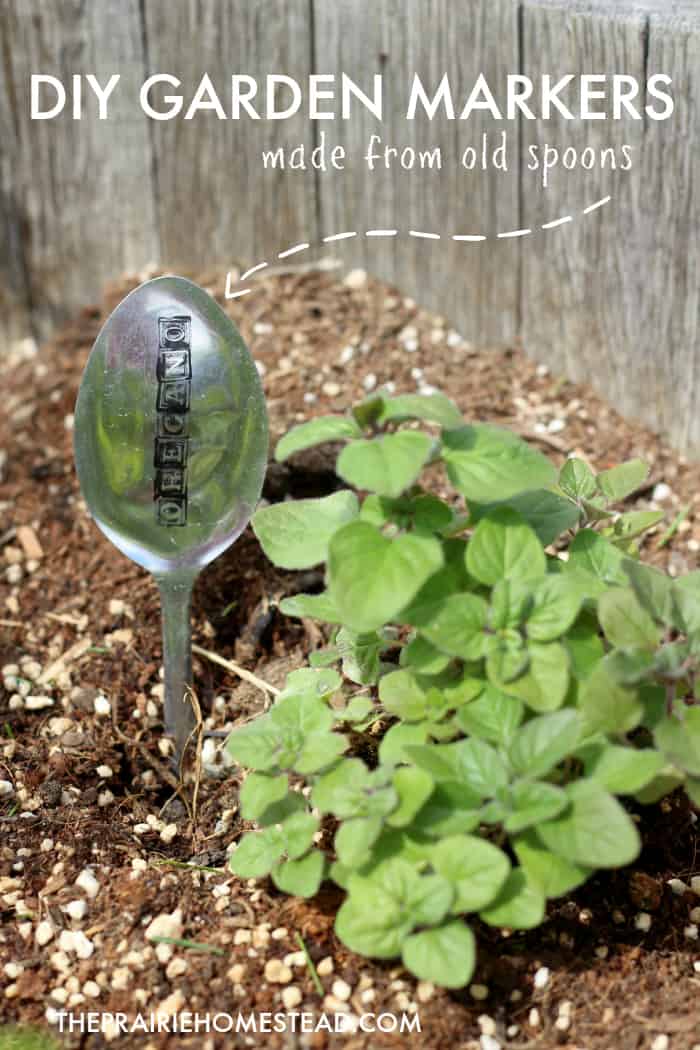
I fell in love with these hammered spoon garden markers the minute I saw them. Not only are they repurposely a cast-away item (my favorite thing to do EVER), they also are durable and classy way to tell all those green seedlings apart.
And they’re much prettier than the duct-tape-and-rebar garden markers I’ve used in the past. (You think I’m kidding? I’m not… I won’t be posting any pictures of those.)
Here’s how to whip up your own homemade spoon garden markers in a jiffy.
DIY Spoon Garden Markers
You Will Need:
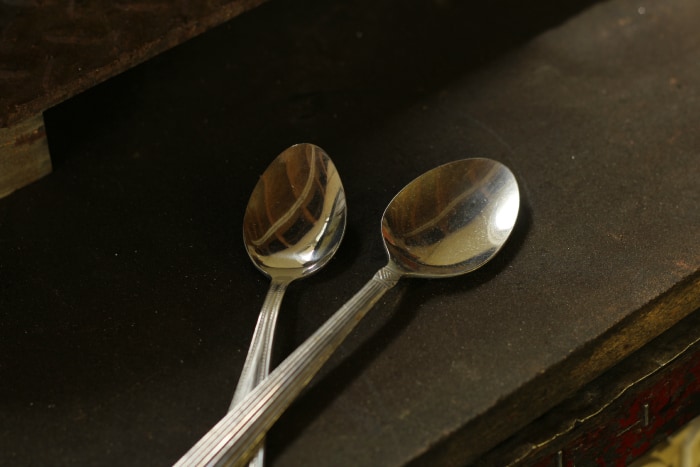
- A variety of old spoons
- A hammer
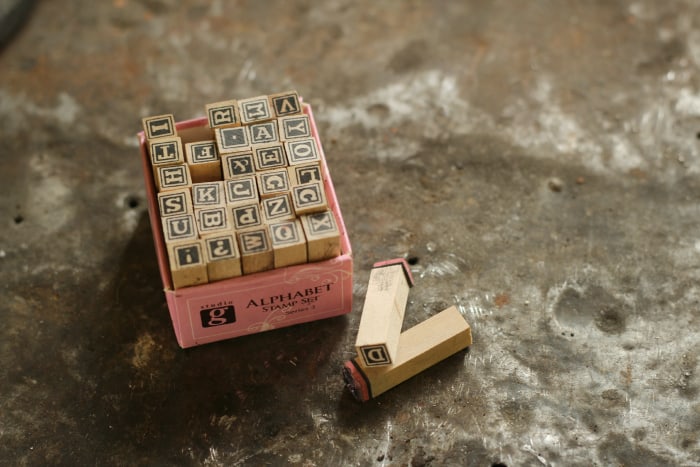
- Small rubber alphabet stamps
- Permanent ink (either an ink pad or marker)
Don’t have a bunch of old spoons just laying around? Neither did I. Thankfully, thrift stores always have bins full of lonely, mismatched spoons. Perfect.
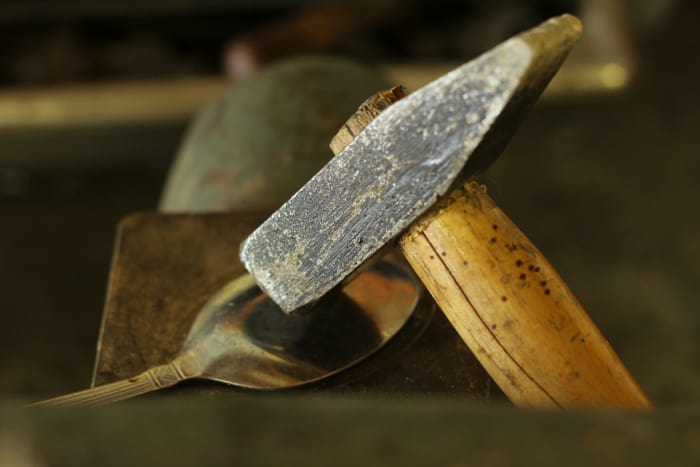
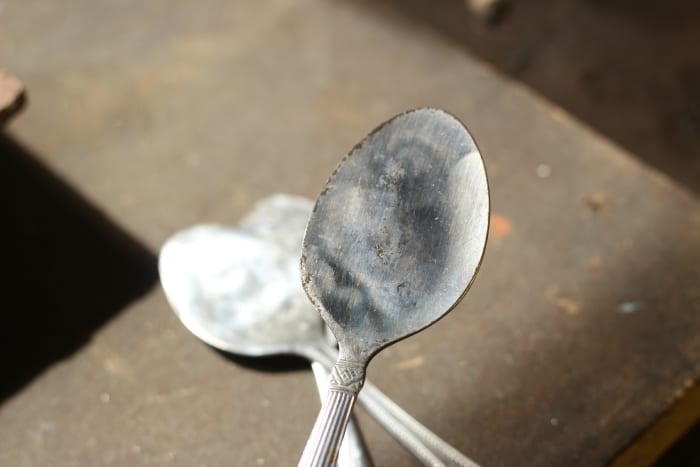
Grab your hammer, and think of something that makes you really angry. Now take out your aggression on the spoon. I found it was easiest if I first pounded on the back side of the spoon on the rounded portion first. (I had a piece of flat metal under my spoon, but a piece of scrap wood will work too) Continue to hammer until the spoon is nice and flat.
Like this.
I got my alphabet stamps at Hobby Lobby for a buck. You can usually find sets like these at craft stores for pretty cheap. (I found these on Amazon (affiliate link), but check your local craft store first– I bet you can find them for a better price.)
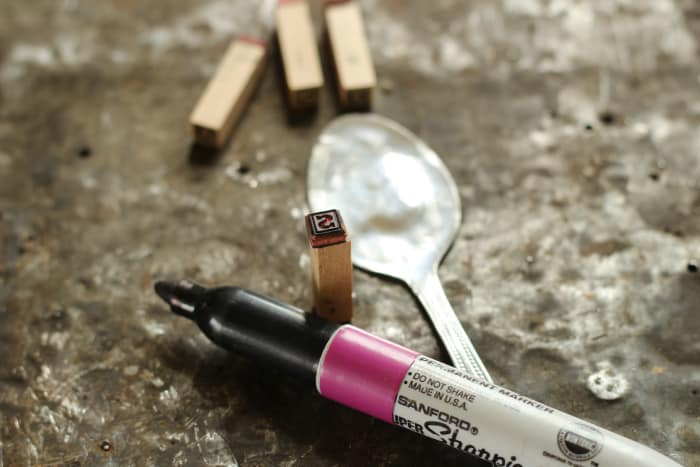 Using a Sharpie or permanent ink pad, thoroughly ink the stamp.
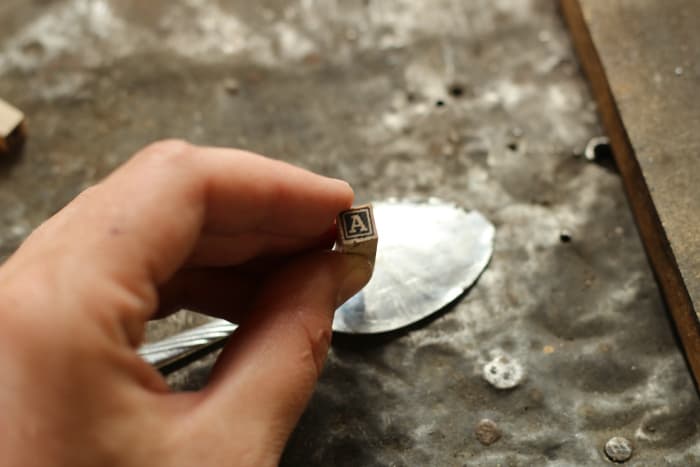 Proceed to stamp out the name of the plant you’re marking on the spoon. (One caveat: since you’re using permanent ink, your stamps won’t really wipe clean afterwards. This didn’t bug me, though, considering I only paid a buck for my stamps)
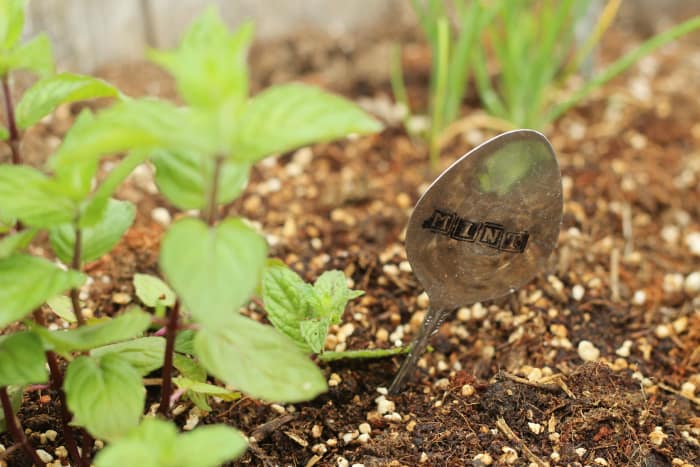 Stick ’em in the garden, and you’re all set! No more wondering which plant is which. And you’ll look all crafty and creative, too. Bingo.
What About Metal Stamps?
Initially, I wanted to stamp my spoons with metal stamps. Because, I dunno, it just seemed cooler.
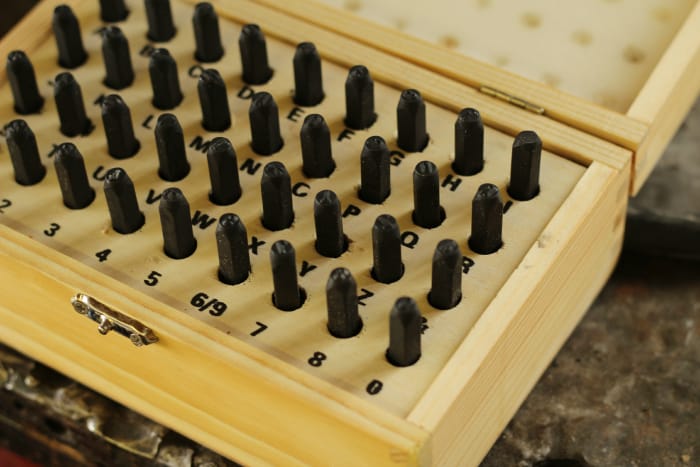
I ordered this set of metal letter stamps on Amazon (affiliate link) and was excited for them to arrive:
Sadly, when I went to stamp out my spoons, I was dismayed to find the letters were way too small. You could barely read them. Bummer.
Therefore, I decide to just stick to my rubber stamp method. It’s cheaper (the metal stamps were $20), and even if they rub off a bit from year to year, it only takes a second to re-stamp them.
I do think metal stamps would work, though, if you got set with larger letters.

Just adorable; thank you for sharing the tutorial
You bet!
I have this solved…easy, easy. I get used venitian blinds, cut to any lengh and marked with a grease pencil or a stabilo pencil (writes on anything). These two will NOT fade or disolve off the marker. Cool thing is you can make these LARGE. I get my blinds at garage sales and practically everywhere, ’cause they don’t have to work, and you can use them year after year. Cheers, Susan
Great idea!
I love the rubber stamp idea and I happen to have a set on hand. I also tried the metal stamps and had the same problem. They were just too small. I tried filling the letters with blank paint to make them stand out and although it had a cool effect, you still couldn’t really read them. Thanks so much for sharing.
Yeah… that was my problem too. loved the idea of the metal stamps, but just not practical!
Thank you for inspiring me for my new garden and greenhouse. We are moving in 4 days to our new homestead on 21 acres complete with attached greenhouse. I have been trying to think of the best way to mark my plants without resorting to popsicle sticks. These are perfect!
Wahoo! Congrats on your new place!!
This looks like a great activity to do with the Cowkids…maybe just let them pick fun words like love, laugh, and pray to do and use them to decorate our planter boxes 🙂 Thanks for a fun summer project idea!
Definitely would be a great CowKid project! 🙂
I use old blinds. One old blind gives you a ton of markers. I cut them rather long. Sharpie on what kind of plant it is, stick a shovel in the ground and place the blind piece in before I pull the shovel out. Then tamp around it to keep it in.
Thanks for the idea about using blind slats, Lydia! I was scrolling down here to ask Jill what she was using in her deep mulch garden because the spoons would disappear under the mulch.
Last year I used chopsticks and then I added straw mulch. Only found one chopstick in the spring. The others were there, and I did find the remaining plants that were trying to find light under there. But I realized then that I needed a better solution this time.
Great idea! I might try that for my big garden.
You may have success with the ink lasting longer if you use a product called Staz-on from Tsukineko. It’s designed for slick surfaces and is more permanent on those surfaces than sharpie markers……the things you learn in your scrapbooking days 😉
Oooh… great tip– thanks Brandi!
And they also have a product to remove the ink from your stamps.
I use sharpies on all sorts of things, including plastic tubs, etc. When I want to erase the ink, I use 91% rubbing alcohol – wipes it right off! I have not tried to get permanent ink off of anything rubber, but you might give it a try! (Acetone works good too but that’s really strong).
Charming idea. I have some old ornate handled dinner knives that you have inspired me to write the names or initials of my herbs and mints on. The knives are so pretty, they really would prefer to sing out “Ginger Mint”, rather than remain silent in a dark storage box.
Oooooh… knives would work wonderfully, too! Great idea!
I love this idea! I live in rainy Seattle, though…do you think the ink will wash off after a few rains? Could Modpodge keep them intact, maybe? I can’t wait to do this for my garden!
My Sharpie ink is still intact after several weeks of rain here. I imagine I might need to touch them up after winter, but so far, so good.
I’ve tried plastic knives, chopsticks, plant markers with permant marker and all to disaster, either they fly away in the wind, get lost in the deep mulch, birds have actually been witnessed stealing them and the few remaining were all faded. This year I went with some outside paint and large white/grey pebbles, they look natural in my garden, I can put not just the plant name but the variety and I can just collect them up and save them for next year.
Love the teaspoon idea but since I never seem to be able to find a teaspoon in this house no matter how many I buy. ( I think the sock fairy here married a spoon fairy) I can’t see the spoons being a goer, fantastic idea though.
Love the pebble idea!
WOW! I love this idea. Durable, cute and easy to make. Thanks for sharing.
I love this idea! Realy easy to make. Will go to do it ASAP 🙂
I love this idea and many others. I thought of an item I have used many times to remove permanent marker. It is the Mr. Clean Eraser. Well I tried it and it works to remove the permanent marker off the spoons!
I am excited about getting some of these made and using them in my herb garden.
Thank you for your Web site. I have enjoyed it so much!
Cheri
Great idea Cheri– have fun making your markers!
For rougher, deeper mulched areas (vegetables, etc), I use a not-so-charming, but everlasting! method. Straighten out metal coat hangers (I got more than I wanted from local dry cleaners), make an ‘eye’ at the top.
Then, carefully, with a pair of scissors, cut the tops off aluminum pop cans; flatten the mid section, and cut into large label sizes. With a paper hole puncher, put a hole in one corner (folding the corner over will make the hole more durable); and then ‘engrave’ the plant names/varieties, etc., into the soft aluminum – pressing with a ball point pen, on a soft-ish surface, will work fine. String it into the ‘eye’, cinch it tight, and you have an everlasting label, for free : ), with a ‘stake’ as long as you need.
Choose your pop variety for the can colors you want… red for visibility, green for invisibility, etc : ) Labels can be changed whenever.
On your blind slats use a grease pencil or a “writes on anything” stabilo pencil. Words season after season and you can make them tall. Cheers, Susan
I love this idea!
Years ago, my then S.O. and I, on a property tour, discovered an ostrich nest that had been buried by bulldozed sand (only in Santa Barbara County can you find loose ostriches, ferrets. and BIG iguanas) and had, as a result, many spoiled but intact ostrich eggs. Amazingly good, durable, and outstanding row markers for my garden. My garden was (sorry about this) eggselent!
What size were the metal stamps?
Great Idea! Everything I say I’m going to make special garden markers. But I already have several alphabet stamps and YES on the thrift stores for old spoons! Gonna be doing this soon (maybe) (if it ever turns spring.)
Jill! I love this!! I’m going to do it, too! My bed is little and cute and this’ll be PERFECT! So easy and I already have everything! Thanks!!
A vibrating engraver is a good substitute for letter stamps and easy to use.
I bought some yellow plastic forks at the Dollar Store. I took a black marker and wrote the names of the garden item on the top of the fork and stuck the tines of the fork in the soil. Easy Peasy!!
I use used lids made for canning jars and write the name on the beige side with marker, but like your stamp idea. I use old forks to put the lid into and you have to bend a couple of the fork pieces back to slide the lid on and have it be able to hold the lid. Push the handle into the ground by the herb or veggie you are labeling.