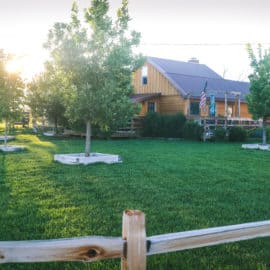
Our little prairie farmhouse has quite the history…
Originally built in 1918, its walls have seen many families come and go. Every once and a while, a former resident will pull into the driveway and want to reminisce. I absolutely love hearing the stories of the folks who loved this piece of land before I did.
I’ve learned that the original family who built the house raised four girls in the tiny upstairs bedrooms. And how their uncle would pay them for every rattlesnake they killed on the property (which apparently was quite a few…). And how the family that lived here in the 1940s and 1950s would candle their eggs in the basement and how this place was their pride and joy.
Unfortunately, I’ve also heard how the house fell on hard times in later years. It became a rental at one point, and was severely neglected. In fact, there was even a horse (it was either a pony or a foal) living IN MY LIVING ROOM at one point…
Thankfully, the man who we purchased the property from completely remodeled the inside before we bought it. Out of necessity, he put in all new sheet rock, flooring, fixtures, and appliances. It was literally like a brand-new home in the inside. (You’d never know that a horse had ever seen the inside of these walls– promise!)
Unfortunately, in doing some of the necessary remodels, some of the original old-house charm was lost. I am so thankful that my kitchen came with all new appliances, counter tops, and cabinets, but it just seemed to lack some of the character it should have had as a old homestead house.
As you know, I recently undertook the massive task of repainting my kitchen cabinets, and during that process, we also added a few extra touches to increase the farmhouse charm-ability.
How I Added Farmhouse-Charm to my Builder-Grade Kitchen
1. Painted Cabinets
I don’t know about you, but nothing screams “farmhouse” to me quite like creamy white cabinets. Repainting my builder-grade oak cabinets was a huge project, so you can find an entire “how to repaint your kitchen cabinets” post here.
2. Lighter walls
When I think of a farmhouse, I automatically think of whites and creams and a light, airy feel. For some unknown reason, I had thought it was a good idea to paint my kitchen walls brick red shortly after we moved it… *facepalm* Combine that with the small footprint of the room and only one window, and my poor little kitchen had a rather dungeon-like feel.
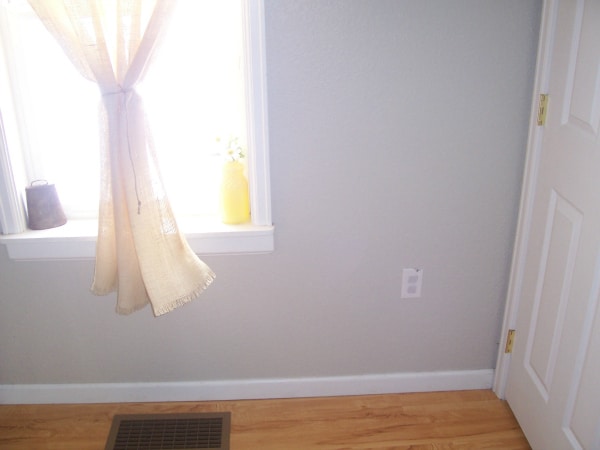
I love the feel of a neutral kitchen, so I could hardly wait to repaint those red walls… I chose Revere Pewter by Benjamin Moore. In my opinion, it’s the perfect warm grey– and it goes perfectly with my creamy white cabinets.
3. New hardware
My builder-grade oak cabinets were originally knob-less… I knew that once I painted, it would be extra important to have pulls and knobs to help keep my white cupboards clean (I’m a messy, messy cook…) But, I didn’t expect it to change the feel of the cabinets as much as it did– I was amazed at how this simple addition drastically improved the “elegance” of my basic cabinetry.
I went with a simple knob with an antique-pewter finish. As tempting as it was to go with “cutesy,” trendy knobs, I wanted something that would be timeless.
4. Crown Molding
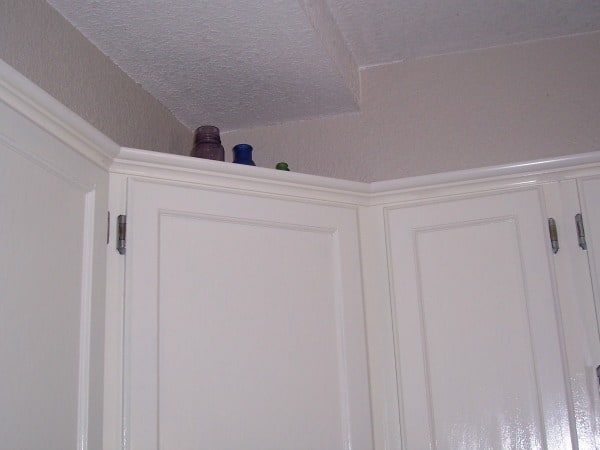
As with many old houses, ours has more than a few sloping floors and crooked walls– and the kitchen is no exception. The soffit above our cupboards is less-than-square, and once I painted the cabinets, the glaring gaps became even more obvious. Thankfully, a small piece of crown molding was able to cover up the imperfection. AND, it added a custom-look to my basic cabinets.
5. Beadboard and beadboard wallpaper
Oh beadboard… how I love thee. We used beadboard paneling around the DIY-island we built in 2010, shortly after purchasing the house. Nothing says country like a slab of beadboard…
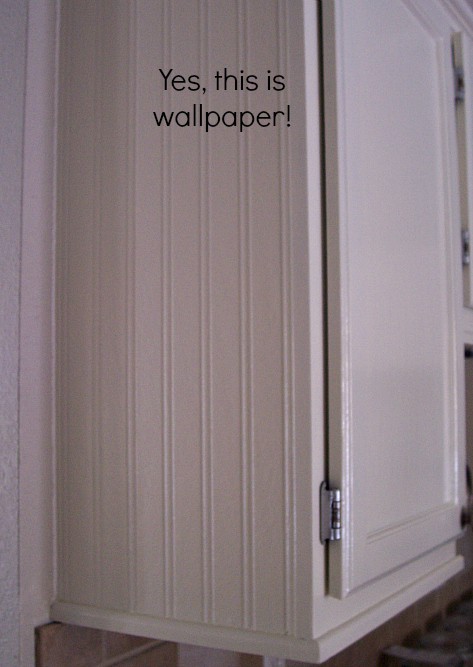
But, I have a very exciting announcement– brace yourself. Did you know that they make paintable BEADBOARD WALLPAPER? Yes, yes they do. I found mine at Lowes, but I see that Amazon sells it as well. I used the wallpaper to cover the ends of my cabinets and it honestly and truly looks like the real thing.
Now– I’m not sure I would use it on walls– especially if you have dogs or kids (I think it might be prone to tear in areas of high-traffic). But, it’s absolutely splendid on my cabinets, especially since “real” beadboard would have been too thick. (And I do think I’ll be using it for some furniture projects in the near future…)
6. Wooden embellishments
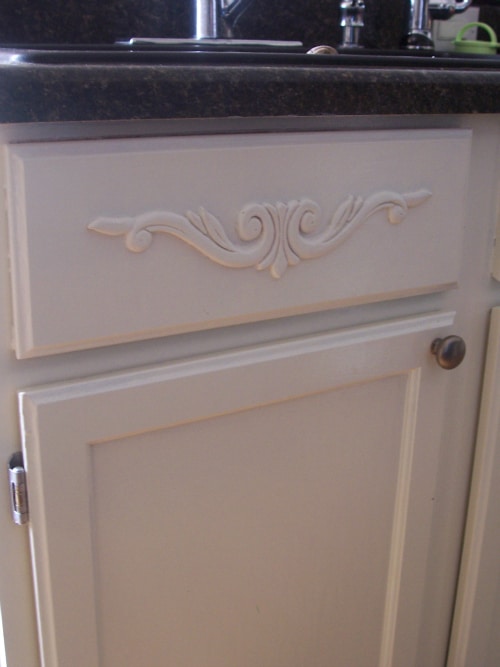
I knew from the beginning that all-new cabinets were not a possibility, so I decided to make my stock cabinets look as custom as I possibly could. Along with the wallpaper and crown molding, I dressed-up my two false-front drawers (you know, the ones that are usually under a sink) with small wooden embellishments. Hubby used a staple gun to attach them right to the wood and I painted over the whole thing. I think it’s a nice extra touch.
7. Store functional items in plain view
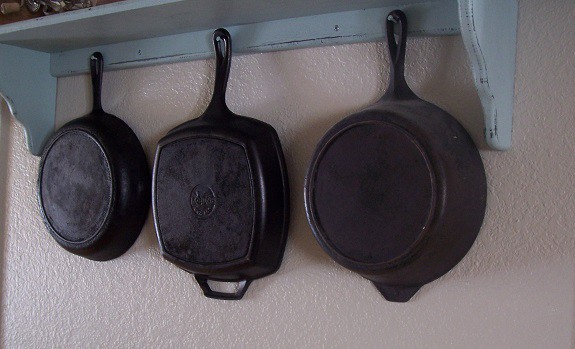
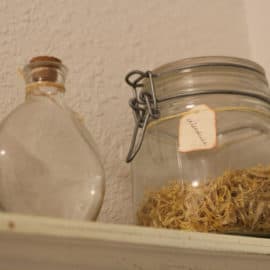
One of my most favorite tricks for adding old-fashioned charm to my kitchen is to decorate using the utensils and items that I actually use on a daily basis. I’m not a fan of “canned” kitchen decor, and prefer to embellish using functional stuff. I have my collection of cast iron pans proudly adorning my wall, as well as my antique butter mold and apron. I also love my clear glass canisters that show off my stashes of popcorn, lentils, sucanat, and beans. This not only leaves me more room inside my cupboards, but it also is a frugal way to decorate.
8. Decorate with the old, the rusty, the chipped, and the repurposed
There is nothing I love more than giving cast-off items new life with a bit of paint and TLC. I’d rather decorate my home with thrift-store finds than even the fanciest knick-knacks from “decor” stores…
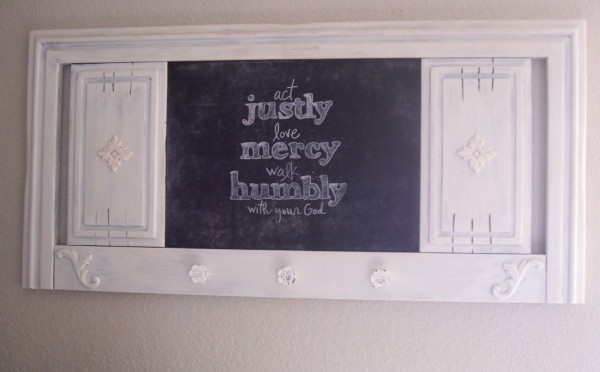
Choose old items that you love, or ones that have special meaning. They don’t have to be expensive to add charm to your home. Some of my favorite items to grab at yard sales are old headboards, glass jars and containers, random bottles, and cast-iron pans.
So, there you have it. I don’t claim to be an interior designer, but I love my simple little homestead kitchen all the same.
What are YOUR favorite tricks for adding farmhouse-charm to your home?
This post was shared at Frugal Days Sustainable Ways



Very nice job!
I LOVE CHIPPY!!!!!!!!!!!!!!!!!! 😉
Me too!!!
I love your refurbished kitchen!
You did a beautiful job!!!
Love it! I completely agree about hanging your most used items. I love the look of them. I need to repaint my kitchen too. It’s brick red from a previous owner.
Your kitchen is very warm and personal, that’s when a home is at its best. To answer your question, I use well-loved items that come my way. “One person’s junk is another’s treasure” and all of that:) A white chunky coffee cup, chips, cracks and all, filled with old coffee beans and a white tealight is my newest farmhouse/ranch favorite. Sitting right beside it is an red antique coffee tin. It makes me think of the countless cups of coffee that cup has fortified a rancher with before coming to rest on my counter.
I love this Becky! Well-loved is my favorite too. 🙂
Jill, I love what you did for your kitchen and for the helpful information you pass along. I grew up in a farmhouse, and it has a wonderful ‘homey’ feel, you did a wonderful job.
Thanks so much for your kind words Marilyn!
Thank you for the wonderful ideas! I have recently purchased a home and I have been trying to thing of great new ways to re-do the kitchen. The previous owner “drunk painted” the kitchen cabinets a glossy red. Although red is my favorite color, I think he might have gone a little overboard. I don’t have a lot of money to spend, and your ideas have given me many a clue as to how to go about doing what I want to do to make that kitchen my own!
glad I could help! Yes, I don’t mind red either– but only in small quantities. 😉
Jill, I love your ideas. We are renovating our kitchen in south dakota and are going for the “country kitchen” look. I’ve been trying to convince my husband to paint our never-ending, wall to wall cabinets. It seems so daunting…but I know it’s gonna look amazing. I also want to do butcher block counter-tops….
Thanks for the great advice on painting the cabinets too.
Yes, it’s definitely daunting, but worth it! And yay for butcher block counter-tops… 😉
Love it all!, and that you include function with form. For those who don’t know it, if like me, you hate the sink area cluttered with things like a scrub sponge, brillo pad, veggie brush, etc., no matter how decorative the dish to hold them, I discovered years ago that I could order a kit that uses that dead space under the sink. With just a screwdriver, it lets those false front panels open out and down, providing a place to stash those things. I paid only $16 several years ago. Get the right size, and DON’T tighten the screws down too tightly. The inserts are meant to come out for cleaning, but you can’t if you screw it down too tightly.
Great tip Carmie! I, too, hate clutter– especially around my sink.
I love your ideas.
We are slowly building (while living in) a small cabin on the Montana prairie. They were tearing down an old building in town and we snagged 10 old pressed tin ceiling panels from it. I am going to use them to co Dr the sheetrock in the kitchen area. Also using vintage aprons for valances on the windows.
I am sooooo jealous of your tin ceiling panels! And love that vintage apron idea too. 🙂
I was so lucky to find those – and they were only $2 a piece! The downside was they were covered in old lead based paint, but my son is a painting contractor so he is giving me advice on stripping that off and adding a coat of new “safe” paint and making it look old.
Your “New-Old” kitchen is exactly what I have envisioned for my ‘OLD-OLD” kitchen! (built in 1915, updated cheaply over the years) We already have similar cabinets and pulls, but-eventually- plan to update the 1950-something counter tops to a dark charcoal Corian and get the black and stainless appliances. I also love the idea of decorating with useful items. We had a rusty old cast-iron pan left by the previous owners hanging on our front porch for the better part of two years. Then one day I was sitting out there looking at it and it dawned on me that it would take 5 minutes with a green scrubby and vegetable oil to make it use-able again. Now it earns it’s keep in the kitchen.
Hooray for rusty old cast iron. 🙂 It’s so much fun to salvage something old!
How lovely! I’m looking at my kitchen right now going hmmm…..maybe I could do that.
You can do it Cathleen! 🙂
It looks great! Actually reminds me a lot of ours. We redid it last year after living with a 70’s kitchen for 12 years. So glad we did it. It just makes a huge difference in my life to have a good kitchen. I actually want to go in there now!
Hi Jill,
Your kitchen re-do is beautiful. I love it. Since it’s packed with so many helpful tips, it was among my favorite finds this week and I linked back to you today. Your blog is just great – it’s one of my favorite daily blog stops!
Happy Easter!
Thanks so much for your kind words Pam! I’m so happy to have you as a ready– and Happy Easter to you, too! 🙂
Hmmmm….We are redoing our kitchen too…We have a “country/rustic ski lodge” thing going on…We have a LOT of wood in the house, none of which is painted, and I have been SO hesitant in agreeing to paint the cabinets! We just installed Saltillo Mexican tiles which I LOVEEEEEEEEEE, and am thinking butcher block counter…and painted cabinets..but I am so afraid to do it! Not sure why…
Love the beadboard! EXACTLY what I was looking for! Was it the length of your island?
I love your site! I am currently trying to find a place to store my cast iron that does not consist of storing it inside of my stove. What did you use to bolt your cast iron pot shelf to the wall? I would think you need something extremely strong. I love that you are hanging your pots but I would like to know exactly how you managed to do this without tearing out your wall. Thanks again for the great info!
I think my hubby hung it with sheetrock anchor screws. It’s definitely well-attached.
Well I am glad I found you! I live on a big ole farmhouse in Matsqui prairie In BC Canada. I am new to farming so I am stumbling along. I have a dairy goatie due any day now….well I think she is. Chickens are coming and so is the garden. One thing we have is a mess of kids. 4 boys and 4 girls. 3 of the boys are men and have moved out. The 4 girls are all little which has been a shocker to this ole mom cause I decided to foster again. I want to do that idea with the cast iron shelf. That is fun!! I look forward to catching little glimspes of projects during my coffee breaks!
Can you tell me about your countertops? Are they laminate?
Hello, I realize I’m a few (6) years late to comment but wanted you to know how much I love what you’ve done and wanted to add that your cabinets are perfect for adding the beadboard wallpaper to the door inset. It will look fantastic and bring the farmhouse look to another level. Something I’ve been thinking about for my Mother-in-laws kitchen. Happy decorating!